Visitor Tracking Visual View
Overview
The visual view provides a more streamlined, actionable view of your visitors. When switching to the visual view your settings are automatically saved. For example, switch to the visual view, select to view People and Companies only, then logout. When you log back in and load the visitor tracking page your view will be saved.
To access the visual view do the following:
- Click Visitors > My Leads
- Click the eye located at the top left of the My Leads page.
Viewing People, Companies, and/or ISPs
Filter results to see People, Companies, and/or ISPs by clicking on the buttons at the top right. Enable a selection by clicking it once. You can enable one or more selection at a time. For example, to see People and Companies make sure the People and Companies buttons are grey in color. In the screenshot below, People is selected. Only People with an email address would be shown in your results.
Profile Pictures
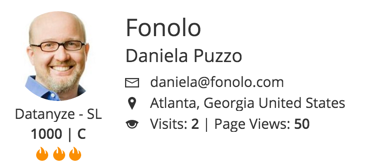
To see a profile picture of the Prospect, as shown below, your account must have the Social Appends feature enabled. Contact your Representative to have this feature turned on.
Instant Replay
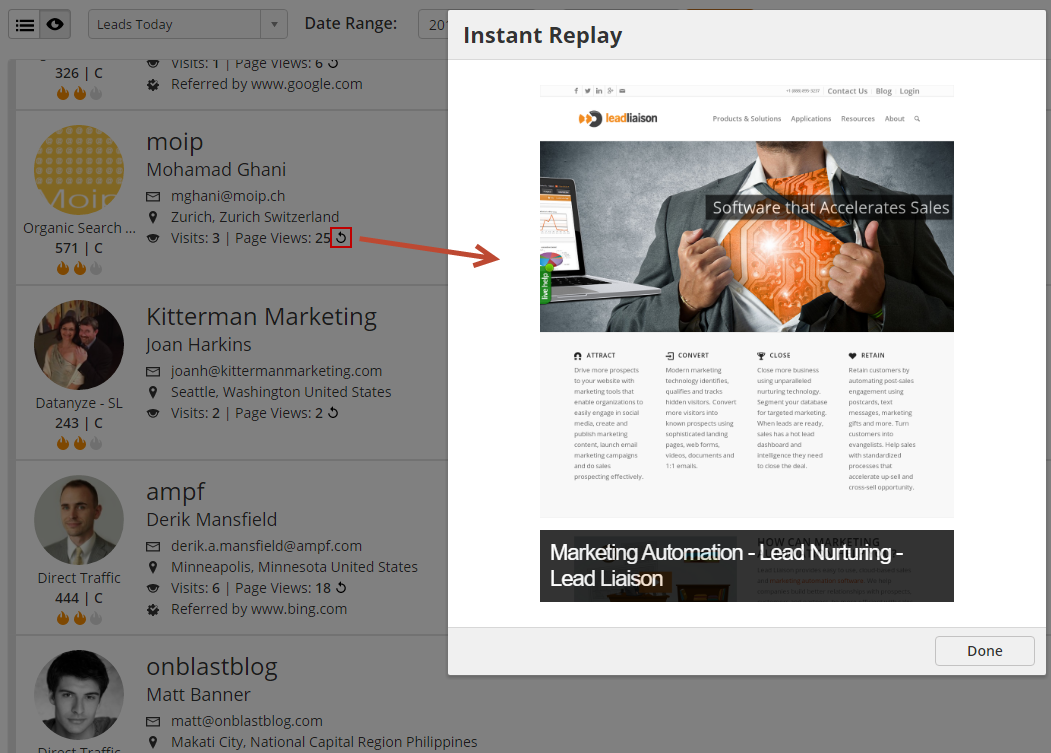
Staring at plain old links is boring! To see an instant replay of your visitors experience click the replay icon as shown in the screenshot below. The system will automatically scroll through each page viewed by the visitor, giving you a play-by-play of their experience.
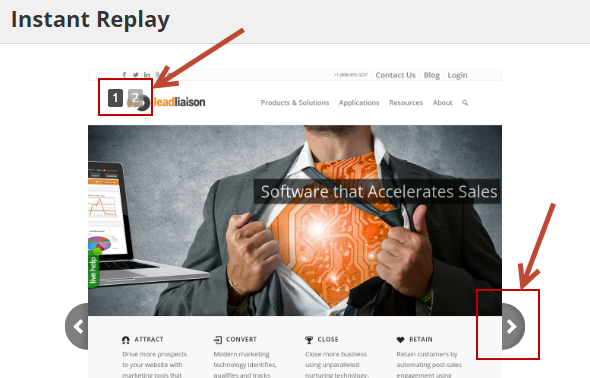
Use the page numbers across the top or the right/left navigation tabs next to the page preview to navigate through the visitor's experience:
Notes:
- Page thumbnails are cached for 12 months. Pages will be refreshed after the 12 month caching period.
Taking Action
The visual view makes it easy to take action on a visitor.
Liking or Disliking Visitors (Thumbs Up or Down)
- Click the thumbs up if you like the visitor and want to do something with them.
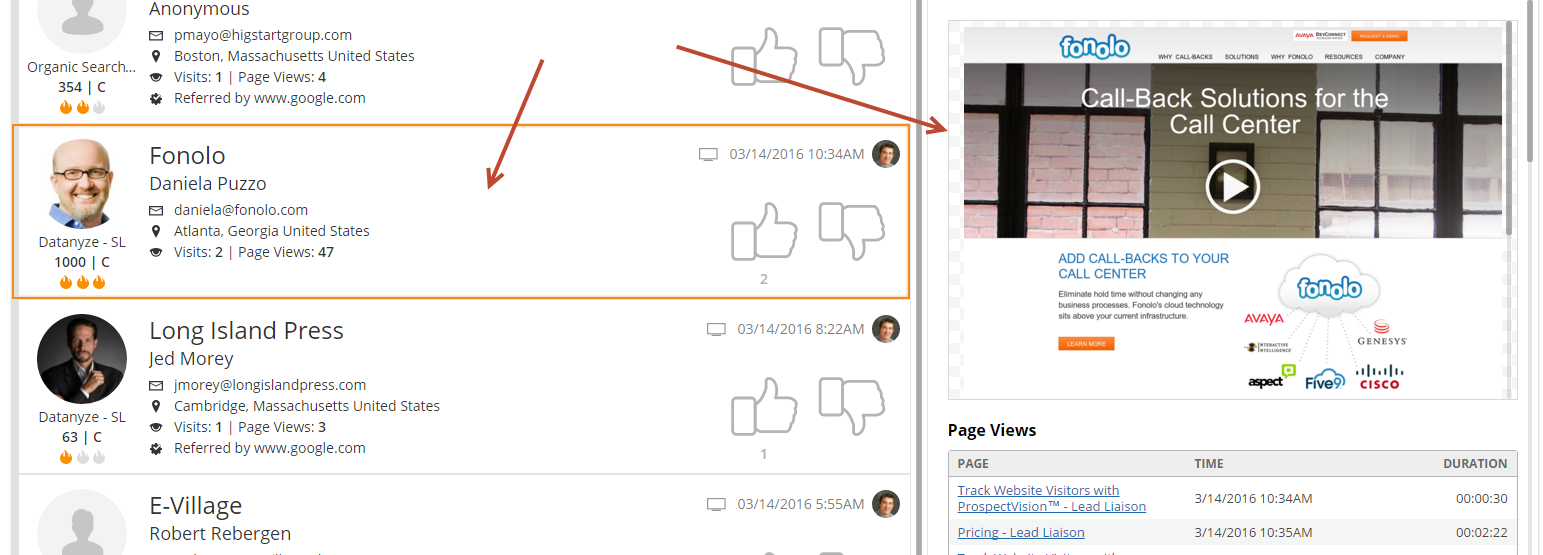
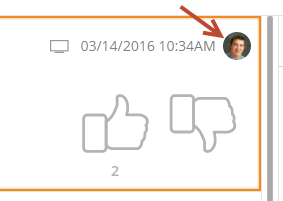
- In the example below, multiple users clicked the thumbs up. When that happens, the count below the thumbs up will increment. In this case, two (2) users liked this visitor.
- Similarly, click the thumbs down to dislike a visitor. You may want to do this if an ISP slips through the cracks while viewing Companies. Alternatively, you might want to blacklist the visitor.
Analyzing Visitor Details
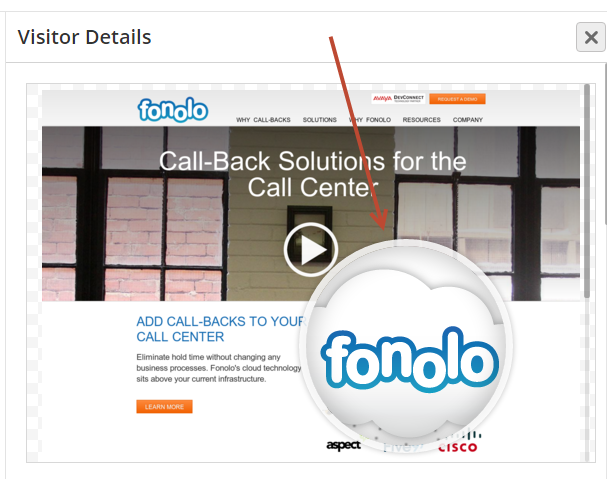
- Click anywhere on the visitor to load their company's website in the panel to the right.
- In the panel, you'll see additional visitor details such as Page Views, Lead Score, and Tags (if available).
- Hover your cursor over the Prospect's website to zoom in with a lense, as shown below.
- Left click with your mouse to open the Prospect's website in a new browser tab.
- In the upper right hand arrow of the visitor we show the device the visitor is using to visit your company's website (tablet, computer, or mobile phone), the date and time of the visit, and an image of the Prospect Owner, which comes from the user's profile.
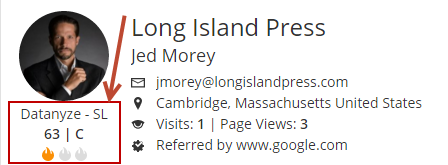
- In the area on the left, you'll see the Lead Source. Below that is the Lead Score on the left and the Lead Grade on the right.
- The flames indicate if the Prospect is Cold, Warm, or Hot. These values are defined by the Lead Score and the ranges for Cold, Warm, and Hot are set in the Lead Qualification page. See Lead Scoring for more details.
Viewing a Visitor's Prospect Profile
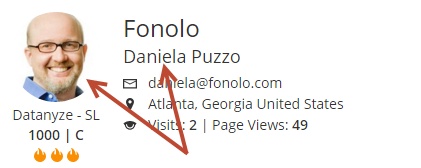
To view the visitor's Prospect Profile page click their name or picture.
Send an Email
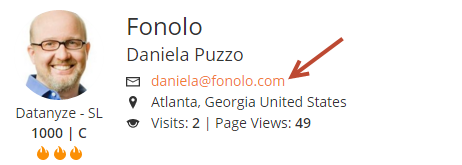
Click on the visitor's email address to open your computer's default email client and load the visitor's email address in the To: field.
© 2021 Lead Liaison, LLC. All rights reserved.
13101 Preston Road Ste 110 – 159 Dallas, TX 75240 | T 888.895.3237 | F 630.566.8107 www.leadliaison.com | Privacy Policy


