Postcards
- Ryan Schefke
- Christopher Kipgen (Unlicensed)
Overview
Users can design and send postcards in Lead Liaison. Custom postcards with personalized content can be built from scratch or from pre-designed image templates in the platform. Users can add their own images, colors, fonts, and insert dynamic field data (similar to mail merge for email) into a postcard. Follow these instructions to begin creating your own postcard to send as a one-off or to use in automation.
Required Info
For a postcard to be sent the prospect must have information in the following fields:
- Name (First Name and Last Name)
- Street Address
- City
- State/Province
- Zipcode
- Country
Managing Postcards
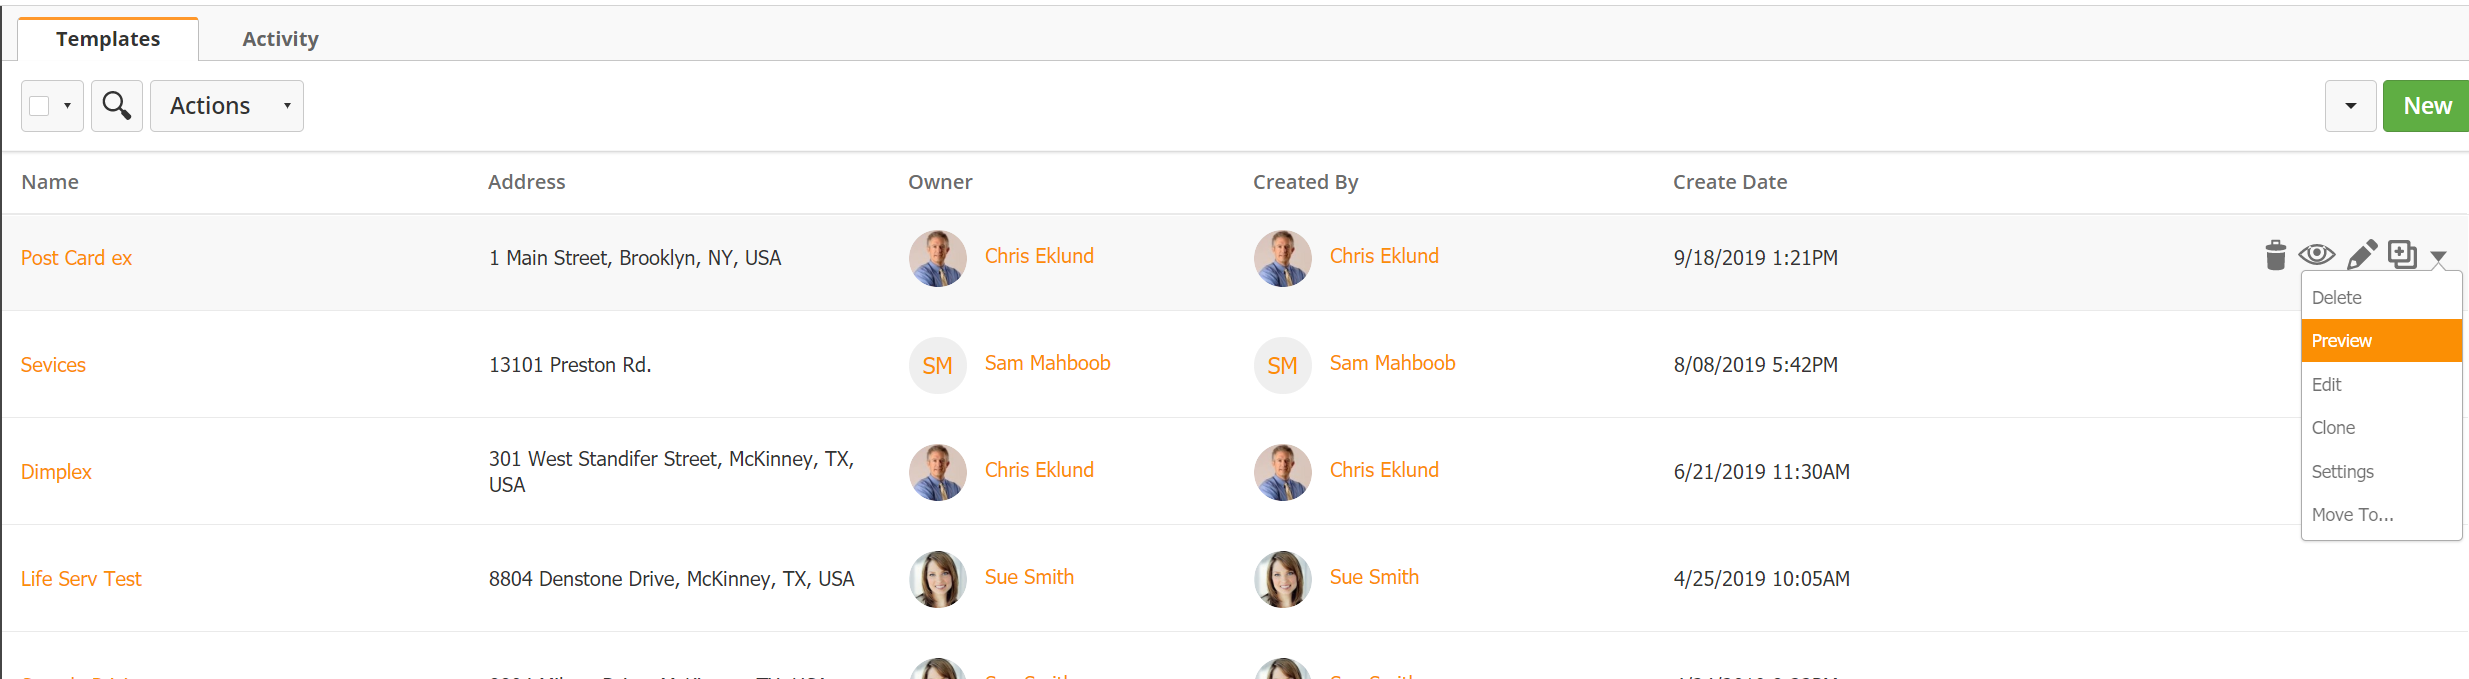
To preview, update, delete, etc. all your postcards in the system navigate to Content > Postcards > Campaigns. Click the option under the Actions column and select Edit to modify your postcard, Delete to remove it, or Preview to view the card.
Creating Postcards
Launch a New Postcard
There are two ways to create your postcard.
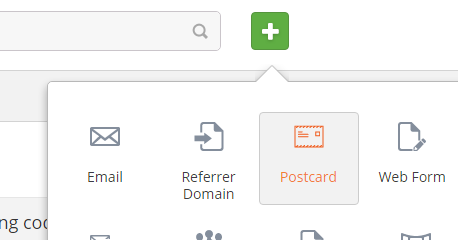
- Use the New shortcut menu. At the top of the application click the green plus and select Postcard.
- Alternatively, navigate to Content > Postcards and click the New Postcard button.
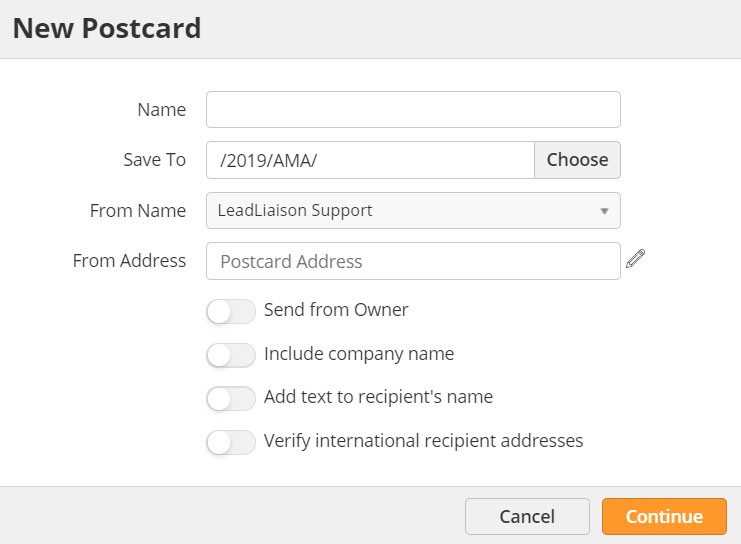
- Fill out the short form:
- Name: Name of the postcard for internal use.
- From Name: The name used in the From Address of the postcard and for return to sender (if necessary). Select a user in the system. Value is used unless the Send from Owner checkbox is checked. If the Send from Owner box is checked, and there's no Owner, the value in the From Name will be used.
- From Address: The address used in the From Address of the postcard and for return to sender (if necessary). Uses Google Maps verification API to select valid addresses. Value is used unless the Send from Owner checkbox is checked.
- Send from Owner: Select a user or check the Send from Owner box to use the lead owner's name and address in the From Address (excellent for postcards used in automations). If the lead owner's address information is invalid (missing country, etc.) then the default From Name and From Address will be used.
- Save To: Saves the postcard into a folder.
- Include Company Name: Adds the Company Name to the address
- Add text to recipient's name: Add text like "or current resident" to the end of the Prospect's name.
- Verify international recipient addresses: Verifies international addresses (recipients outside the USA). An additional verification fee applies (domestic verification always happens, free of charge). We suggest enabling international verification to avoid charges for postcards sent to invalid addresses.
Only 4" x 6" for International
Only 4" x 6" postcards can be sent internationally. This is a restriction imposed by the USPS.
Design Your Postcard
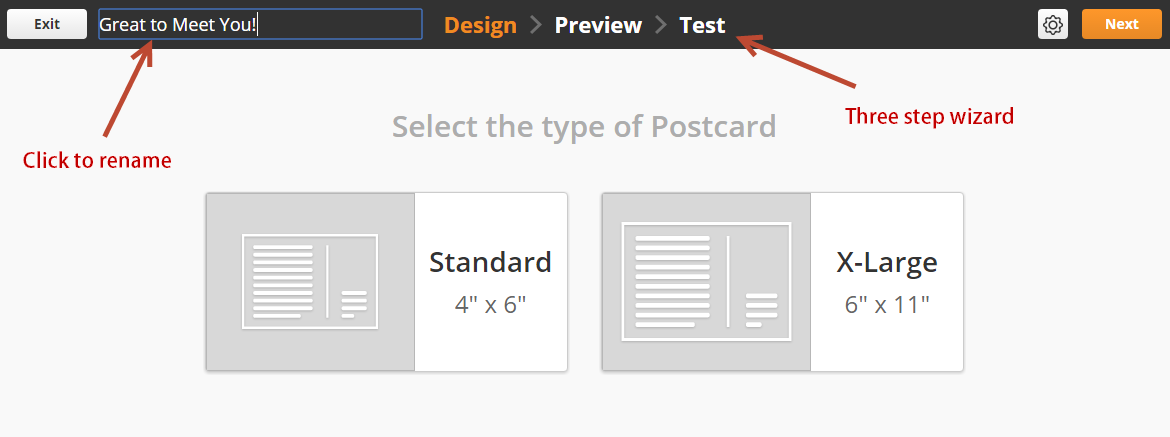
Lead Liaison currently provides two types of postcard sizes to choose from, 4" x 6" (Standard) or 6" x 11" (X-Large), with more sizes coming soon.
- A three step wizard walks you through the creation process, from design to preview to test. Preview shows a browser version of the front and back of the postcard while Test produces an actual image of how the postcard will look when sent to our live production system.
- Click the name on the top left to rename the postcard as needed.
- You can always click the gear at the top right to modify your postcard settings (From info, etc.).
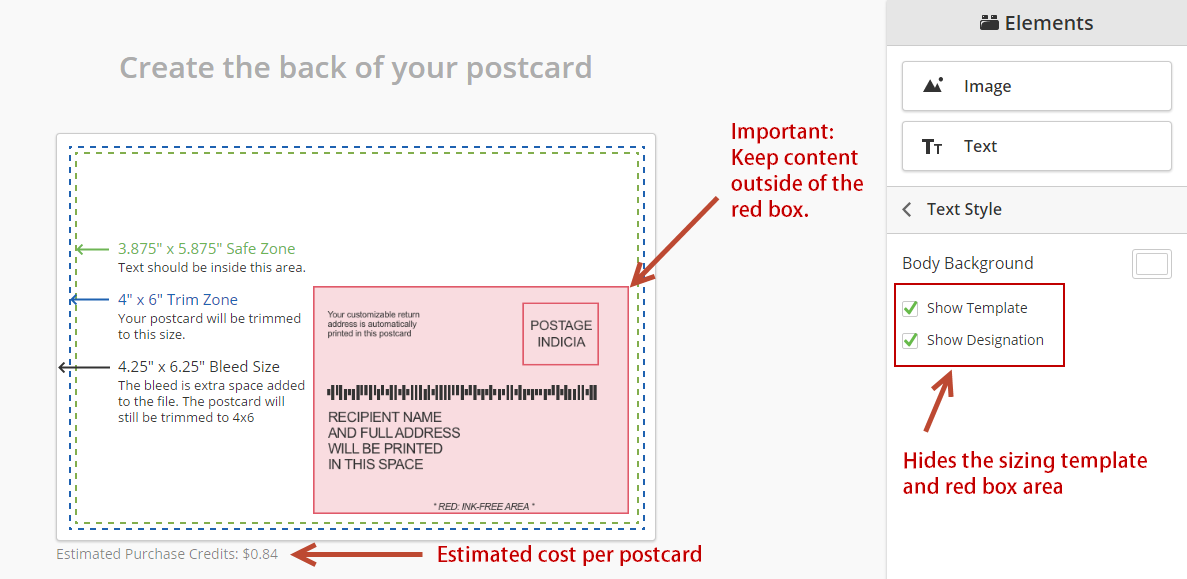
- Once you click on a size and hit Next, you'll be able to design the back of your postcard.
- Drag and drop the Image and Text components into the postcard.
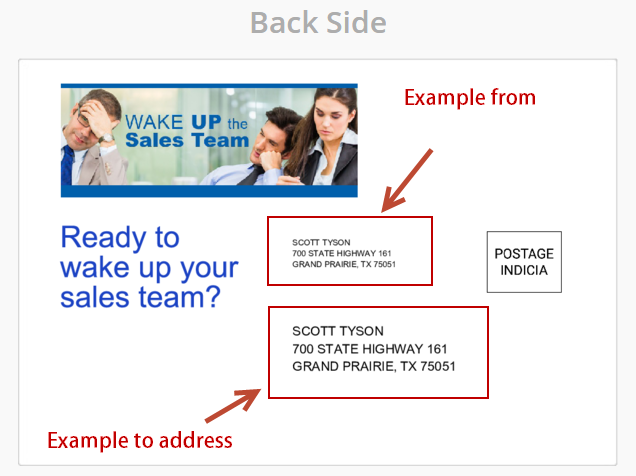
- Important: Make sure to keep your content outside of the red box. The recipient address, return address, and postcard will be placed inside the red area.
- Uncheck the Show Designation box to remove the sizing dimension tips.
- Uncheck the Show Template box to hide the dashed borders and red box area.
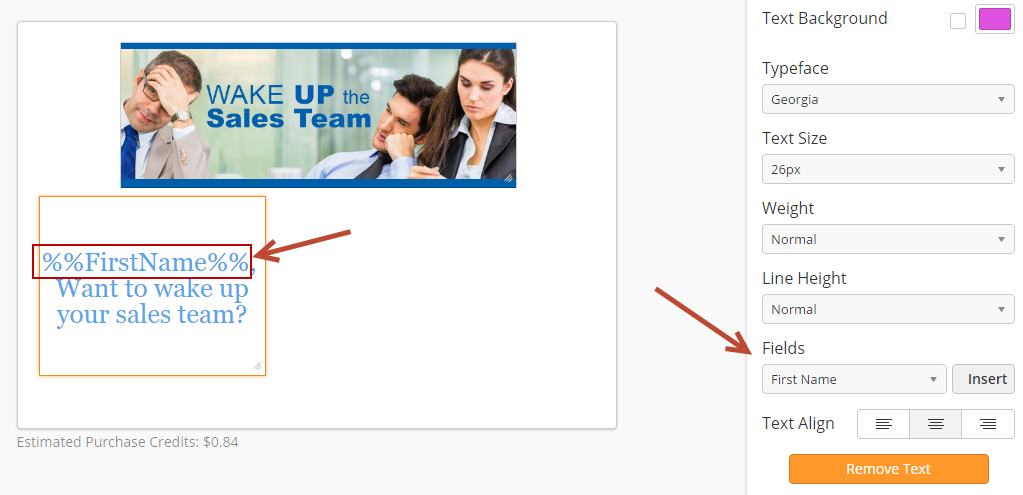
- Optionally insert standard or custom field data into your postcard. Information will get dynamically added to each postcard based on the recipient's data in their prospect profile.
- After designing the back of your postcard, click Next to design the front.
- First, choose from a standard layout or use a sample image from the provided library.
Switching Layouts or Samples
Note that switching between different layouts or a sample will reset your content.

- Four layouts are offered:
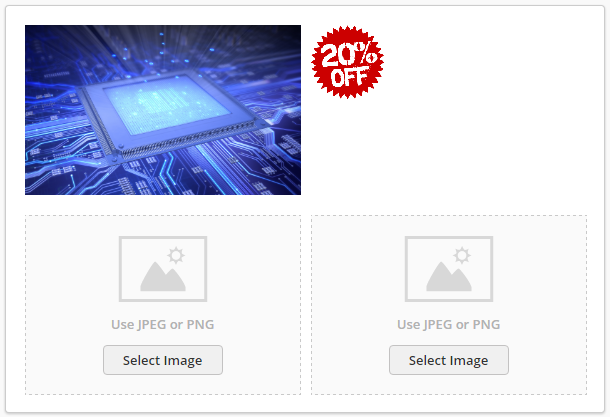
- Full Size Image: Choose an image from the media manager.
- Full Size Image with Text: Use an image in the background with a customizable text box overlaid on the image.
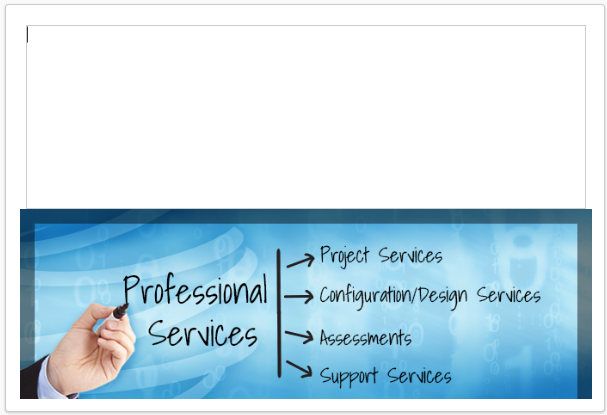
- Image & Text: Insert an image from the media manager and place a text box on the top, bottom, right, or left side of the image.
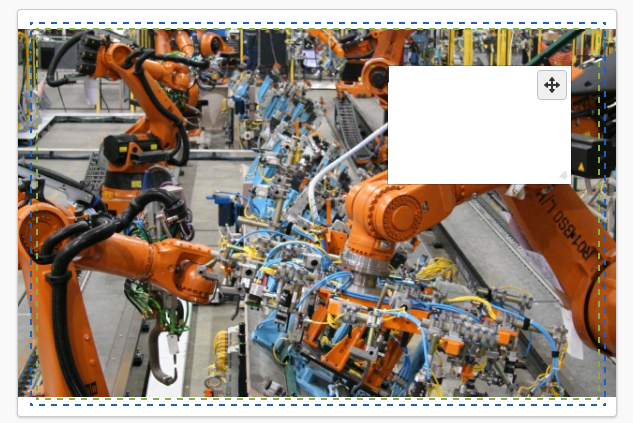
- Image Group: Insert up to four images into your postcard. Remove select images and change image layouts (one on top, two on bottom, etc.) from the edit panel on the right as shown in the screenshot below.
 | 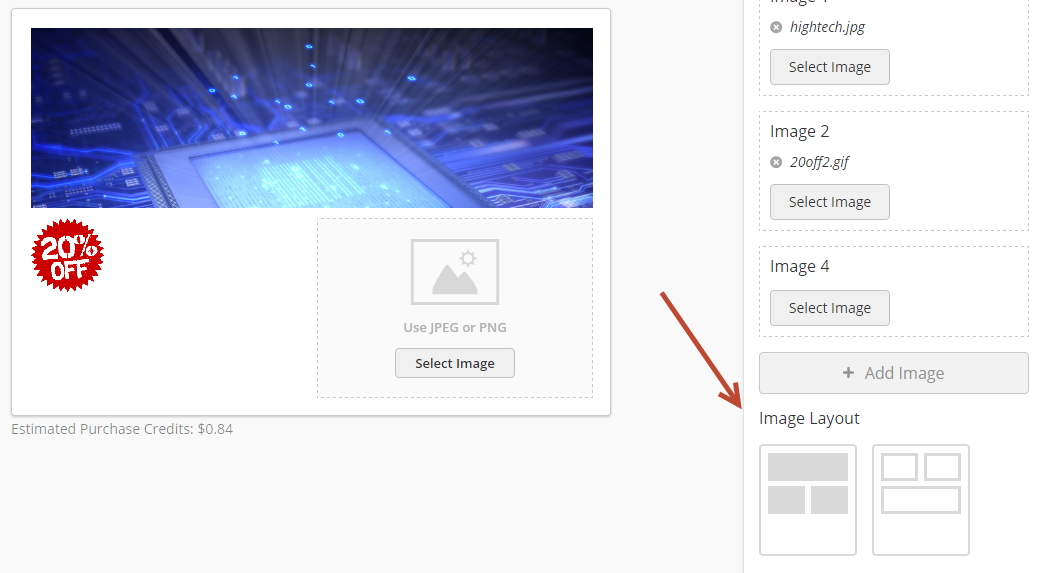 |
- A library of image templates provide out of the box images for your postcard to use in place of a template.

Using Custom Fonts
Looking to add Roboto text into your postcard to match styling across all marketing assets? No problem!
- Select the Custom Fonts button to the right
- Enter your custom font URL and name
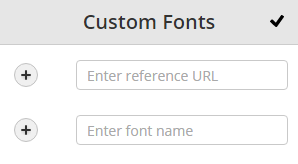
- Once the custom font has been added, it's selectable from the font dropdowns.
Preview Your Postcard
- Click Next to preview your postcard.
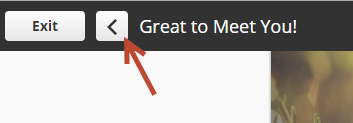
Previewing the postcard shows a picture of the front and back of the postcard. It's a quick test to get a feel for how the card will look. To make changes, use the back button as shown in the screenshot below:
Test Your Postcard
- Click Next to run a live test on your postcard using our production system.
- An example From and To address, using the default sender, will be used in the postcard test.
Sending Postcards
There are two ways to send postcards in the system, as a one-off or as part of an automation. Before a postcard is sent the address is validated using Google's Address Verification API.
Sending a One-Off
To send a postcard to an individual as a one-off send, do the following:
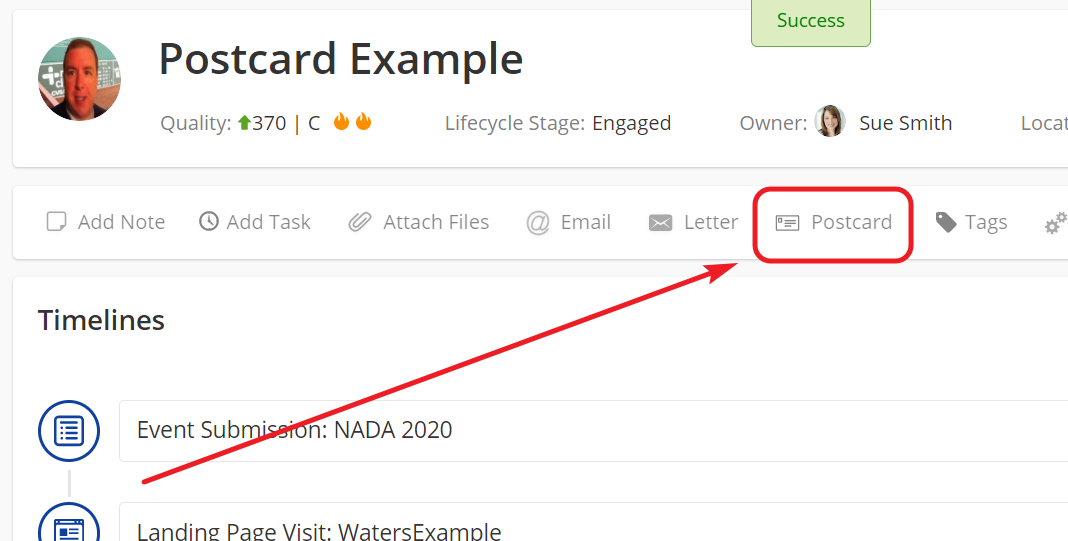
- Navigate to the prospect's profile.
- Click Postcard on the action bar at the top.
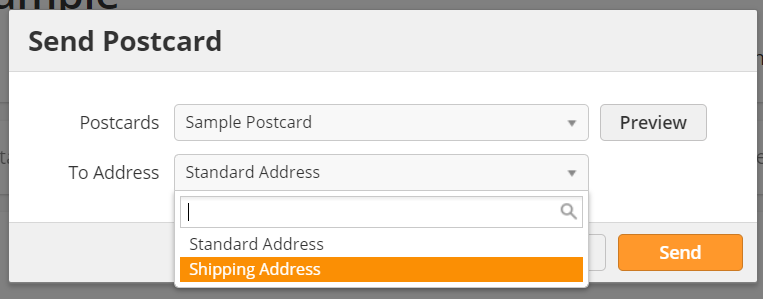
- Select your Postcard
- Optionally select which address field to use.
Sending in Automation
To send a postcard as part of an automation, do the following:
- Create your automation.
- In the Define Actions phase of the wizard, add the Send Postcard action to the canvas.
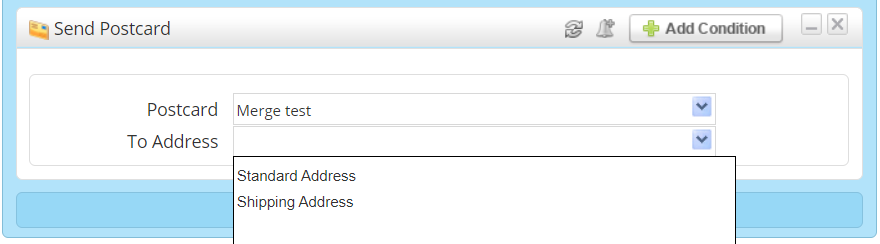
- Select the postcard to send.
- Optionally select which address to use.
Note, if the postcard was set to Send from Owner and the prospect has a lead owner, then the lead owner's name and address (assuming it is valid and complete) will be used to send the postcard. This is a powerful feature that enables marketers to use postcards as a unique touchpoint and deliver messaging on behalf of a salesperson.
Managing Postcard Activity
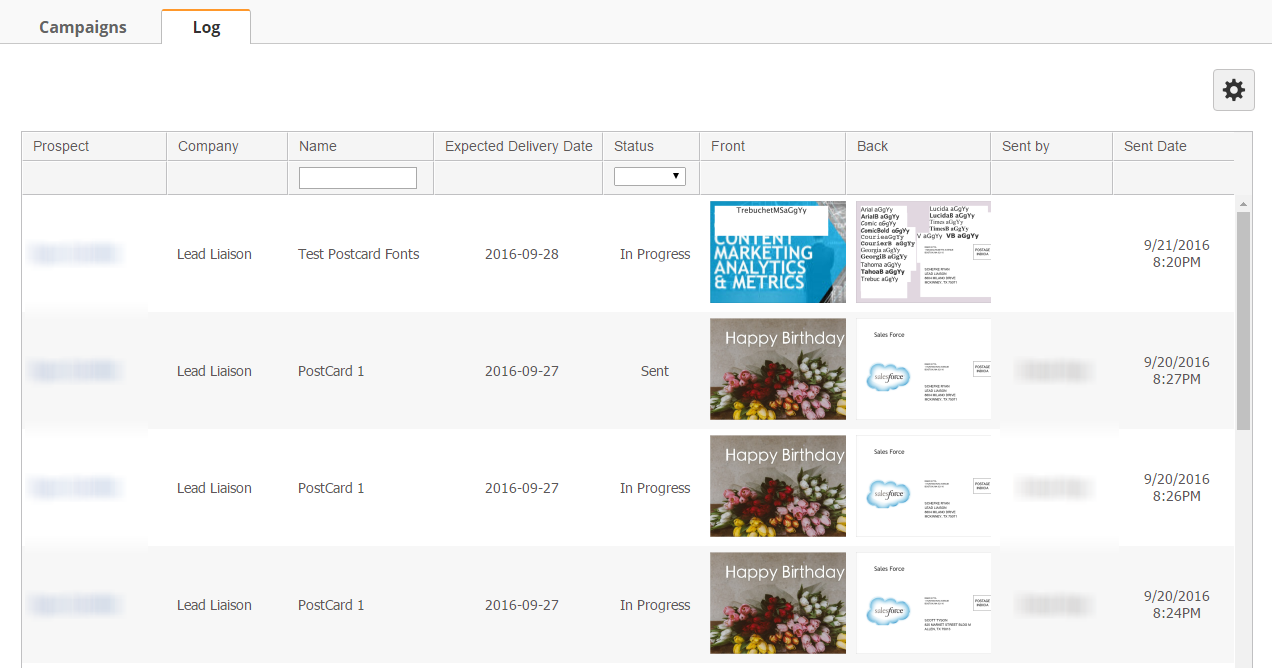
Lead Liaison keeps a log of all postcards that are In Progress, Sent, or had a Sending Error. To view postcard activity, navigate to Content > Postcards > Activity. Each column in the log table is explained below:
- Prospect: Name of the person the postcard was sent to. Click to open the prospect's profile.
- Company: Name of the prospect's company.
- Name: Name of the postcard.
- Expected Delivery Date: Based on the recipient's address, we'll give you an expected delivery date for your postcard.
- Status: Status of the postcard. Could be Sent, In Progress, or Send Error (bad address, something went wrong, etc.).
- Front: Thumbnail preview of the front of the postcard. Click to open a larger preview.
- Back: Thumbnail preview of the back of the postcard. Click to open a larger preview.
- Sent by: Person who sent the postcard.
- Sent Date: Date and time the postcard was sent.
Prospect Activity
- A Postcard Sent activity, along with the name of the postcard, is logged in the prospect's activity section in their profile.

- Additionally, Lead Liaison records a Last Postcard Sent date and time stamp in the prospect's profile.
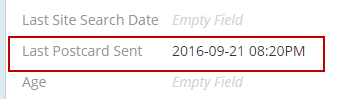
Automation Filters
The last postcard sent timestamp can be used in automations or segmentations, by using the Last Postcard Sent filter (see screenshot below).

Status Check Frequency
We check the send status for all postcards four (4) times per day at the following times:
- 12:45 AM Central
- 6:45 AM Central
- 12:45 PM Central
- 18:45 PM Central
Pricing
All fees are on-demand, and charged per postcard. Recipient addresses for locations in the US are verified free of charge. International addresses are verified for a fee, if the Verify international recipient addresses checkbox is checked (see Creating Postcards section above). Check with your Lead Liaison representative to better understand postcard fees.
Postcards are paid for using Purchase Credits in your account. Read more about Purchase Credits here.
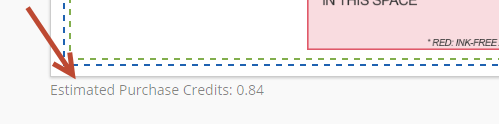
Current market pricing for domestic postcards:
- 4" x 6": .84 Purchase Credits per card
- 6" x 9": 1.62 Purchase Credits per card
- 6" x 11": 1.80 Purchase Credits per card
Current market pricing for international postcards:
Note, only 4" x 6" postcards can be sent internationally. This is a restriction imposed by the USPS.
- 4" x 6": .92 Purchase Credits per card
All postcard fees include shipping and handling. Additional features such as personalized data merge do not cost extra and are included in the on-demand pricing.
Related content
![]()
© 2021 Lead Liaison, LLC. All rights reserved.
13101 Preston Road Ste 110 – 159 Dallas, TX 75240 | T 888.895.3237 | F 630.566.8107 www.leadliaison.com | Privacy Policy