Modern Landing Page Builder
- Ryan Schefke
- Dev Wiki
- Christopher Kipgen (Unlicensed)
- Sam Mahboob
Overview
The modern landing page builder is a drag-and-drop WYSIWYG editor. You can use it to quickly build professional-looking landing pages hosted on Lead Liaison's server. These pages can integrate directly with Lead Liaison forms, personalize content using data merge fields, and even help with A/B testing through variants.
Creating a Landing Page
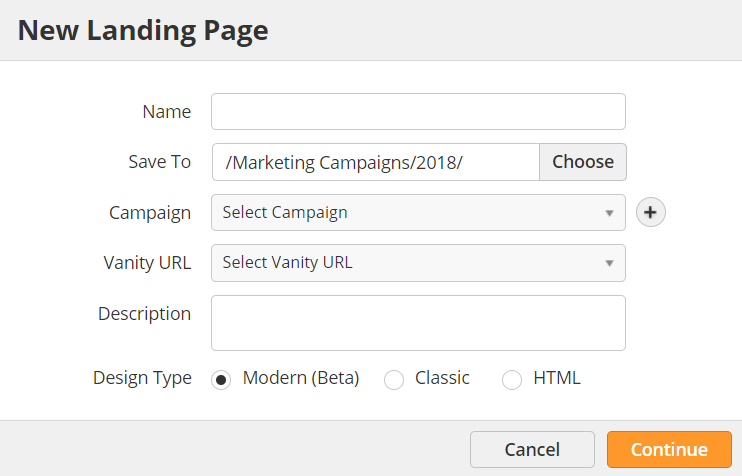
To get started with the modern landing page builder, navigate to Content > Pages from the main menu and click the New button. Select the Modern design type.
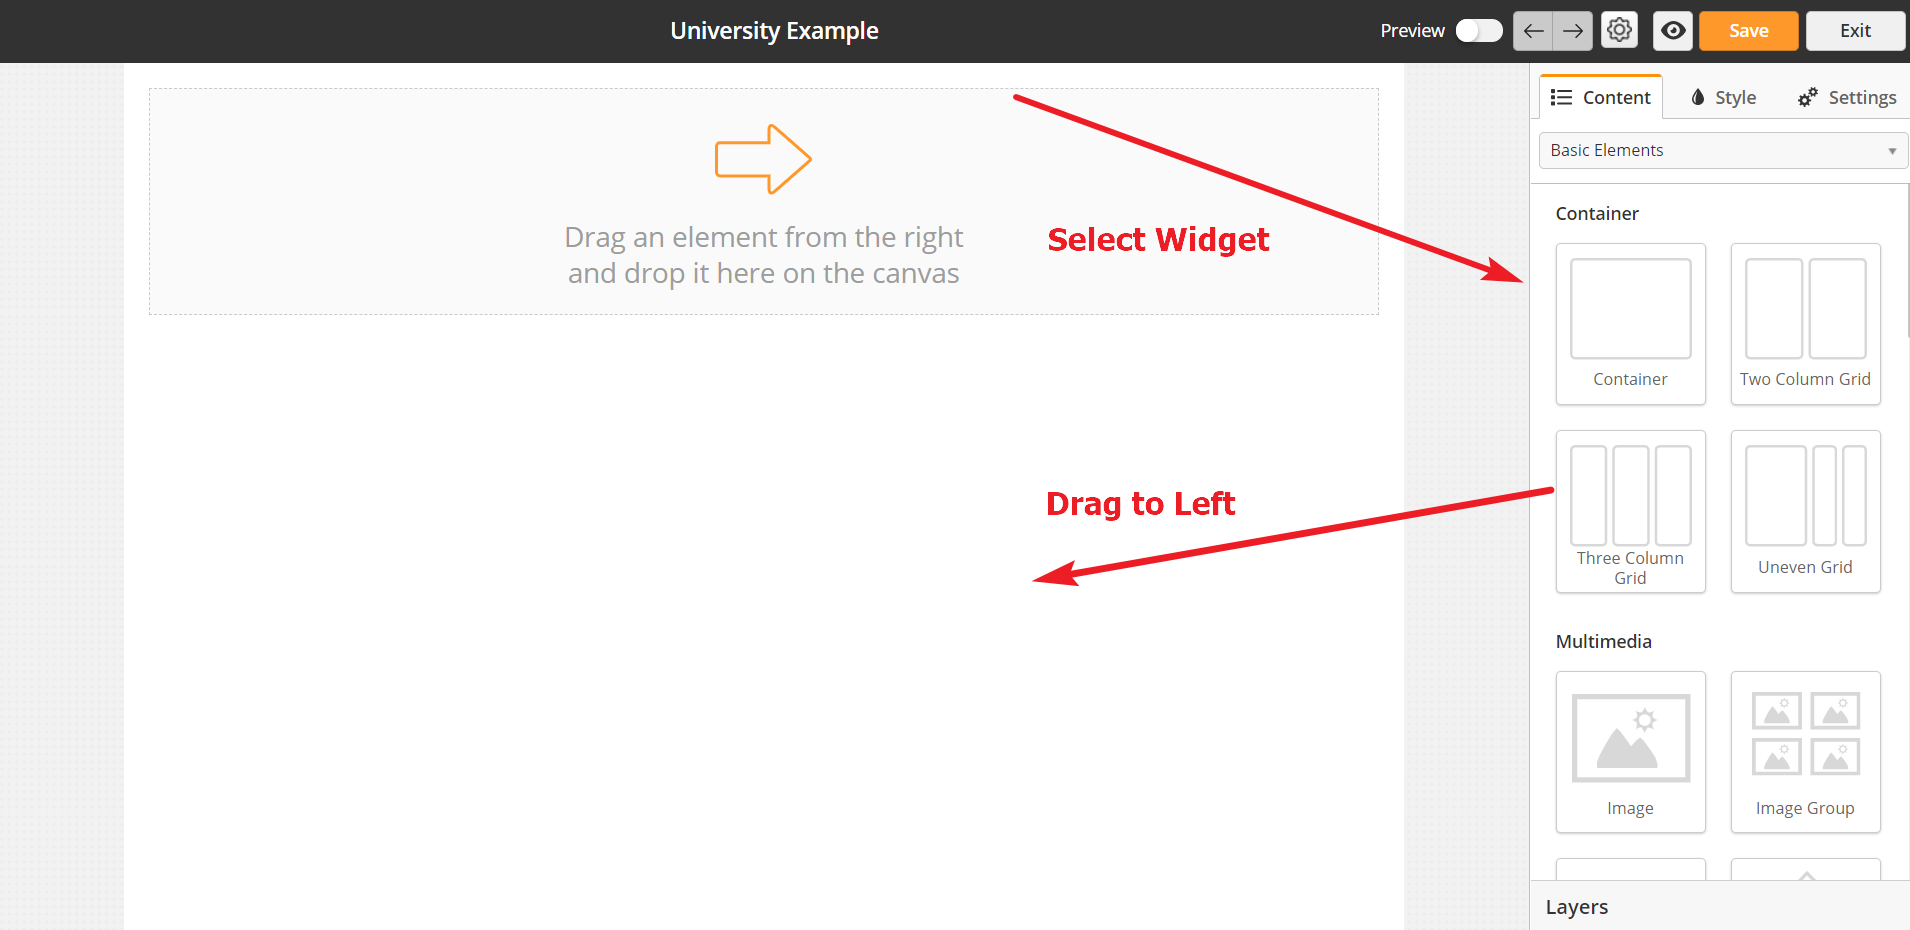
Drag widgets from the right to the preview on the left.
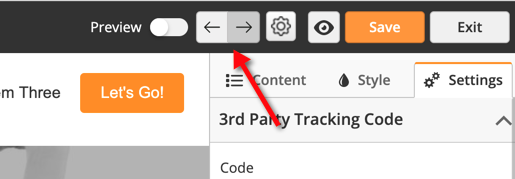
To undo and redo changes to your landing page, use the back and forward arrows at the top of the builder:
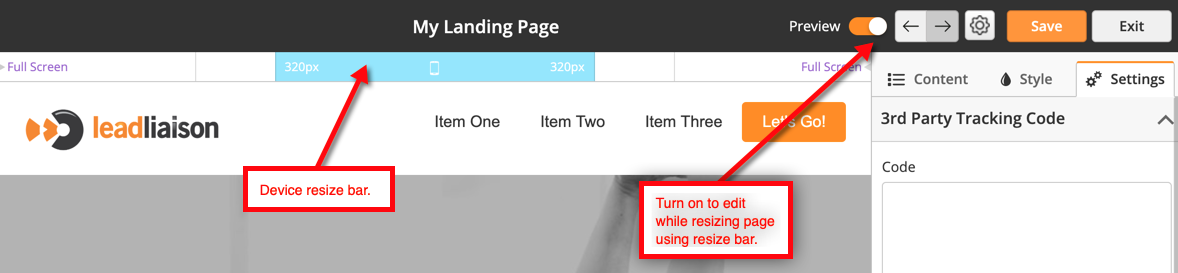
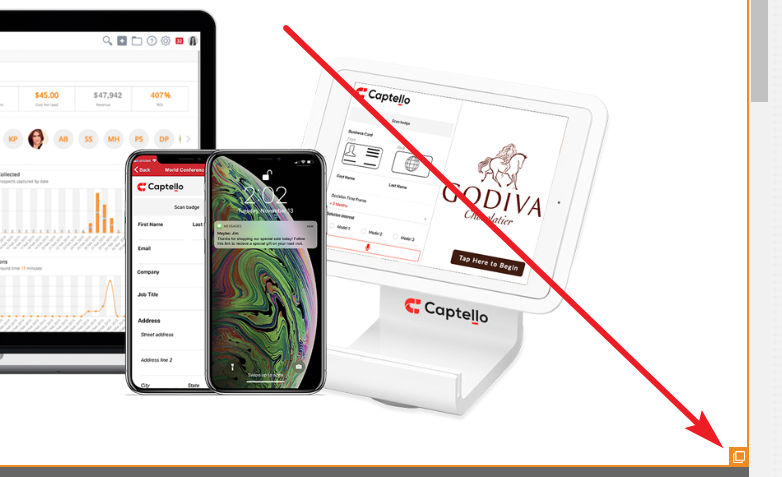
Use the preview mode by clicking the eye icon to see how your page will look on different devices (smart phones, tablets, desktops, and more). You can also edit your page in by toggling the Preview setting. Doing so adds the device resize bar to the top of the page as shown below:
Publishing a Landing Page
To publish a landing page do the following:
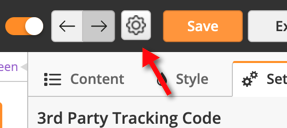
- Click the gear at the top of the page:
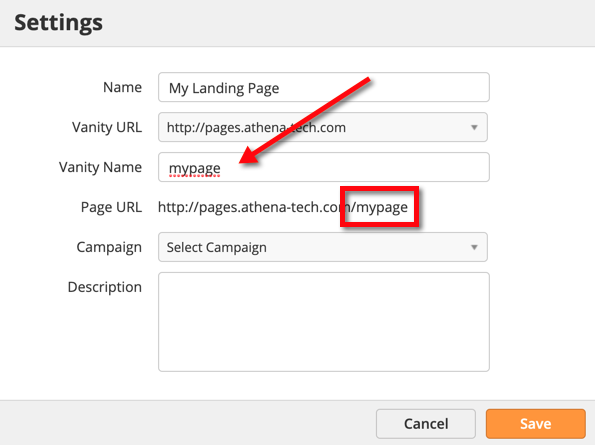
- In the Settings popup, configure your page accordingly:
- Name: Internal name of your page.
- Vanity URL: CNAME that you've configured to use for your landing pages. Learn more about Vanity URLs here.
- Vanity Name: The name of your page.
- Page URL: How your final landing page URL will be constructed. The landing page URL is a combination of your Vanity URL followed by your Vanity Name.
- Campaign: Lead Liaison Campaign. A Campaign touch will be recorded every time a prospect visits your landing page.
- Description: Any description for your page.
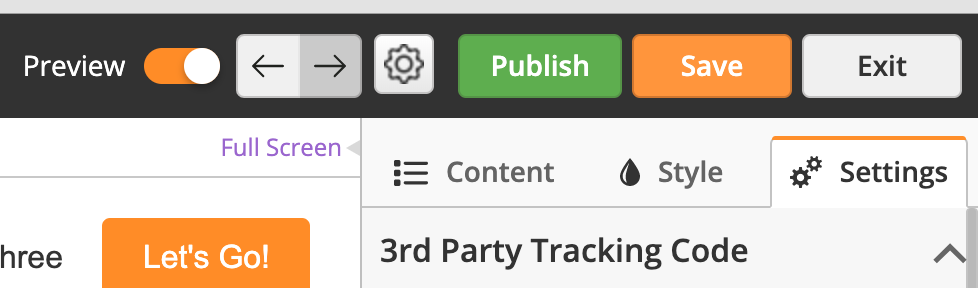
- Once you click Save a green Publish button appears at the top. Click the Publish button to make your landing page live on the internet!
Page Styling
Global Styling
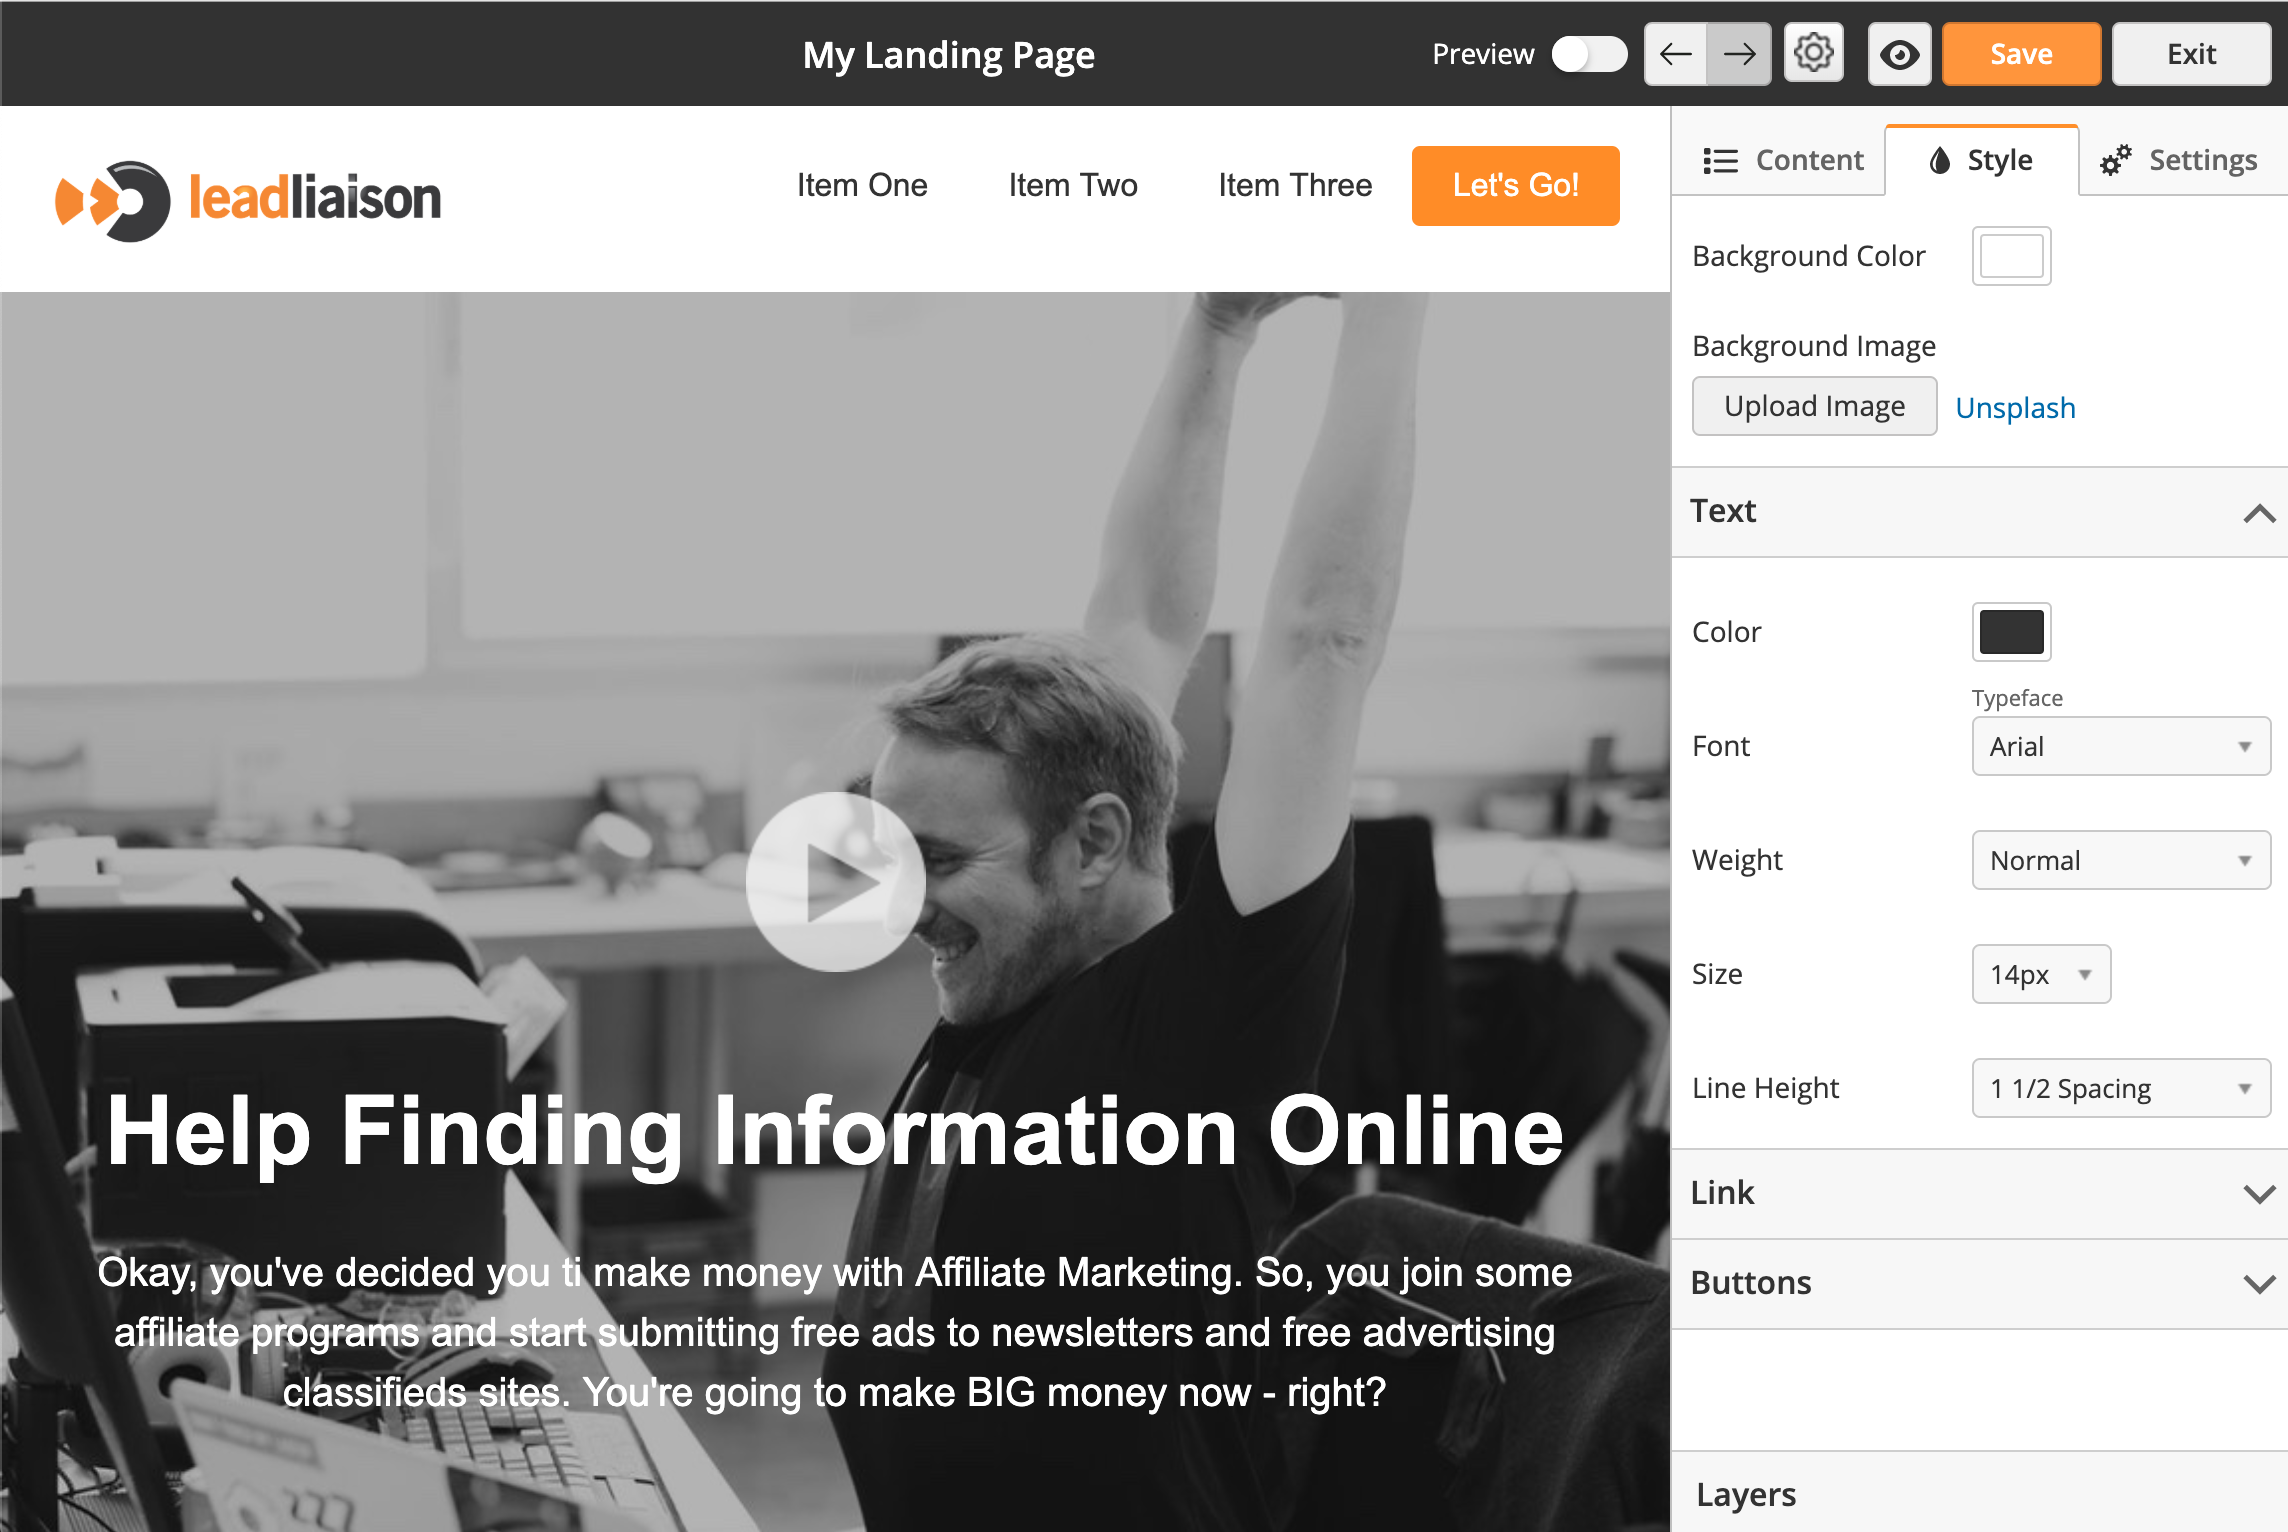
Background color, images, text, links, and buttons can be globally styled across your landing page by using the Style tab. Each widget, as described in the section below, also has its own styling options when clicking on the widget once added to the canvas on the left.
Element Styling
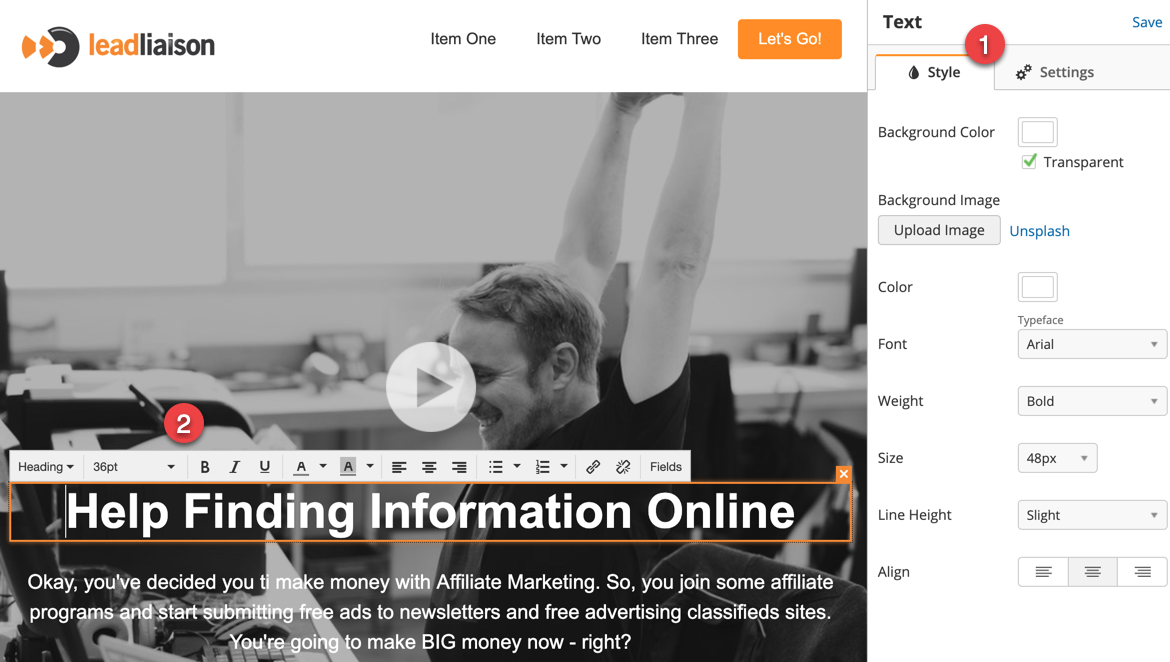
Click on an element to the left once it's added to the canvas. A configuration panel will open on the right-hand side (1). Double click any text inside the element to open a WYSIWYG editor (2) to individually change font size, color, and more as shown below.
Search Engine Optimization (SEO)
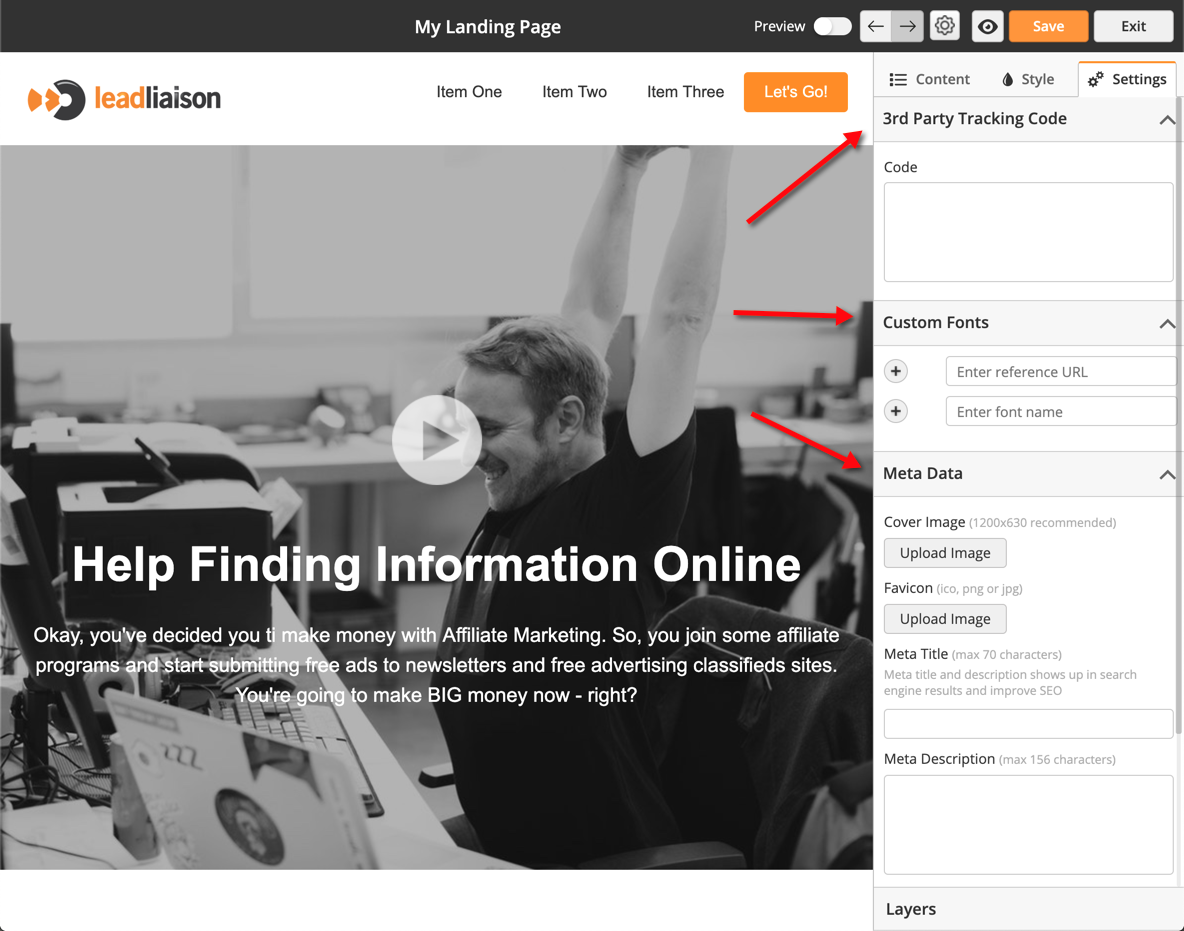
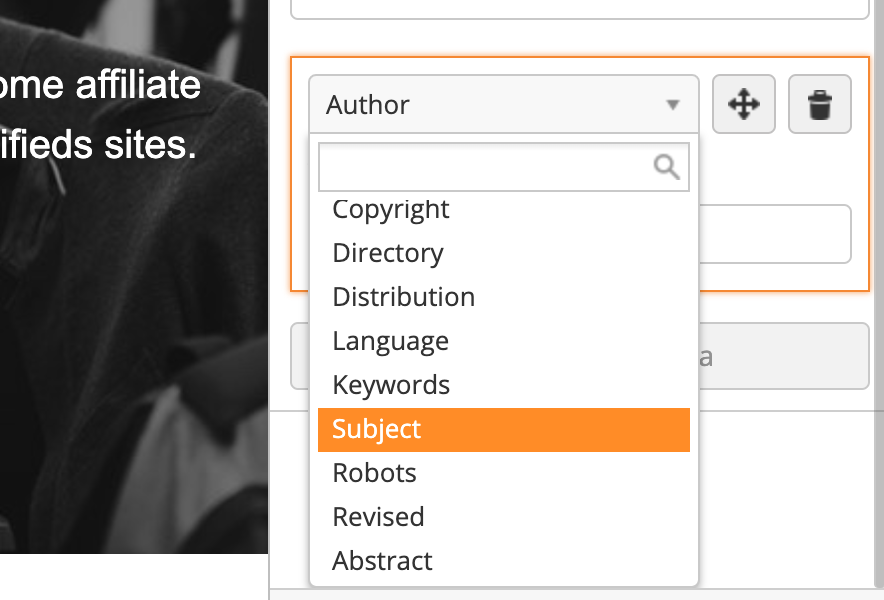
For SEO fanatics, the landing page builder includes a Meta Data section. In the Meta Data section, you can customize the cover image, favicon, meta title/description, and add more custom meta data.
Analytics and Tracking Code
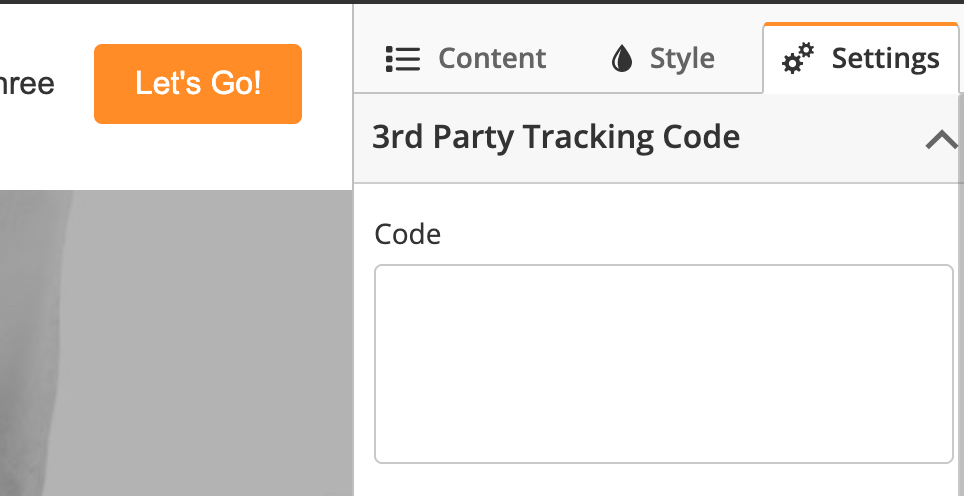
Inside the builder a code section exists to add tracking code such as Google Analytics. Note, landing pages are automatically tracked if using Lead Liaison's Lead Management Automation solution. There is no need to add your Lead Liaison tracking code into this section.
Widgets
Use the drop-down menu at the top of the widgets to select a widget type. There are four types of widgets:
- Basic Elements
- Free Images (from Unsplash)
- Icons
- Ready Made
Basic Elements
Use basic elements to customize your landing page. Basic elements are grouped together by function.
Container
Containers size and position other elements. Landing pages in the design builder dynamically resize by default, and elements could move based on the user's screen resolution. Use containers to keep content in the same relative location regardless of the user's screen resolution. Below are two examples, one using a container and one not.
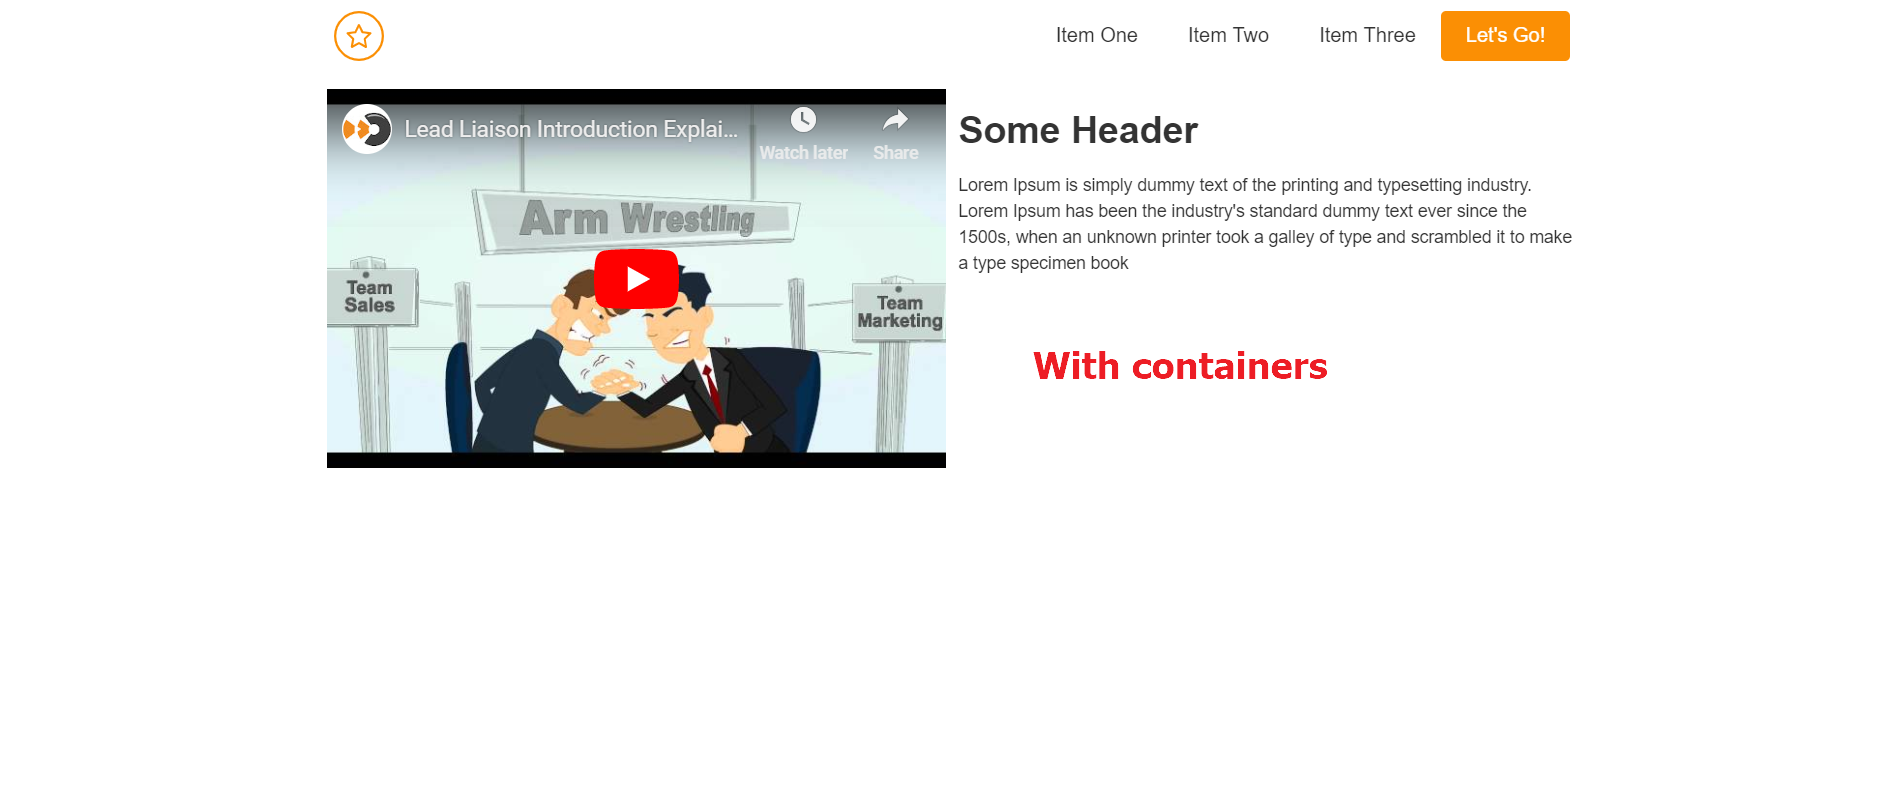
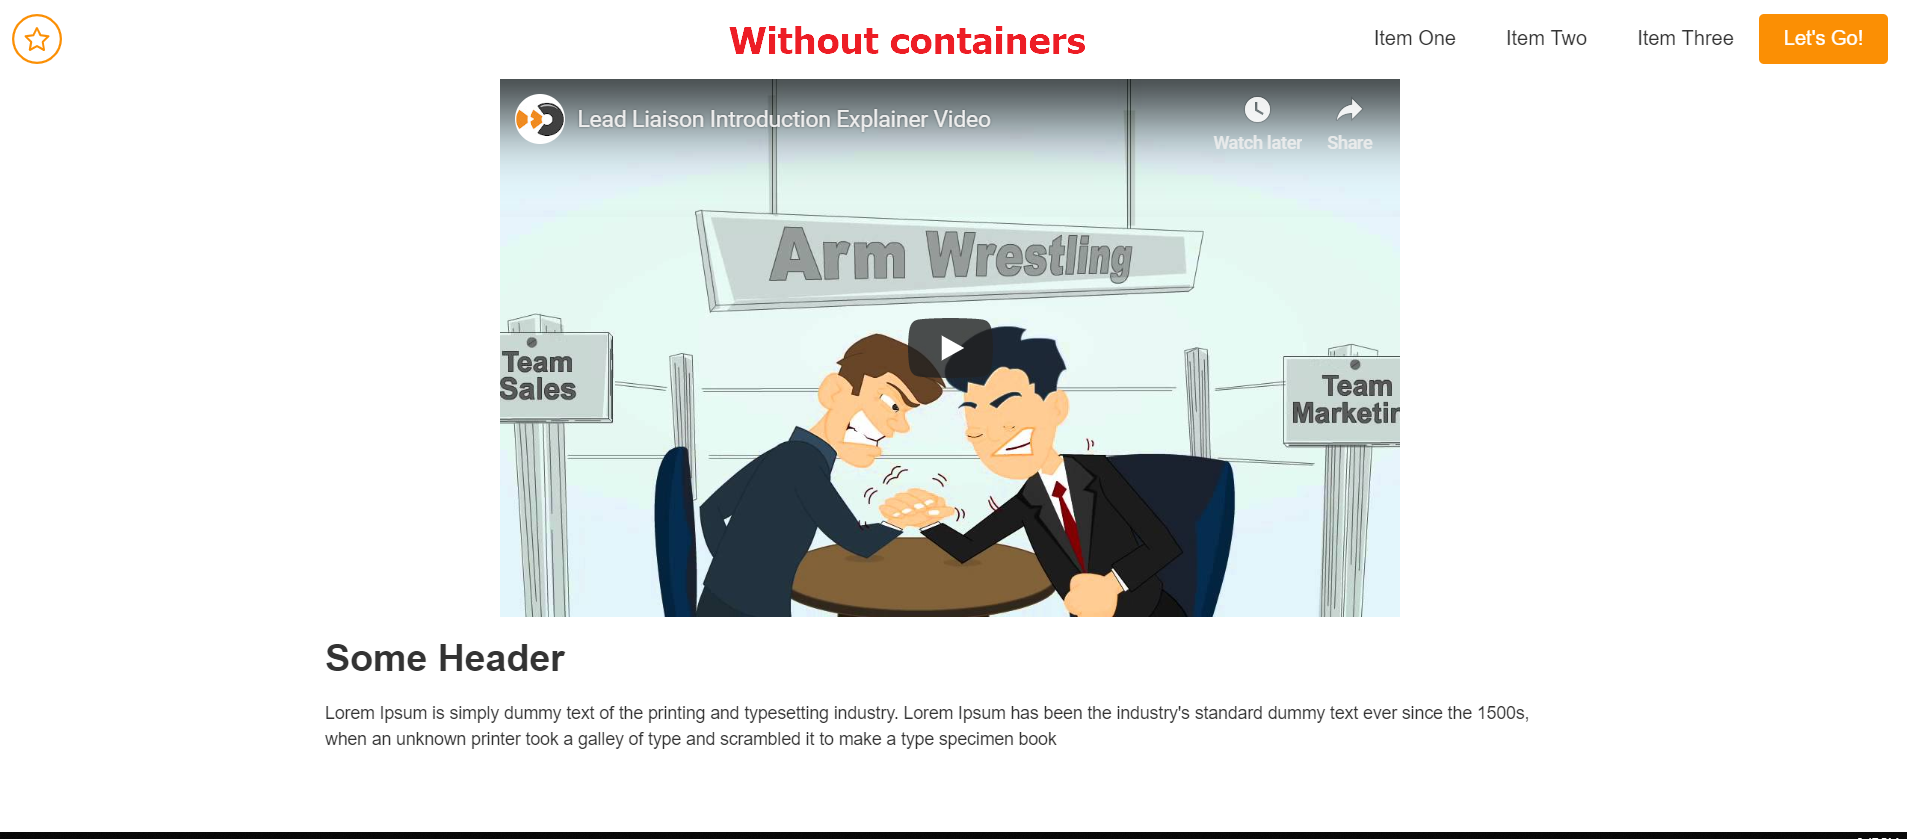
Notice that without containers, the header has spread the full width of the page, and the text and video aren't aligned.
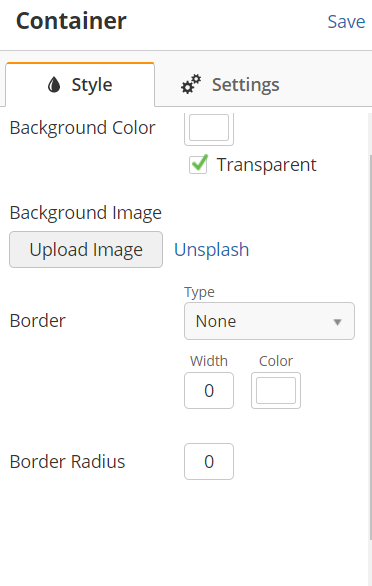
Once you've placed a container, click on it to edit its dimensions and other properties. In the Style menu, add a background color, a background image, or a border. Click the Unsplash button to choose a stock image from Unsplash.
Click the Settings tab to adjust the container's dimensions, margins, and padding.
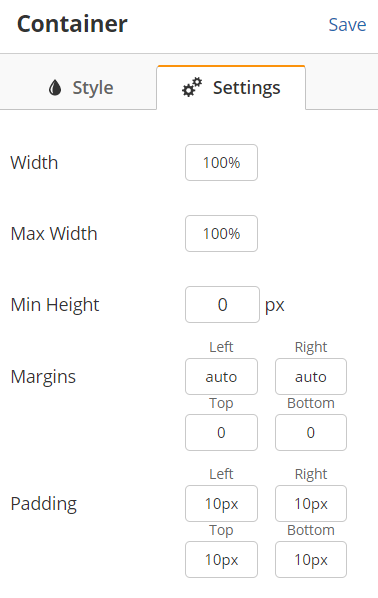
You are able to adjust both the default width of the container and the maximum width.
- Width – set either the percentage of the screen or a specific width in pixels the container should use
- Max Width – set the maximum width the container should use (only applies if the Width is a percentage)
If you are placing a grid (multi-column) container, you will also be able to adjust column percentages. Use the sliders to adjust the relative width of each column.

When you are done editing the container, click the blue Save button in the top-right corner of the container options.
Multimedia
Use multimedia elements to add text, images, and video to your landing page.
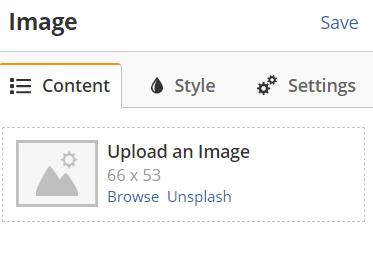
Images
With images, click Browse to insert an image file from either computer or the media manager. Click Unsplash to search for a free image from Unsplash.
Once your image is inserted, you can make adjustments by clicking the image again.
Videos
Drag and drop the video element into the canvas on the left. Change the code on the right for different embed options.
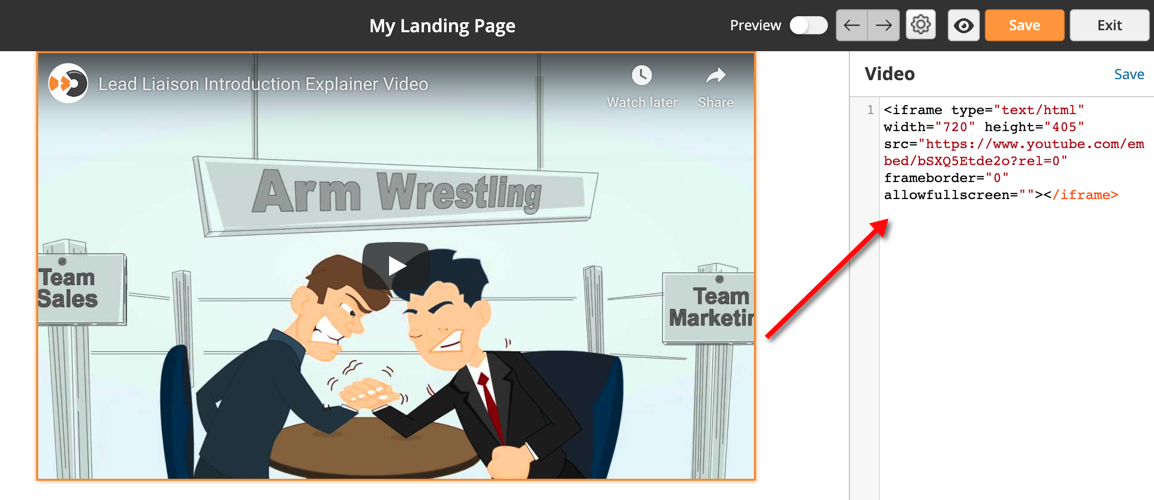
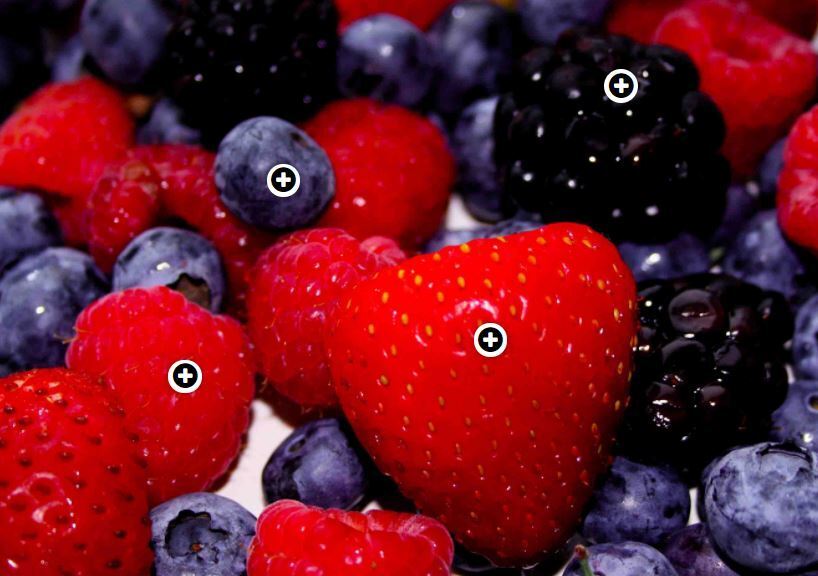
Image Point
The Image Point or Image hotspot content type allows you to place an overlay of hotspots on images and graphics. The user presses the hotspots to reveal an associated text.
Image hotspots can be useful for creating infographics fast and simple. Use any image and enrich it with points of interest and in-depth information about the details depicted. The user is activated by interacting with the image.
You can use your own custom text as well as a logo in the image point. There are various styling options available as well.
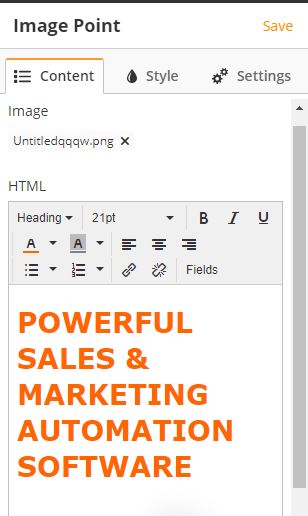
Image Point has the following types:
- Border
- Border Plus
- Plus
- Target
Here is how these various types of image points would look like:
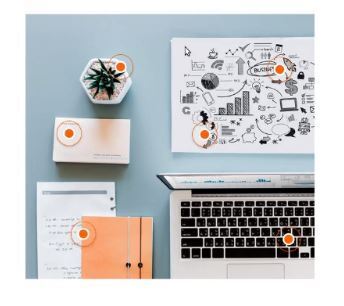
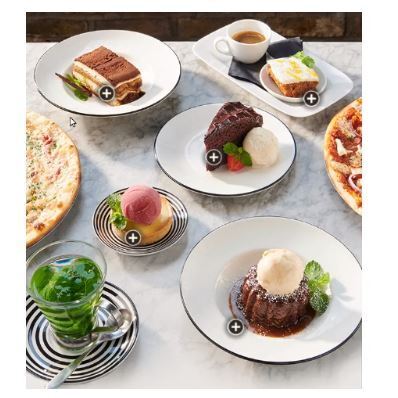
Here is a working example of an image point that can be clicked to expand the popup:
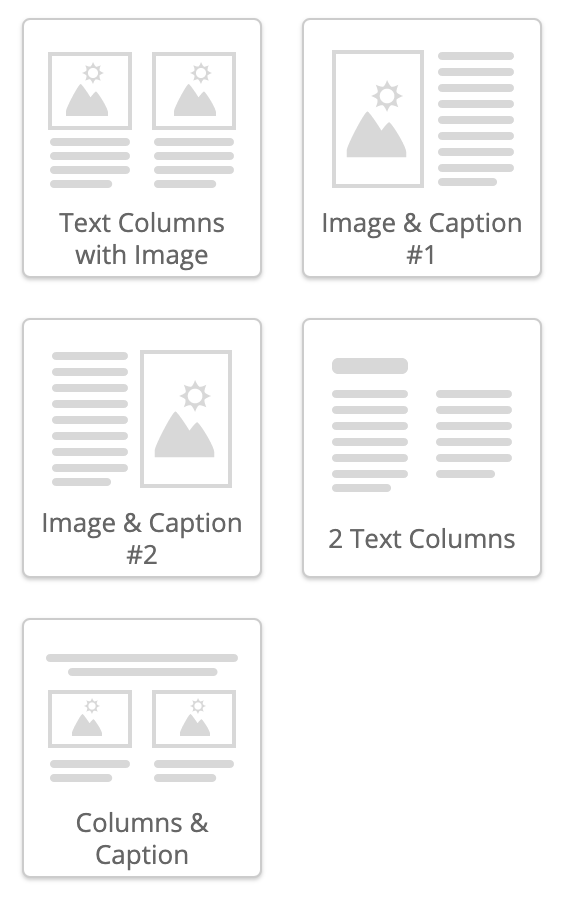
Columns
| Use columns to structure your landing page content within a container. Image/text combinations allow different layouts across your page. |
|
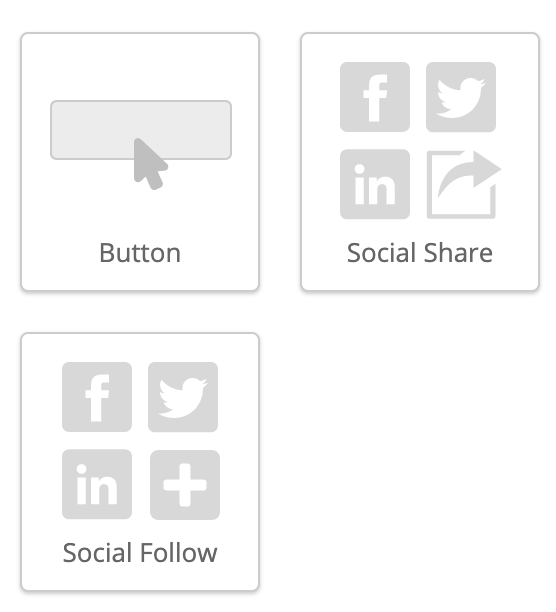
Buttons
| Add calls-to-action within your page by adding customizable buttons, social share, and social follow widgets. |
|
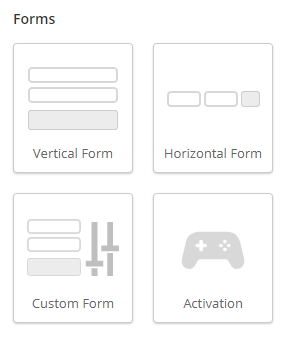
Forms
| Add simple forms, such as vertical or horizontal forms, or embed a custom built form that you have complete control over into your landing page. You can also add an Activation directly into your Landing Page for virtual events. |
|
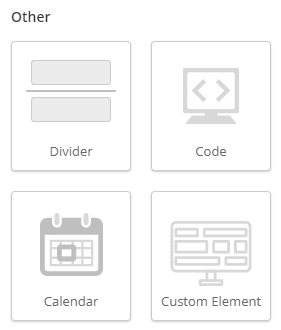
Other
| Add dividers, calendars, or custom code into your page. |
|
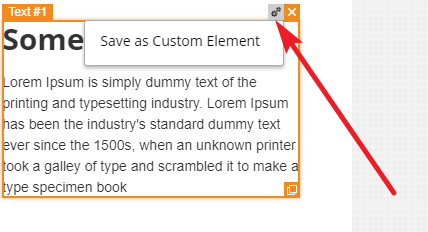
Custom Elements
With Custom Elements, you can re-use any element between multiple landing pages. To save a Custom Element, select an Element and click on the gear icon in the top-right corner.
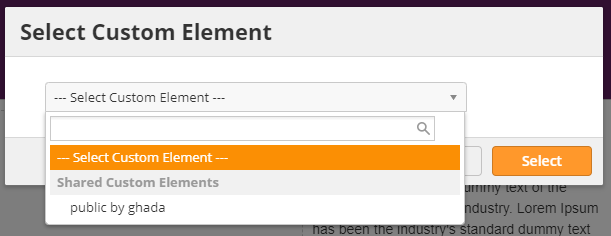
To use a Custom Element, drag over a Custom Element box and select the appropriate element.
Cloning Widgets
If you already have a widget set up and would like to add another, you can clone the first widget instead of creating a new one from scratch. For example, you may want to duplicate a series of columns from the top of your page to the bottom. To clone a widget, select it and then click the Clone icon in the bottom-right corner.
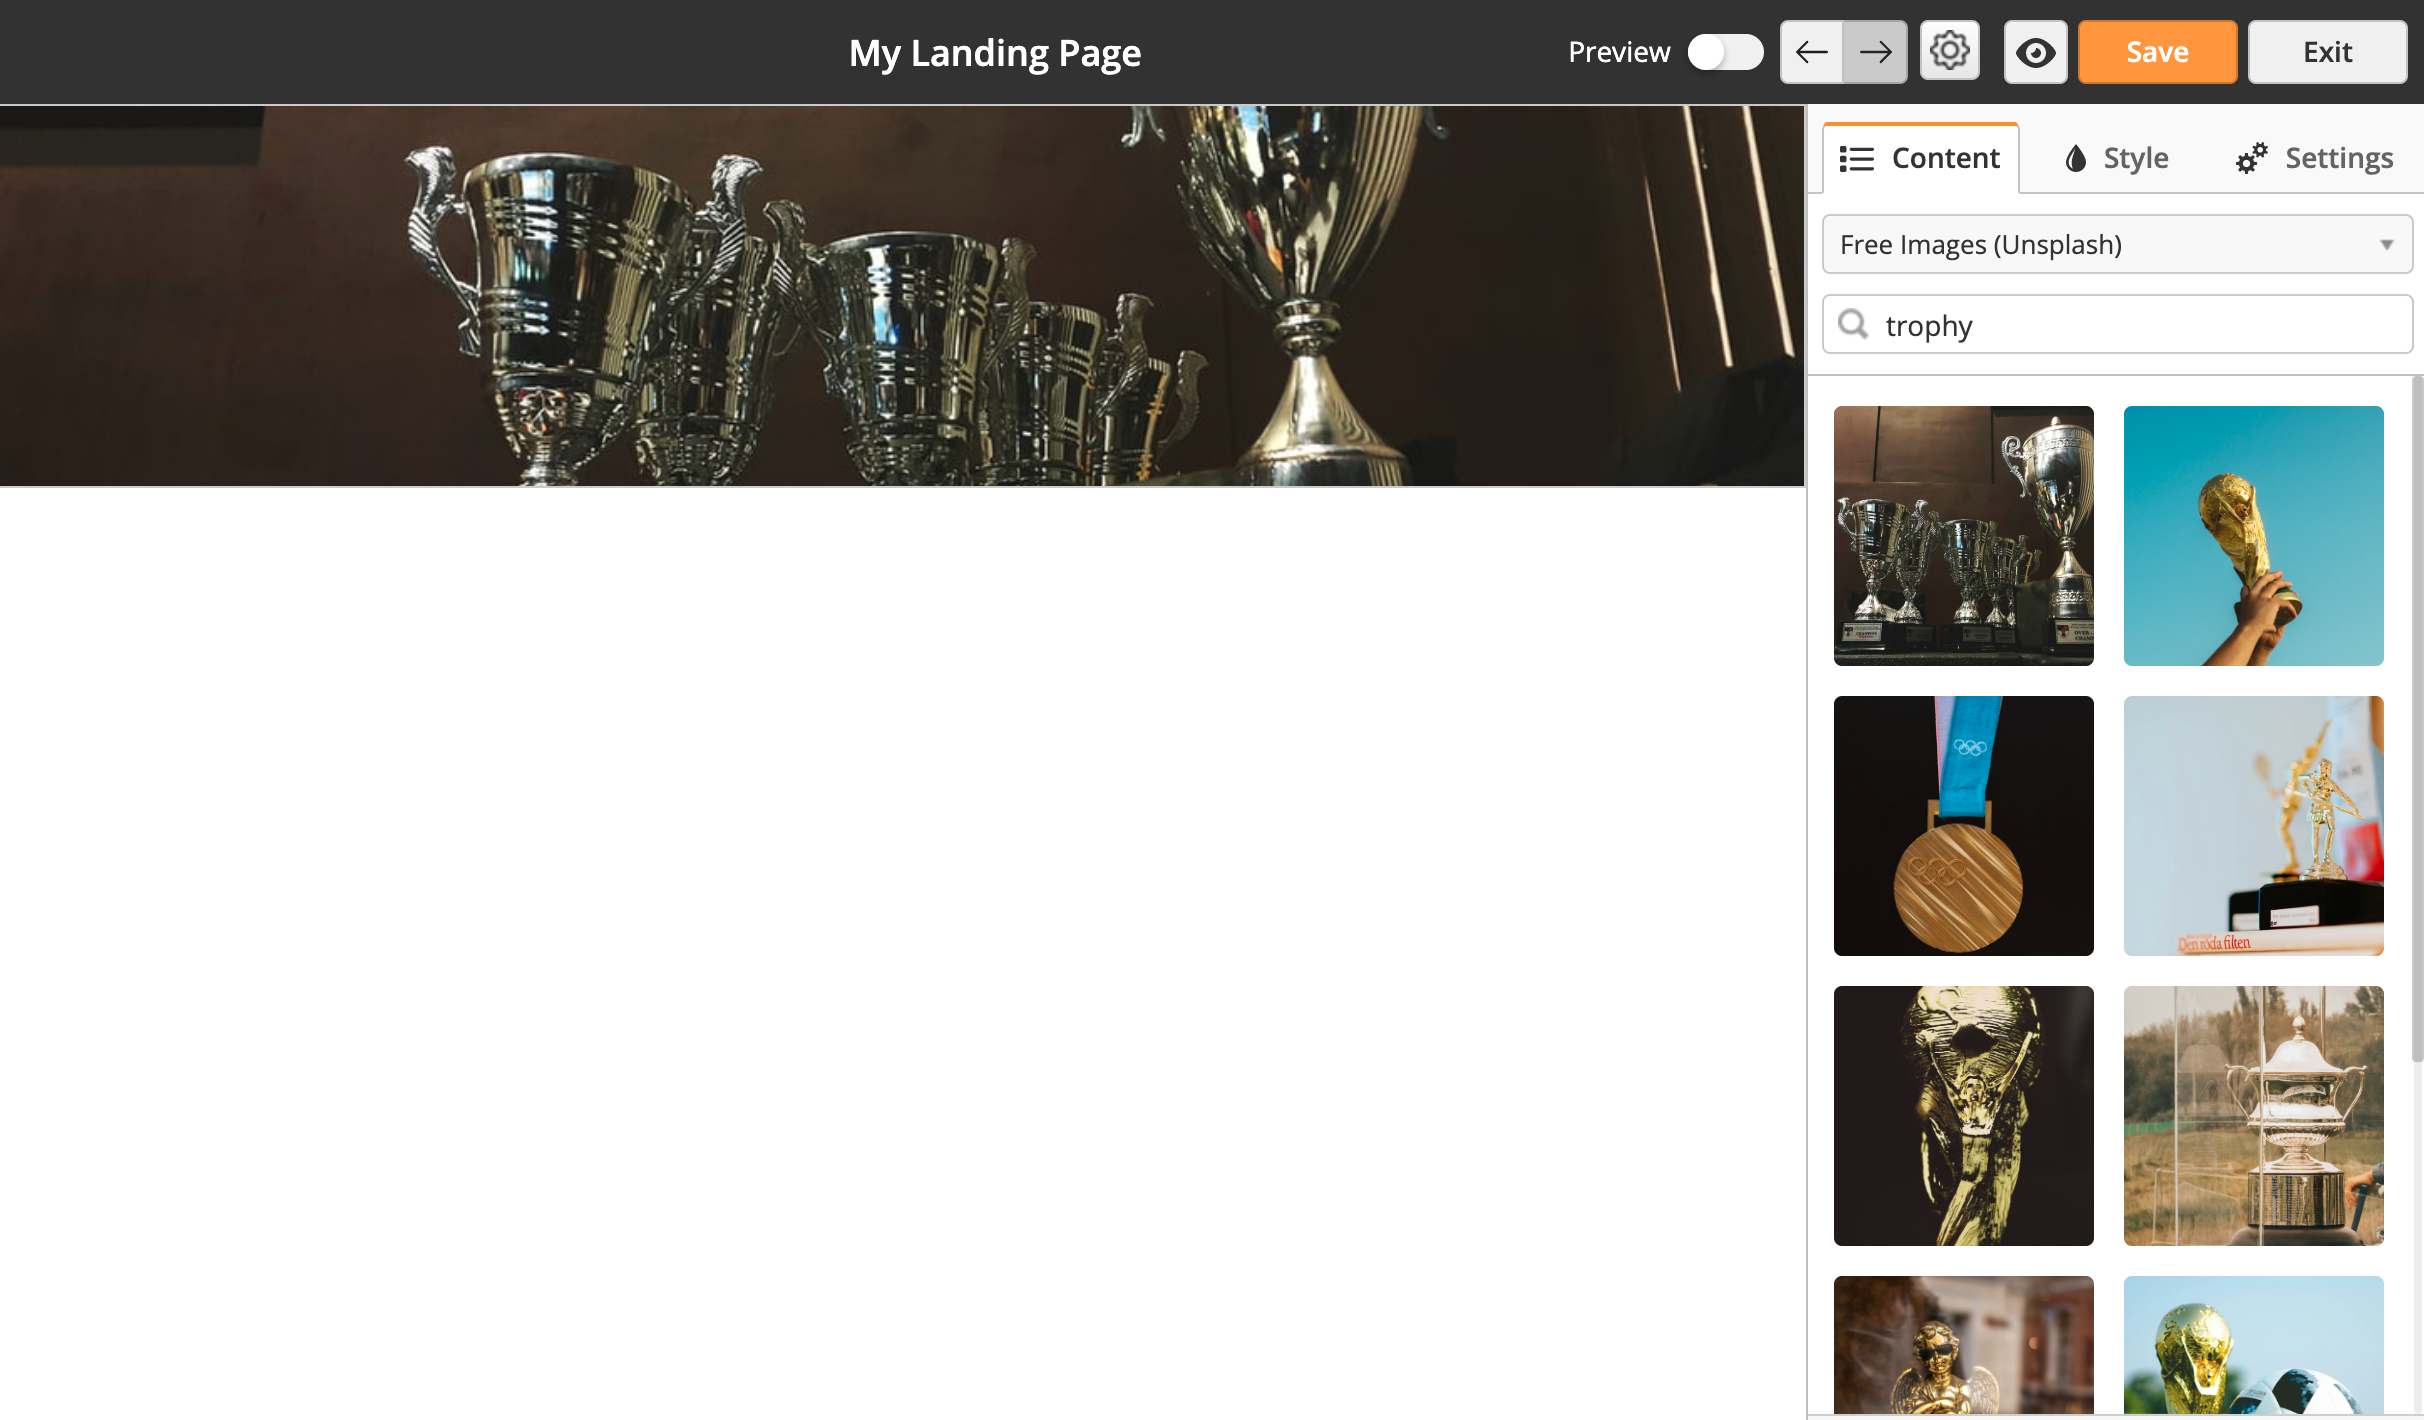
Free Images
The landing page builder helps you add beautiful photos offered by Unsplash. These images are royalty-free, and offer a large library of choices. In the example below, we added a basic container to the page. Then, using images, we searched for "trophy" and dragged/dropped the image into the container.
Images can be used in backgrounds, within basic element containers, within multimedia widgets, and more.
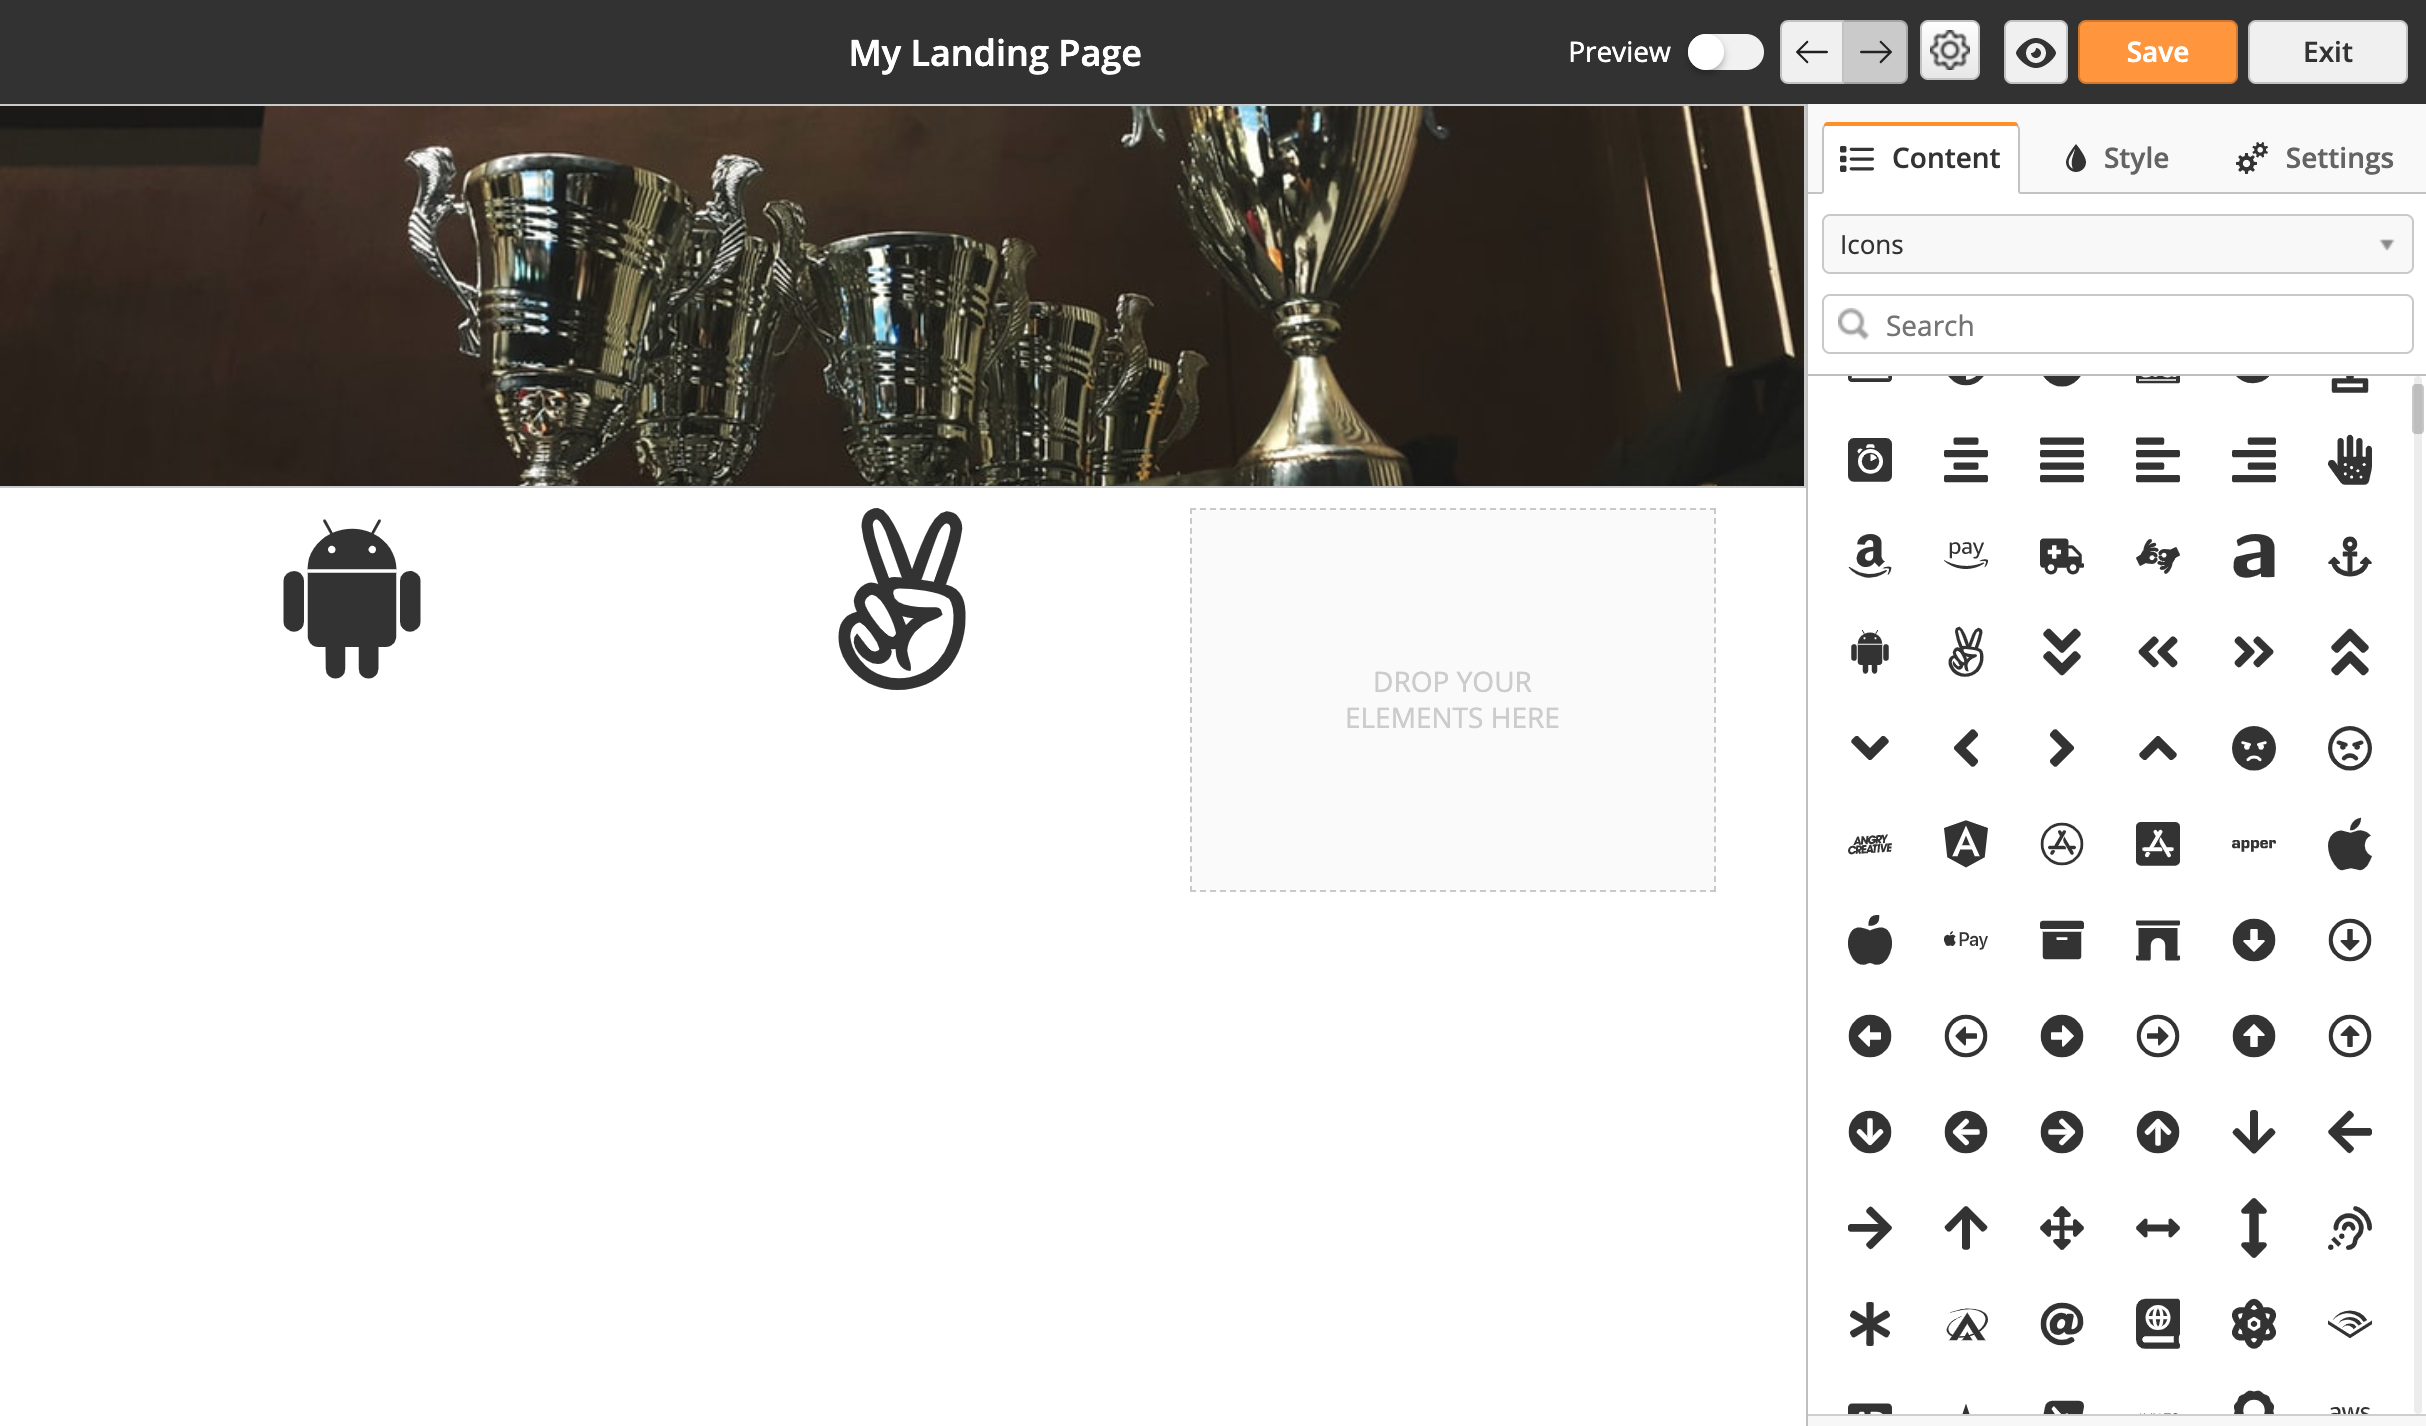
Icons
The landing page builder offers a complete library of vector-based icons help style your page. Color and size of each icon can be changed to your liking. In the example below, we added an icon for Android along with a peace sign. Use the Style tab to change color, and the Settings tab to resize.
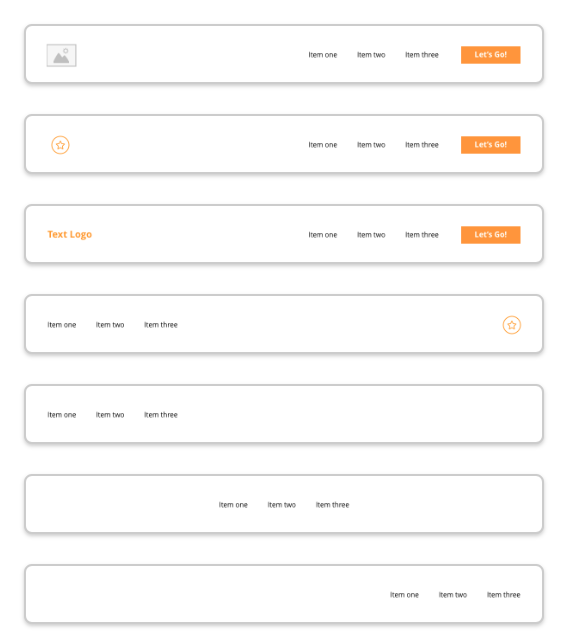
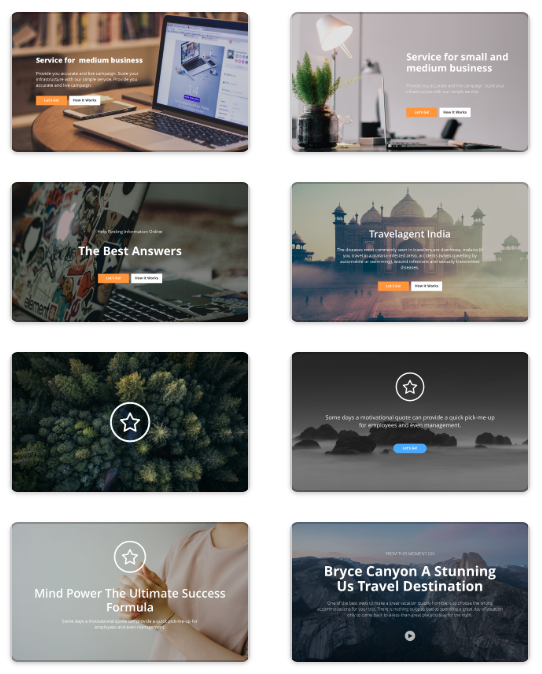
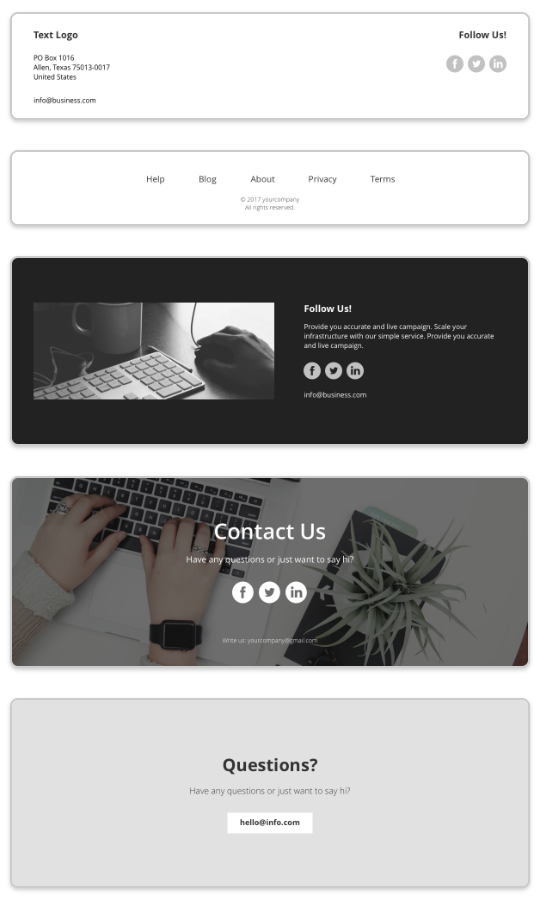
Ready-made
Ready-made elements are one of the most exciting features in the builder. This section is also grouped into the following categories:
- Headers
- Covers
- Footers
We suggest starting with multiple ready-made elements when designing your page.
| Headers | Covers | Footers |
|---|---|---|
|
|
|
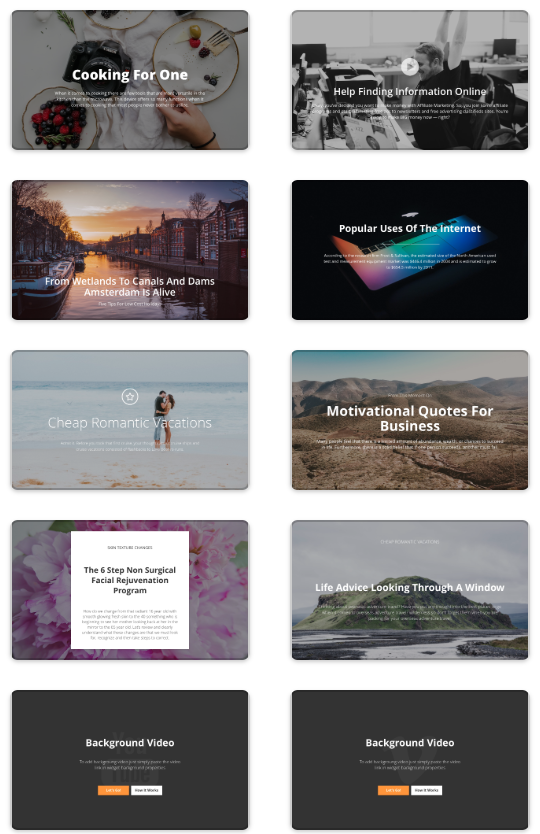
Background Video
Inside the Covers are two elements to add a section with video playing in the background.
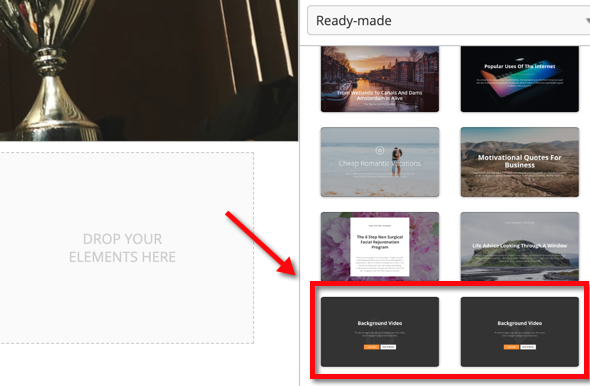
To add a section with a video background, do the following:
- Add the video background Cover to your canvas.
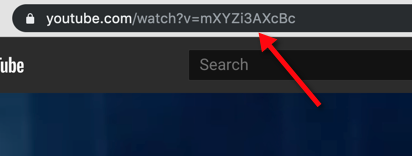
- Add your video to YouTube.
- Play the video in your browser.
- In the URL of your browser, copy the value after the ?v=. In the example below, we would copy mXYZi3AXcBc
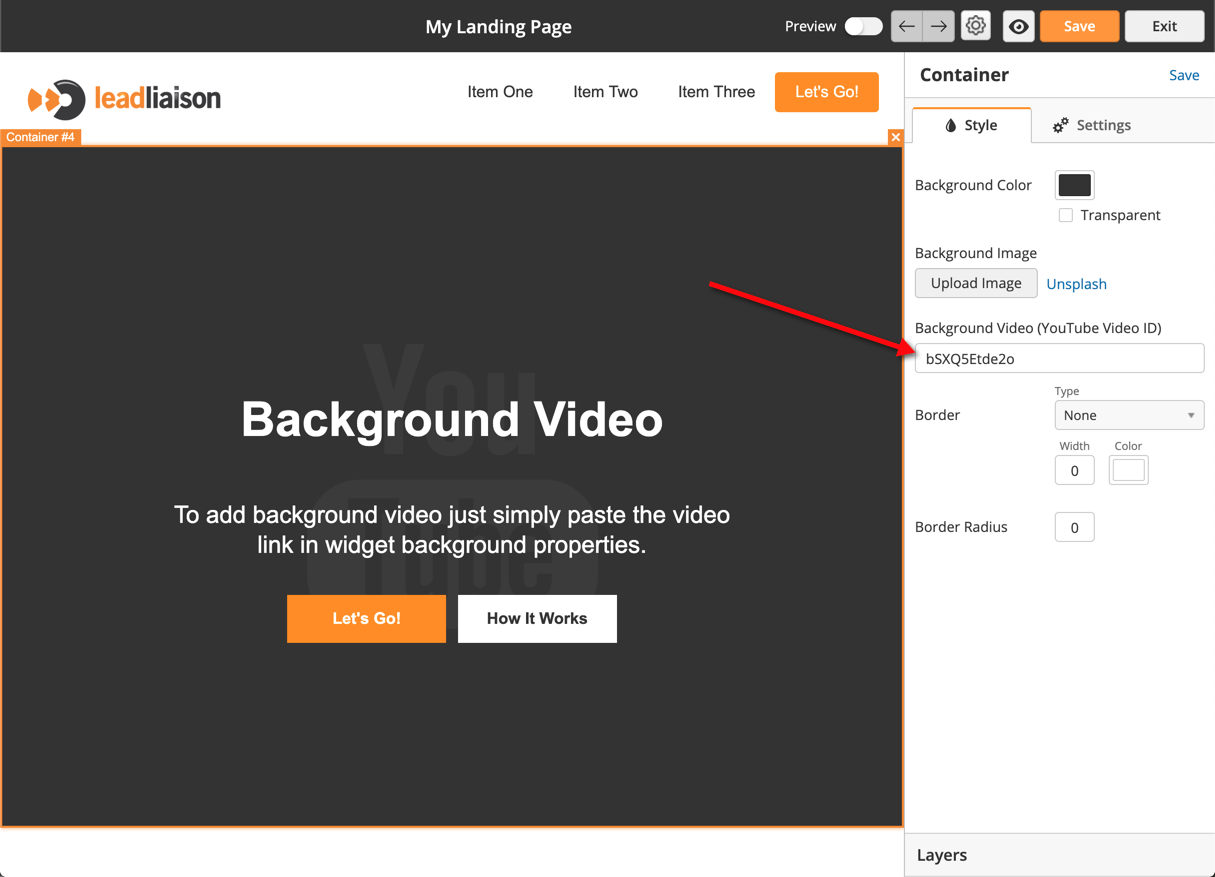
- Paste this value into the Background Video section of the element, as shown in the second image below.
Responsive Design
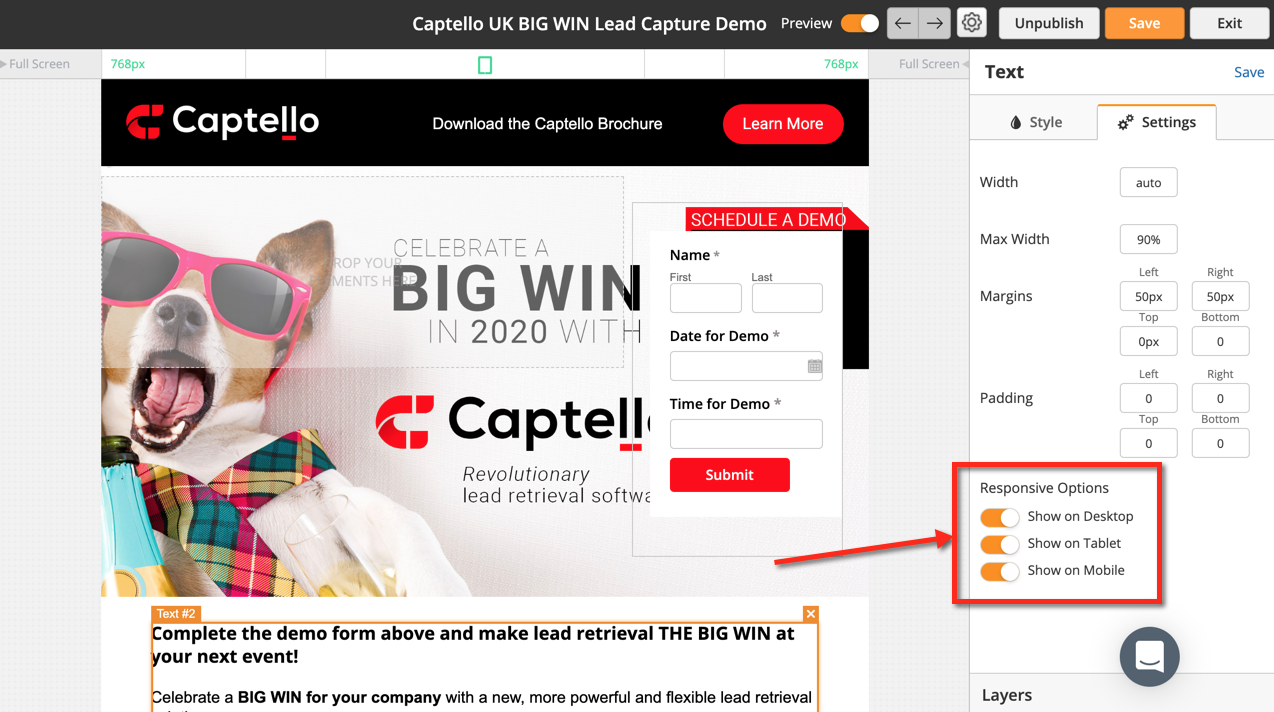
All landing page are mobile responsive to optimize display on desktop, tablet, and mobile devices. Every element (Containers, Images, etc.) has Responsive Options. You can choose to show the element on desktops, tablets, and/or mobile devices on an element by element basis. To change the responsive options click on the element then click the Settings tab and look for the Responsive Options section.
Restricting Max Width
To limit the width of your page to a certain size, while keeping the page responsive for screen sizes smaller than your maximum width, use containers and the Max Width parameter. The two videos below show alternative ways to set your page max width:
- Option 1: Wrap all the blocks in one container:
- Option 2: Set a maximum width for each block. Wrap some blocks in a single container, if they have a common background:
Multi-Variant Testing
The landing page builder supports multiple page variants, not just A/B tests. A, B, C, D, and so on...variations can be created. To create a variant do the following:
- Navigate to Content > Pages > Landing Pages
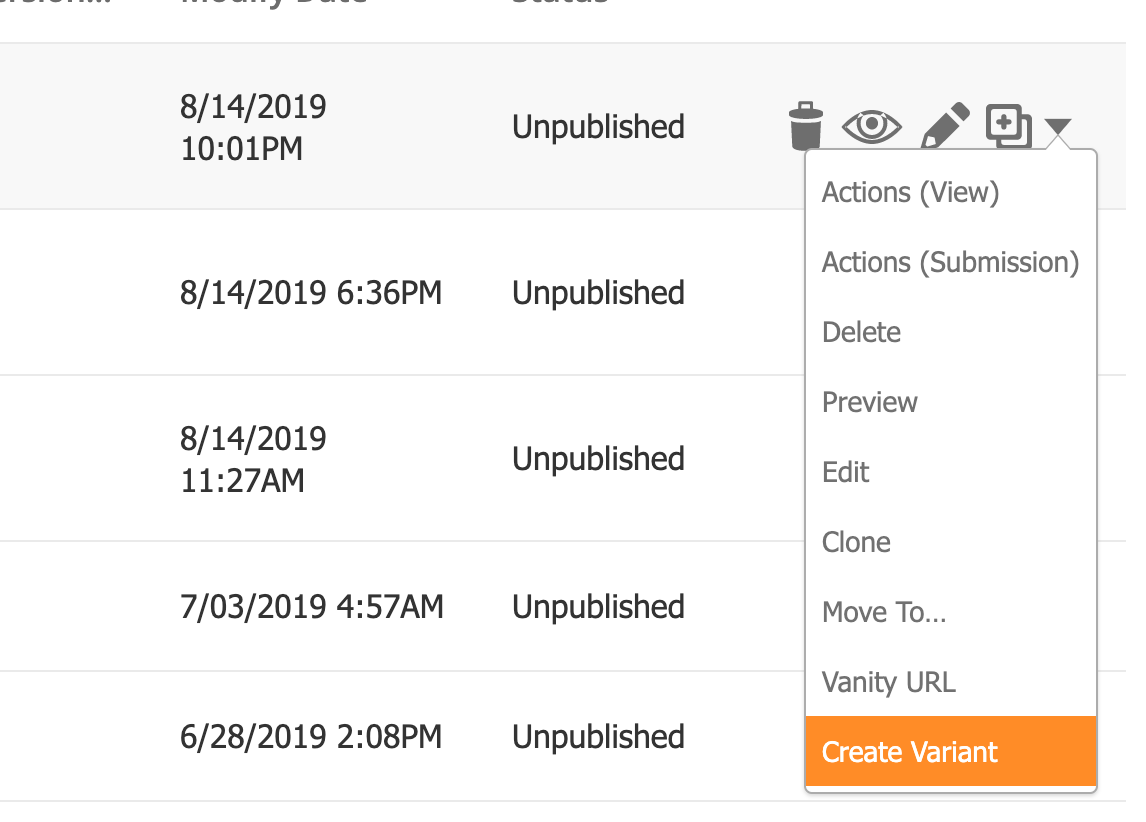
- Click the down arrow next to the landing page you'd like to add a Variant to, as shown below:
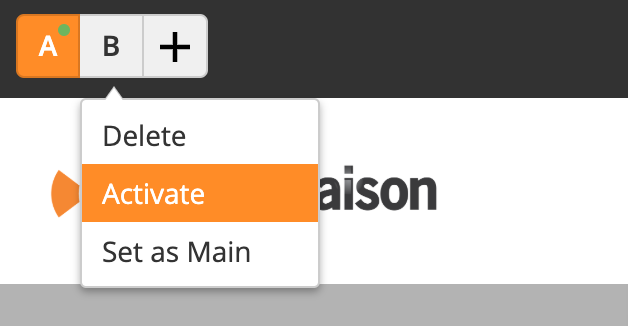
- Your page variants, as well as the status of each variant, is located on the top left corner of the builder.
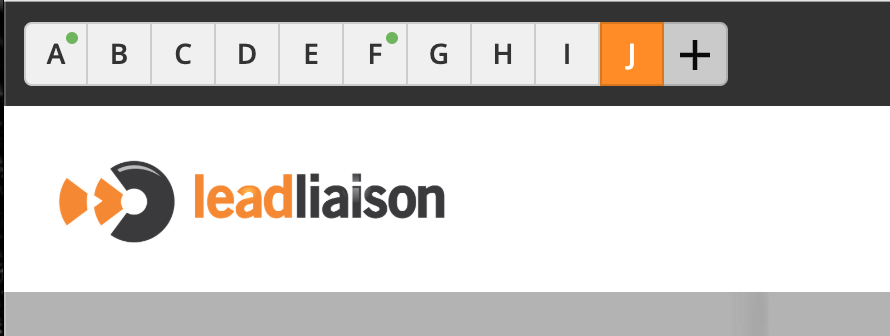
- A green dot indicates that your Variant is live, and published on the internet.
- Hover over a variant to Delete, Activate, or set it as Main. A Main Variant is the first page that is shown.
- The system will cycle through each Variant with each website visitor.
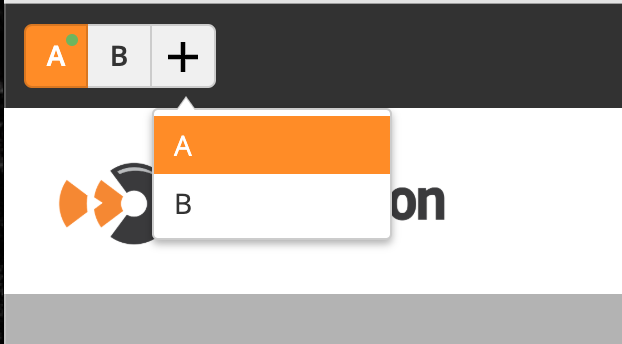
- To add a Variant, hover over the + sign and choose an existing Variant you'd like to clone as your new Variant. This process makes it easy to create Variants without starting from scratch and to test similar pages by tweaking content ever so slightly.
- Up to 10 Variants may be added per landing page.
Variant Performance and Picking a Winner
The winning landing page is determined by you. To view statistics and pick the winning landing page do the following:
- Navigate to Content > Pages > Landing Pages
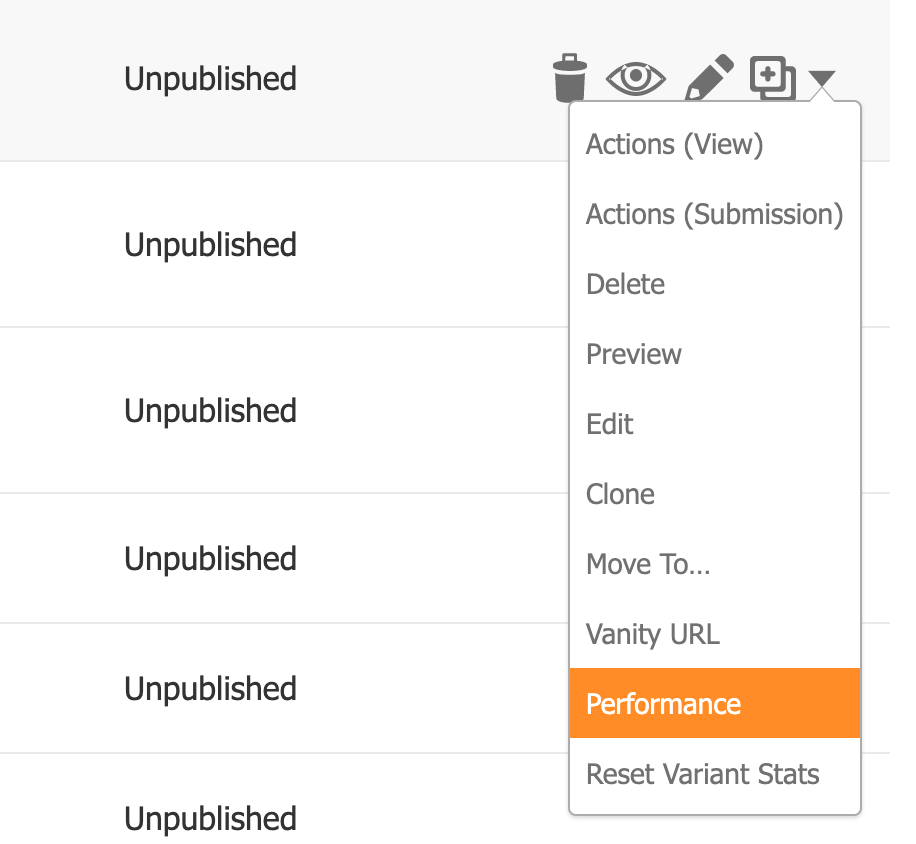
- Click the down arrow next to the landing page and select Performance
- Note, you can always reset your landing page statistics using the Reset Variant Stats option as shown below
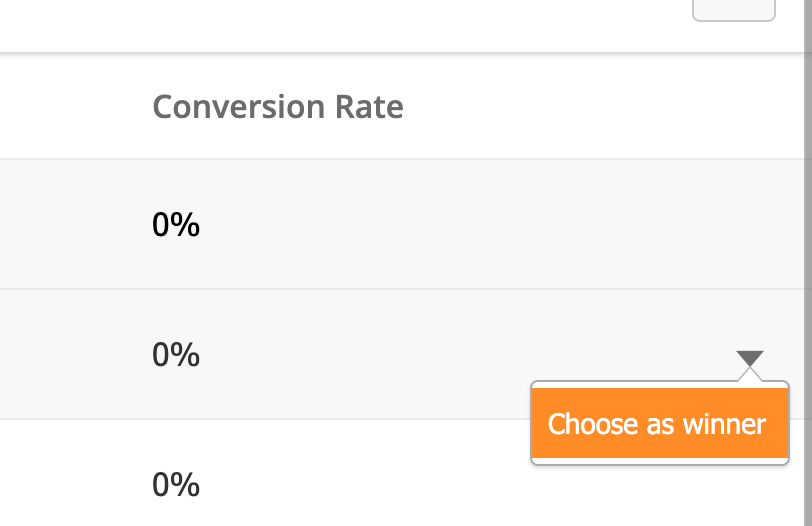
- On the stats page, hover over the winning Variant, and select Choose as winner from the drop down.
Related content
![]()
© 2021 Lead Liaison, LLC. All rights reserved.
13101 Preston Road Ste 110 – 159 Dallas, TX 75240 | T 888.895.3237 | F 630.566.8107 www.leadliaison.com | Privacy Policy