Creating a Kiosk Form
Overview
Web forms have a unique feature to make data entry at a kiosk easy. At a kiosk, you don't want to cookie the web browser as the person submitting the form. The "Kiosk/Data Entry Mode" feature will not cookie the browser. A kiosk form can be built using the following methods:
- Standalone Lead Liaison form
- Lead Liaison form embedded into a landing page
- External form that Lead Liaison scans
In the example below, we'll visually build a form in Lead Liaison and add it into a landing page, which was also built in Lead Liaison.
Configure the Web Form
- Build a web form by going to Content > Web Forms
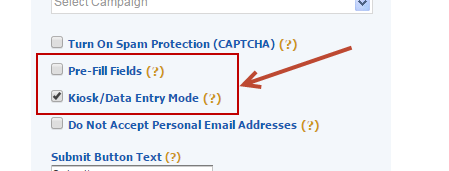
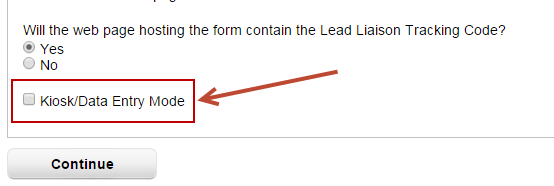
- Click the Form Properties tab and enable Kiosk/Data Entry Mode
- Uncheck Pre-Fill Fields since each new user shouldn't see the previous submission data
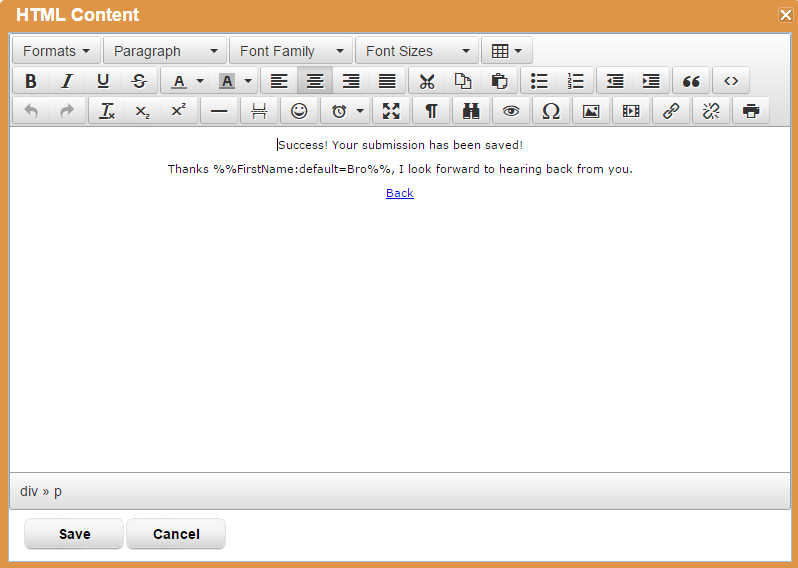
- In the Success Message section click the small blue icon to open the WYSIWYG HTML Editor. This will allow you to add custom code to the thank you page.
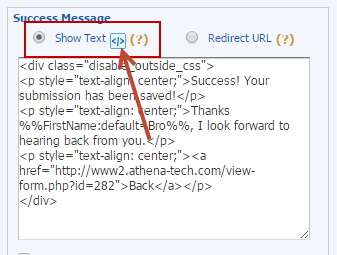
- We'll add a "Back" link pointing back to the original landing page so the next person who submits the form sees the original form and not the thank you page. We also use a data merge value
Optionally Set the Redirect URL
You could also set the Redirect URL value to be the URL of the landing page. After submission, the form will go back to the original page.
Configure the Landing Page
- Build a landing page by going to Content > Pages > Landing Pages
- Add the web form above to the landing page
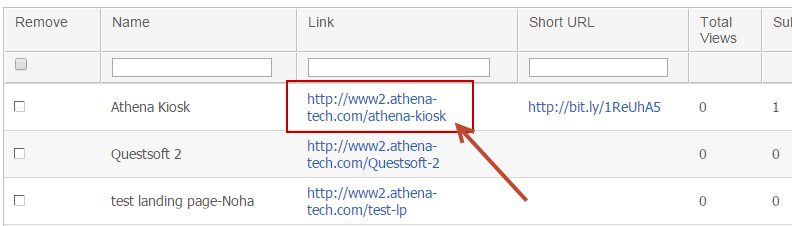
- Use the URL of the landing page and load it into your kiosk! Go to Manage > Landing Pages and grab the link
- All done!
Setting up an External Form
- Build a web form by going to Content > Web Forms
- Choose "Existing form on my website"
- In Step 1 make sure to enable Kiosk/Data Entry Mode
![]()
© 2021 Lead Liaison, LLC. All rights reserved.
13101 Preston Road Ste 110 – 159 Dallas, TX 75240 | T 888.895.3237 | F 630.566.8107 www.leadliaison.com | Privacy Policy