Integration with Instapage
Overview
Lead Liaison provides a solution for customers using Instapages to integrate their Instapage landing pages and forms with Lead Liaison. There are two available methods for integration.
Method 1: Embed a Lead Liaison Form
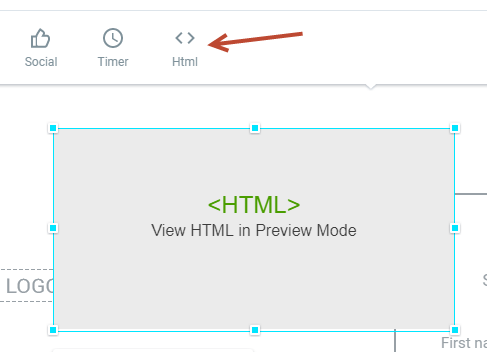
Create the form in Lead Liaison and embed the HTML code into your Instapage landing page using the HTML widget (shown below). This is the easiest and cleanest integration method, giving you full control over your form fields, data, styling, and business process.
Method 2: Auto-Track Instapage Form
For clients who prefer to use form The integration uses Lead Liaison's automatic web form tracking to pull in name, email, and company fields. To complete the integration follow the steps below:
Step 1: Create a Landing Page with Form in Instapage
- Create a new Lead Liaison web form and choose the "Existing form on my website" option for the Form Type.
Step 2: Add JavaScript to your Instapage
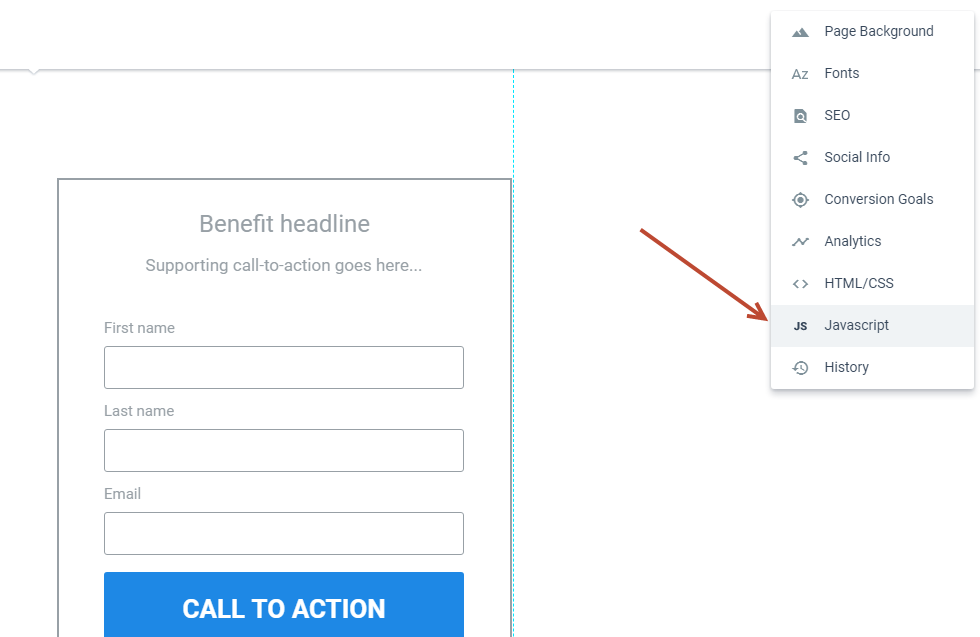
- Navigate to Settings > JavaScript in Instapage.
- Add the following JavaScript into the Head section.
- Section 1: Find your page Tracking Code in your Lead Liaison account under Settings > Account > Tracking Code.
- Section 2: Use the "Identify form fields by name" method for form auto-tracking, as shown here. Make sure your form field names match the values in your JavaScript.
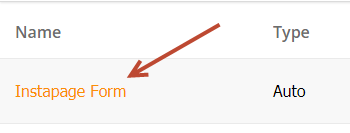
- Section 3: Replace YOUR FORM NAME with the name of the form in Lead Liaison, as shown in the screenshot below. The name of the form can be found by navigating to Content > Web Forms and using the value under the Name column. If the form does not appear then publish your Instapage landing page and view the published page in your browser.
// Lead Liaison (Section 1): This is your Lead Liaison tracking code. These values will not change for each form. Replace the XXXXX value with your Lead Liaison customer ID and make sure to use your accounts Tracking Code.
<script type='text/javascript' src='http://cdn.leadliaison.com/scripts/lazyload-min.js'></script>
<script type='text/javascript' language='javascript'>
  var ll_use_lazyload = true;var llcustid = XXXXX;var ll_use_automatic_form_tracking = true;LazyLoad.js('https://yy.trackingserver.com/tracking_engine/collector.min.js');

// Lead Liaison (Section 2): These are the field mappings for form auto-tracking. There are three methods available. In the example below, we are using the form label.  Unless your field labels change, these values will not change for each form.
var ll_fields_map_settings_by_field_label_for_identifier = {
    email: 'Email',
    fullname: '',
    firstname: 'First name',
    lastname: 'Last name',
    company: ''
};
</script>

// Lead Liaison (Section 3): This is your form identifier and will change for each form. Replace the "YOUR FORM NAME" value with the name of your form from your Lead Liaison Control Panel.
<script type="text/javascript">
    $(document).ready(function() {
        $('form').attr ('ll_form_identifier', 'YOUR FORM NAME')
    });
</script>
- Once your form is integrated navigate to Content > Web Forms to see view and submission results:
All done!
Related content
© 2021 Lead Liaison, LLC. All rights reserved.
13101 Preston Road Ste 110 – 159 Dallas, TX 75240 | T 888.895.3237 | F 630.566.8107 www.leadliaison.com | Privacy Policy


