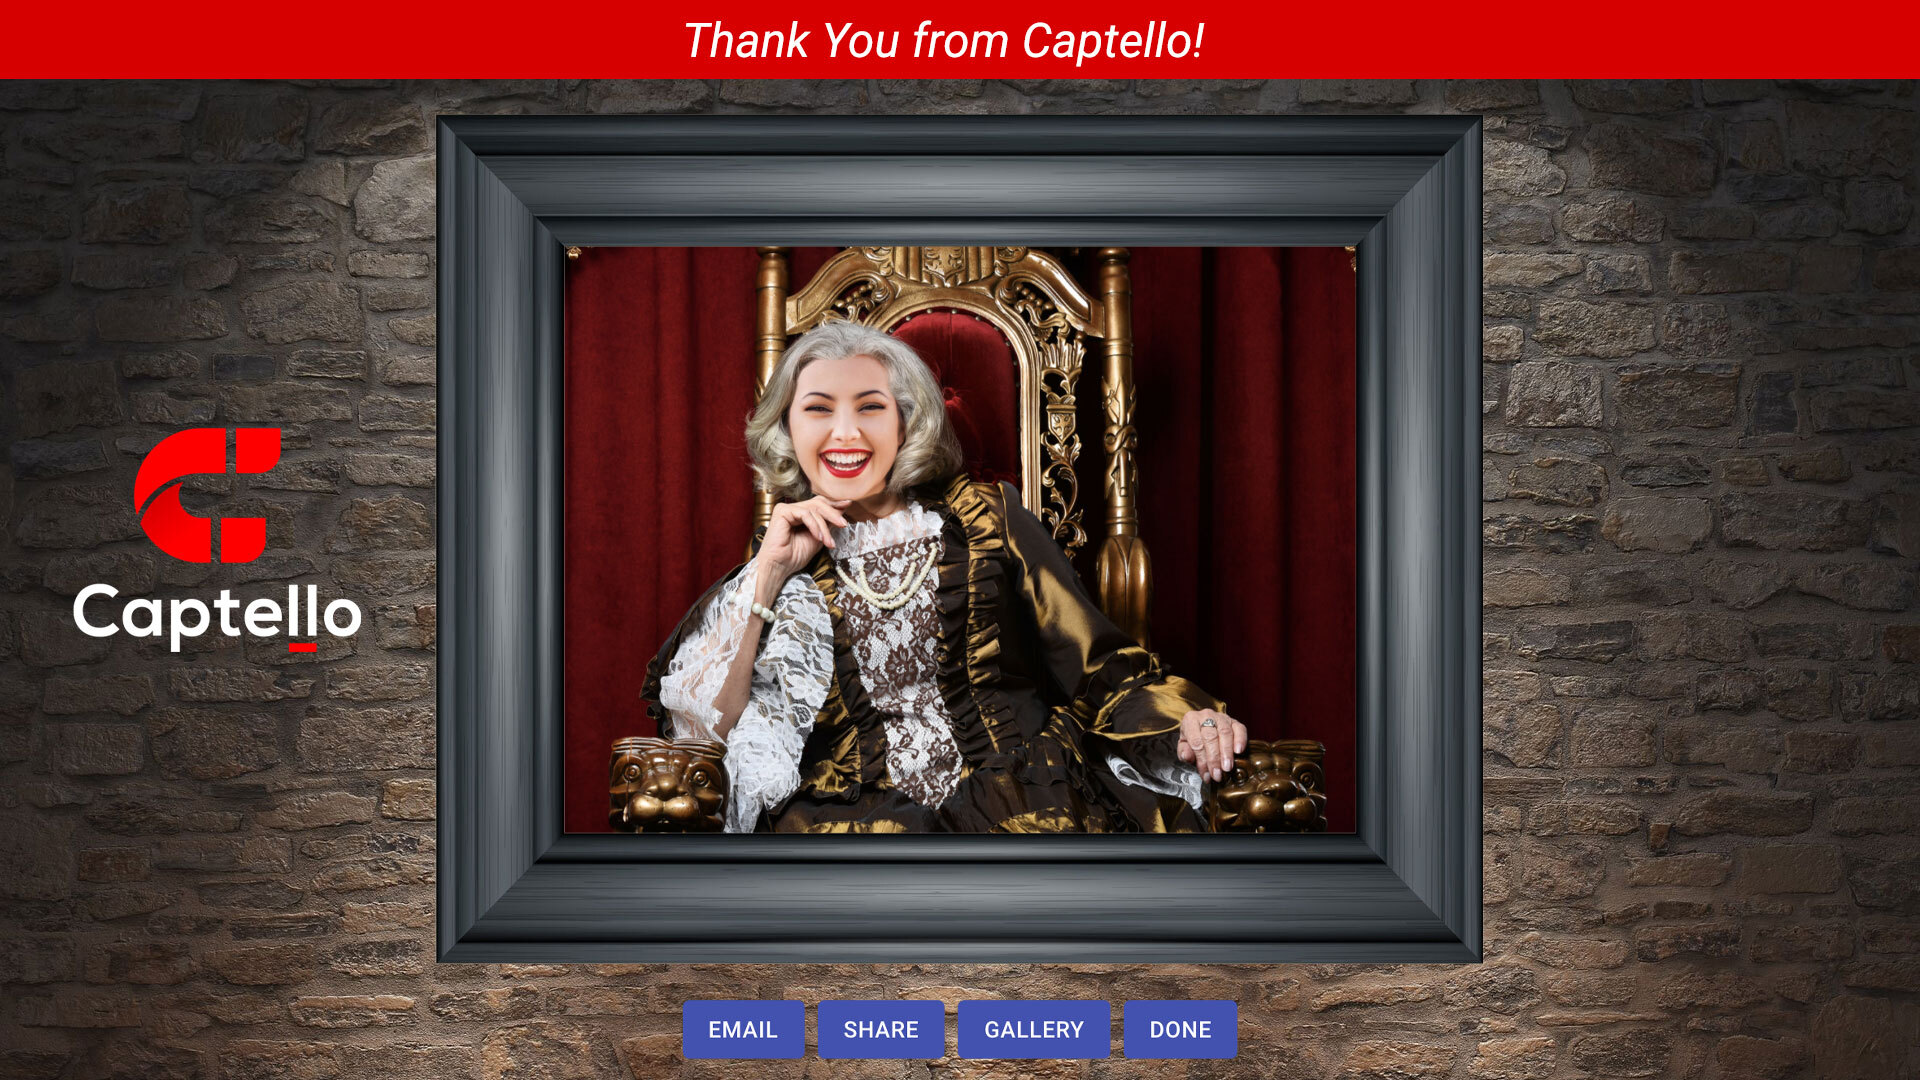
With Photo Booth activation, you can create fun and memorable experiences that can be shared instantly, complete with branding. You can share your photos with friends immediately after the session with the Photo Booth Gallery, or by instant download.
Like other activations, you can customize everything from backgrounds and branding to frame styles, text bubbles and messaging. Photo booth launches anywhere, making it easy to participate at virtual or live events of all types.

Here is how it works:
Launch the activation
Select a template to use
Either upload the image from your device storage or use the device camera to capture a quick selfie
Tightly crop your face and hit Apply
And that’s all!
Experience
Photo Booth offers two different modes/experiences:
All in One - Opens the device's camera when the photo booth starts. This mode is great for full size photos. There are two different Photo Fit options available in this mode. These options will help you adjust your photo booth within your template cutout depending on your setup and camera.
1. Contain - Contain preserves image quality; however, higher resolution cameras may create an empty margin at the top and bottom of your photo. This depends on the device and template you’re using.
2. Fit - Fit will stretch your photo, if needed, to fit within the template cutout. Fit will never show any margins in your photo, but image resolution might be lower.Capture then Adjust - Takes the user through a sequence of steps to create their photo. This mode is ideal for face swap photos as it makes it easier to take a picture then position the user's head inside the cutout. In this experience users can also upload their own photos instead of using the device's camera.
Sharing Photos via Email
Photo Booth allows the option to share photos via email once they have been captured. There are two options:
Share via Email (Automatic) - This option will send an automatic email from the system to the provided recipients.
Share via Email (Using Device’s Email Client) - Uses the device’s default email client to send the email message. In this case, the From: address will be the email clients From: address, not a generic system email address.
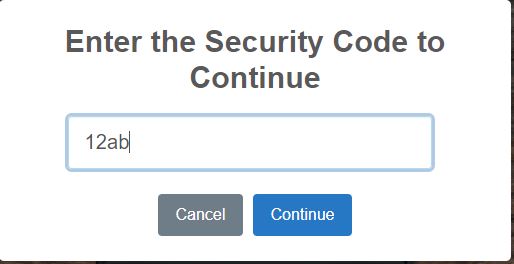
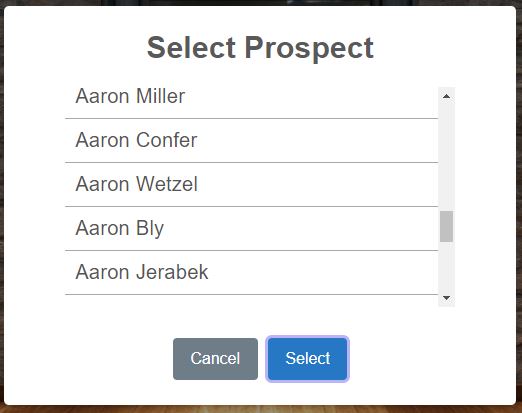
Select from a List - Gives option to select person from a pre-loaded list. It requires a Security Code to allow access to the list. The Security Code should be at least 4 characters alphanumeric.
Here is the workflow for selecting from list once the photo is taken:

The following parameters can be customized with this option: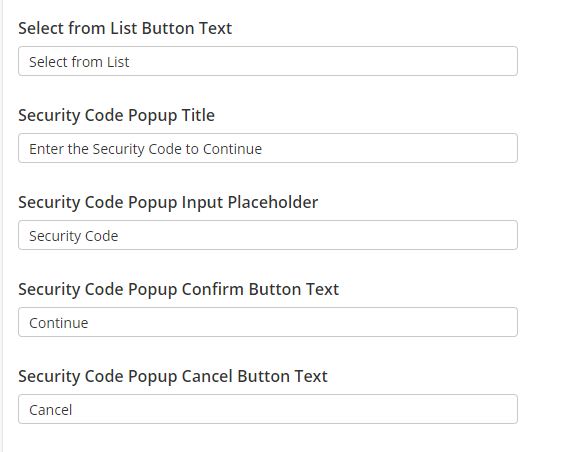
Beyond that, everything else is also customizable so you can set your own Email Subject, Email Message as well as Email Button Text etc.
Note: When playing Photo Booth with Captello iOS mobile app, the user will have to enter the pass code every time they play.
Sharing Photos via Social
You can also share your photos on social media platforms. There are two options available:
Share via Social (User's Account) - Allows the user to share a photo via their social media account. You can post photos to your Facebook or Twitter account using this option.
Share via Social (Our Account) - Allows sharing via social media to any social media platforms connected to your Lead Liaison account. With this option, you can post to Facebook, Twitter or LinkedIn.
For this option to work you must have your Social Accounts connected with Lead Liaison. You may learn more about this in our documentation here.
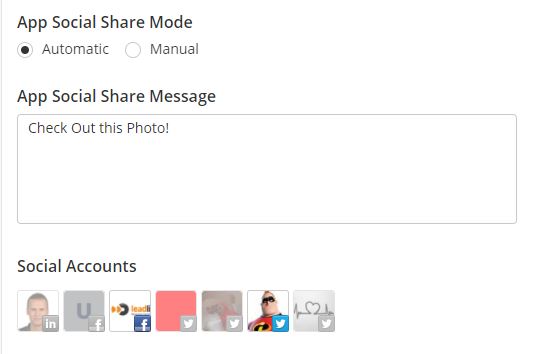
With Share via Social (Our Account) option, you have two further choices:
Manual - This option will display a button and confirmation message to the user to share the photo with your connected social accounts.
Automatic - When this option is turned on, system will automatically posts the picture to your connected accounts selected under the Social Accounts section.
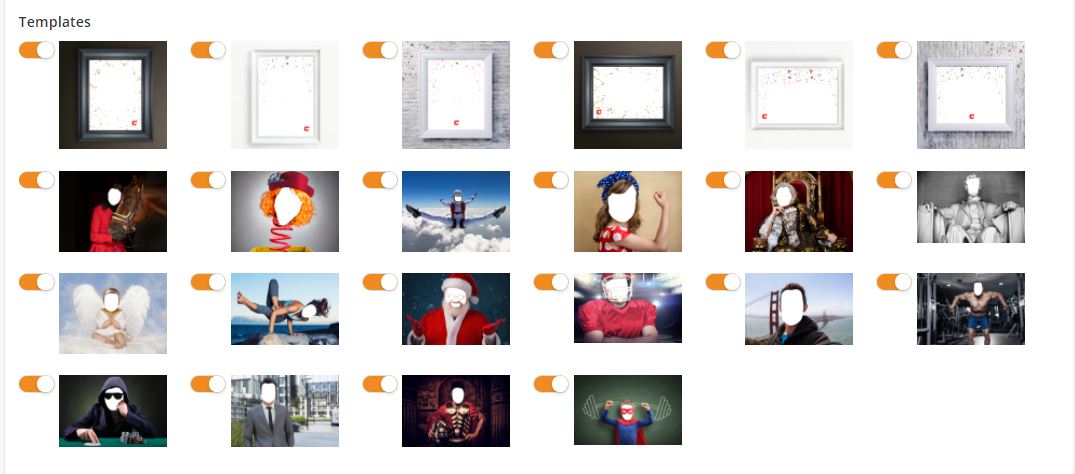
Templates
Photo Booth comes with a wide range of prebuilt templates (or frames) that you can use to take photos. For a customized template, contact your account representative for more information.
Custom Templates
You can use your own custom templates (or frames) if you like. The following parameters are required for any uploaded custom image:
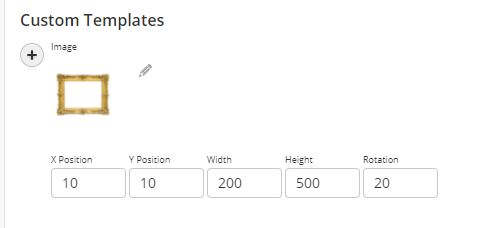
X Coordinate
This is the X coordinate of the template (pixels to the right of the bottom left of the template image) where the center of the inserted photo will be positioned.Y Coordinate
This is the Y coordinate the template (pixels up from the bottom left of the template image) where the center of the inserted photo will be positioned.Photo Container Width
The width of the container where the captured photo will be inserted into the template. For example, a camera could take a 1024 x 768 photo. If the Photo Container was 500 x 200, then the entire 1024 x 768 photo would get scaled down and inserted into the 500 x 200 container that gets added into the template.Photo Container Height
The height of the container where the captured photo will be inserted into the template. For example, a camera could take a 1024 x 768 photo. If the Photo Container was 500 x 200, then the entire 1024 x 768 photo would get scaled down and inserted into the 500 x 200 container that gets added into the template.Inserted Photo Rotation
Degrees to rotate the photo when added to the template. For example, if your template has a cutout of a head and the head is slightly tilted, you might add 20 (for a 20 degree tilt) as the Inserted Photo Rotation. Values can range from 0 to 360 (degrees).
Check out this quick video tutorial on setting up Custom Template coordinates: https://youtu.be/JtOywmcl7Gg
Stickers
Stickers are the layer objects that you can put on top of your image. You can either use the default stickers that comes with Photo Booth or you can use your own custom stickers that you can upload to the system. We recommend using transparent .pngs for the best experience.
Default Image
You can set a custom default image or you can use the prebuilt default image. Recommended image dimensions are 643 pixels (width) × 857 pixels (height).
Camera Options
Show Switch Camera Button - You can use this option to allow users on mobile devices to switch from front to back camera and vice versa.
Edit Options
The following edit options are available:
Allow Screen Crop - Turns on controls to crop the image after the photo is taken.
Show Resize button - Displays a Resize button which allows the user to edit the image by resizing and rotating the image.
Allow Image Editing - Displays handles around the camera image to resize and rotate it within your template.
Gallery Styling
Gallery page can also be customized to match your brand needs. You can use the following options:
Gallery Background Image - Image shown in the background of the gallery.
Gallery Background Color - Background color of the photo gallery.
Gallery Top Content - Custom HTML content shown at the top of the photo gallery.
Gallery Bottom Content - Custom HTML content shown at the bottom of the photo gallery.
Launching Gallery
The following options are available for launching the Gallery:
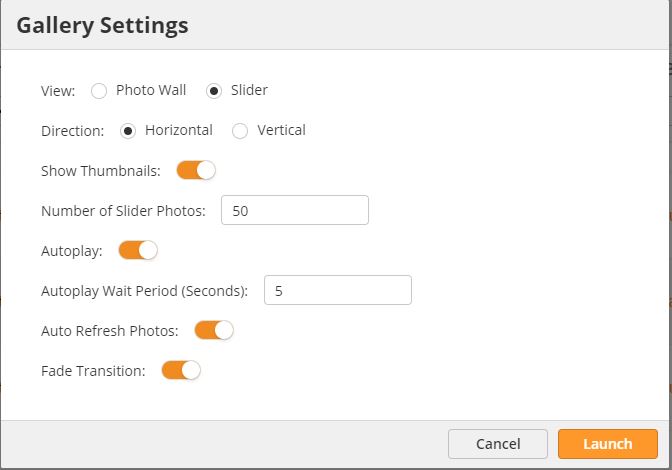
View - Gallery can be viewed in Photo Wall or Slider mode. In Photo Wall, all the photos are displayed on a wall whereas in Slider mode, the photos are presented in a slider (or ligthbox) for easy viewing.
The slider can be configured in either horizontal or vertical position. You can also control the number of images as well as use the auto play option to automatically play the photos slider.
Auto Refresh Photos - When enabled, the gallery page is refreshed automatically after a certain time to load newly uploaded images.
Auto Scroll Up/Down - When enabled, the gallery page automatically scrolls up and down to display all of the images.
Scroll Speed - Controls the speed of the auto scrolling feature.
Removing Images from Gallery
You have the option to remove/hide any any bad images or potentially inappropriate images from the gallery. On the activation submissions page, there is a switch below the image that allows the user to show/hide the image (shown by default).
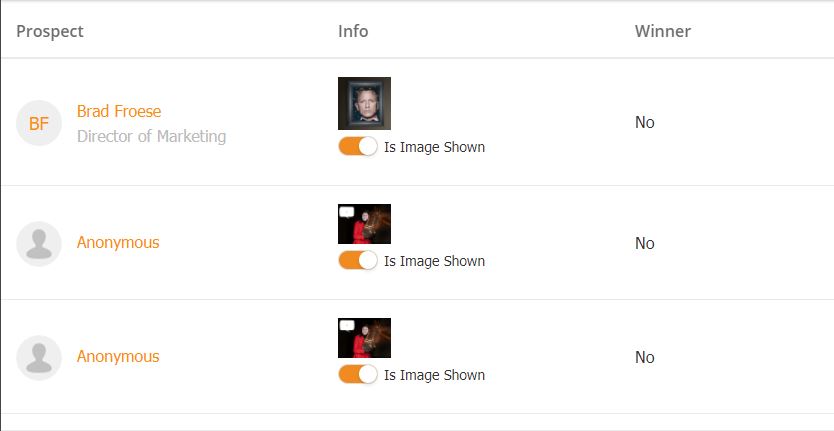
Photo Booth only works on the iOS version of the Captello mobile app. For Android or other devices, launch the Activation in web view.