...
To create a Badge Group do the following:
- Navigate to Content to Events > Events Hosted > Badges
- Click the New button
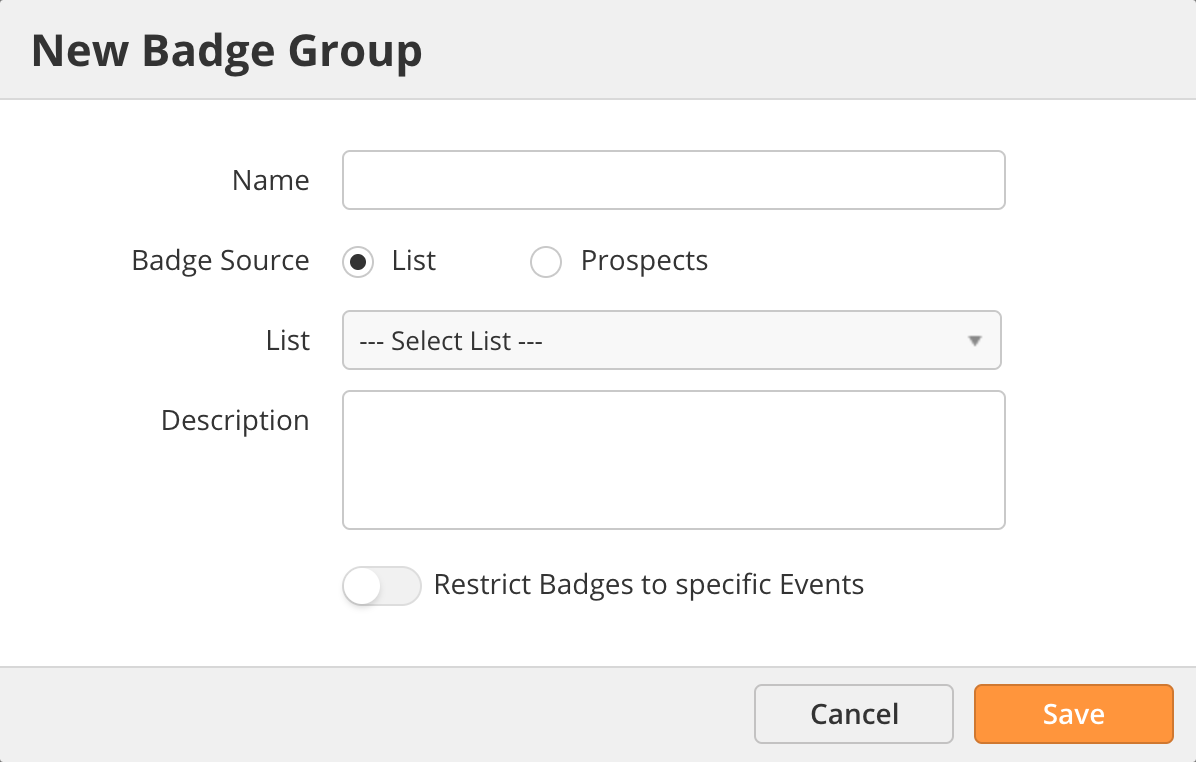
- Select your options:
- Name: Name of the Badge Group
- Badge Source: Create badges from a Lead Liaison List or from one or more Prospects
- Description: Short summary of your Badge Group
- Restrict badges to specific Events: When disabled, badges for any Event can be scanned. When enabled, a badge scan will not work unless the Badge Group on the Event configuration page is selected. See the section below on Configuring Badge Scanning.
...
To print your badges do the following:
- Navigate to Content > Events > Hosted > Badges
- A list of Badge Groups will be displayed
- Hover over the Badge Group you'd like to print badges for and select Print Badges

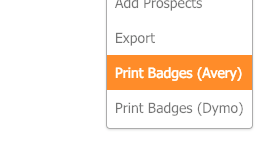
- Choose whether to print a badge for all people or one or more individuals within your Badge Group.
...
Once your Badge Group is created you need to link your Event to your Badge Group. Follow the steps below to link your Event(s) to your badges:
- Create a new Event
- Add the Barcode Scanner element to the canvas on the left.
- Click on the Barcode Scanner icon on the left. A configuration panel will open to the right.
- Select Lead Liaison from the Barcode Provider option as shown below.
- In the Badge Group setting, select your Badge Group (see Step 1 above) as shown below.
...
- Navigate to Settings > App Setup > Events > Avery Badge Template
- Select Custom
- Click the Upload button and choose your custom .avery file
...