| Table of Contents |
|---|
Overview
SiteEngage™ helps companies engage website visitors and convert anonymous website traffic into identified individuals. Companies use SiteEngage™ to deeply personalize content, whether it’s embedded or displayed through an engagement window that’s overlaid onto a website. SiteEngage™ is also used to build newsletter lists, display offers and secure new customers.
Creating an Engagement
Types of Engagements
There are two types of ways to create an engagement, via embedded content or engagement windows (also known as "popups"). Embedded content is any combination of pictures, text, video and more (anything you can fit into a WYSIWYG editor) that is embedded into a <div> tag inside your website. Engagement windows either overlay or push down/up your website to shown custom content. There are over a dozen types of engagement windows, allowing you to show content as a footer, header, system tray popup, modal window and more. Off the shelf themes are available to give your engagement a head start.
...
When creating an engagement there are two steps. First, create the Dialog. The Dialog is the creative piece. Second, create the Personalization. The Personalization is the rules-based engine that determines when to show your engagement.
Step 1: Creating a Dialog
To create a Dialog do the following:
- Click New > Engagement
- Click the Add Dialog button
- Choose the type of Dialog you want to create
- Canvas: This general purpose layout is used to show content in any area of your web page.
- Zone: This layout is used to show embedded content in your website.
- Modal: Use this layout to start with a precreated theme and customize from there.
- Footer: This layout is used to show content on the bottom of your website. Content can overlay your website or push it up from the bottom.
- Ribbon: This layout is used to show content on the top of your website. Content can overlay your website or push it down from the top.
- Slider: This layout is used to show content on the bottom right of your website.
- See the Dialog Settings section below to customize your Dialog.
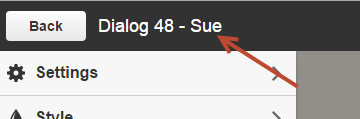
- To change the name of the Dialog during the build process single click into the name field on the top left of your screen as shown below:
Step 2: Creating a Personalization
To create a Personalization do the following:
- Click New > Engagement
- Click the Add Personalization button under the Personalizations tab
Step 3: Embed the Code Snippet
Adding an Engagement Window to your Website
Once you've created a Dialog and Personalization, you can now embed the code into one or more pages of your website. To locate the embed code do the following:
...
| Code Block | ||
|---|---|---|
| ||
<script type='text/javascript' src='http://cdn.leadliaison.com/scripts/lazyload-min.js'></script>
<script type='text/javascript' language='javascript'>
	var llcustid = 15968;
	if(typeof llps == 'undefined') llps = [];
	llps.push({token: 'byIfGChLEx8AUztWCAyBqBHdfaUJNsNkwaTBJnIjS6'});
    llps.push({token: 'lkjklJ87679ztWCAyBkjadfkjhFJ876HHjsy2786'});
	LazyLoad.js('https://t1.llanalytics.com/tracking_engine/llp-render.php');
</script> |
Adding Embedded Content to your Website
A Zone Dialog helps build dynamic content to embed into your website. To embed a Zone Dialog into your site, do the following:
...
- Embed the code snippet anywhere in the page as shown above.
Designing Dialogs
Preview your Website in the Background
Preview your website in the background to give your Dialog a realistic feel. To load your website behind the Dialog in the designer do the following:
...
| Info | ||
|---|---|---|
| ||
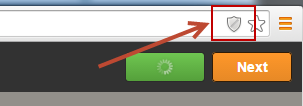
Your browser may block loading your website in the background if your website is under http (not https). The reason for this is because Lead Liaison's application runs securely under https. When unencrypted (http) content is loaded the browser will block it. Consult your browser settings to determine how to remove the block. In Google Chrome a small shield will appear in the URL field. Click the shield, authorize loading the content, then re-enter your website into the Preview field.
|
Settings
- Modal Size: Changes the size of the window. The lock icon will lock the dimensions into a proportional size.
...
- Redirect URL: If set, the viewer will be redirected to this URL after submitting the short form. If a Success Message is set, then the Success Message will be shown first and the redirect will happen shortly after the Success Message is displayed.
- Engagement: Determines when to show the Dialog. Options are when the viewer loads the page, leaves the page (what's known as "exit intent"), or engages with a page. Note, if a "Loading Delay" is set it will affect the Engagement options.
- On Entry: Displays the Dialog when the page loads.
- On Exit: When the viewer tries to close the page. The Dialog will trigger when the viewer tries to close the browser tab or hit the browser back button. When selected, a sensitivity level appears which defines how "sensitive" the exit identification algorithm should run.
- On Page Clicks: These are the number of clicks on the current page. If the viewer refreshes the page, or moves to another page, the count is reset and starts again. When selected, a "Click Count" field appears to specify the number of clicks before triggering the Dialog.
- On Page Scroll: The percentage of the page that the user scrolls through. When selected, a "Scroll Percentage (%)" field appears to specify the percentage of the page that the user must scroll to before triggering the Dialog. For example, an On Page Scroll of 75% will trigger the Dialog when the user gets 3/4ths of the way down the page.
Style
Below is a list of possible styles that may be applied to your Dialog:
...
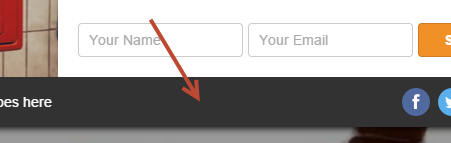
Changes the color of the footer background

Fields
Configures styling for the name and email fields that makeup the Dialog short form.
...
- Name Border Color: Changes the border of the text field.
- Name Font Color: Changes the color of the text that viewer enters into the text field.
- Name Font: Changes the font inside the text field.
Effects
Sets the effect to use when the Dialog loads. The following effects are possible:
- Slide down
- Slide Up
- Slide Left
- Slide Right
- Fade In
- Bounce
- Stretch Left
- Pull Up
- Pull Down
- Shake
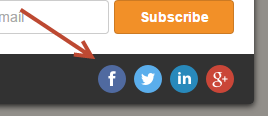
Social Networks
Sets the value of the social network icons. Facebook, Twitter, LinkedIn, and Google+ icons are available. Each social network can be enabled or disabled.
Conversion Actions
SiteEngage™ is deeply integrated with Lead Liaison's Lead Management Automation™ (LMA) system. LMA offers a suite of sales and marketing automation services to help companies be more efficient and productive with sales and marketing operations. Using Conversion Actions, a viewer can be added to a Lead Liaison Campaign, added to a List, or added to a Workflow, once they submit the short form.
...
- Adding people into your email subscriber list
- Nurturing people
- Using an Autoresponder tied to a list to respond with an email
- Keeping track of marketing ROI to identify how your marketing campaign is performing
Button
Configures styling for the button on the Dialog short form.
...
- Redirect to URL = Redirects to any web page.
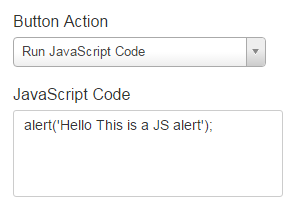
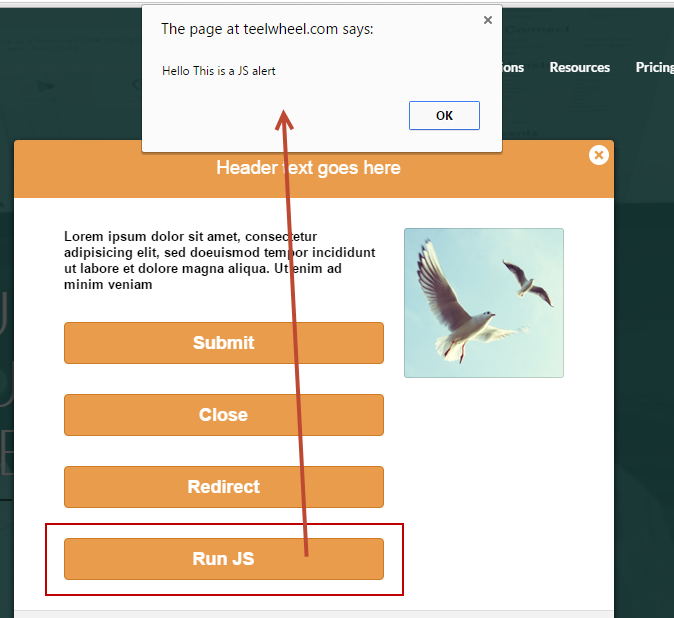
- Run JavaScript Code = Runs JavaScript Code. Make sure to enter only JavaScript. The <script></script> tags are not required. In the example below, we enter JavaScript code that shows a standard browser alert prompt when the button is clicked.
Dynamic Fields
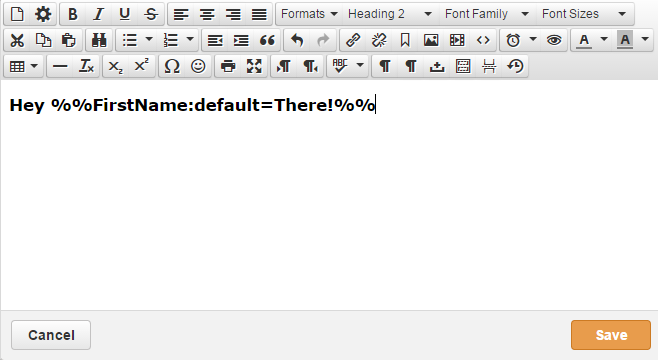
Any Dialog can contain dynamic data fields using any Lead Liaison Standard or Custom Field. When editing content using the WYSIWYG editor enter any data merge value. In the example below, we're using the First Name Standard Field along with a default value parameter. If the system has captured the visitor's first name, then the visitor would see something like "Hey John". Otherwise, the visitor would see "Hey There!". For more information on Standard/Custom Fields and data merge options reference this page.
Embedding Video
To embed video into a Dialog, such as with Theme 9, the video link must be under HTTPS and the link must be embedded in this format: https://www.youtube.com/embed/TBUwaBBZ-yo
To get this link for a YouTube video, go to the video page, click the Share button below the video, select Embed, then get the URL in the src attribute of the iframe.
Saving a Dialog
Dialogs are saved automatically every 15 seconds. However, to save your Dialog at any time hit Ctrl + s on your keyboard.
Designing Personalizations
When creating a Personalization follow these steps and guidelines:
...
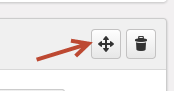
- To change the order of a Variant, click on the drag handle as shown below. The system will automatically re-order your Variants after dropping it into a new position.
Analytics
Overall engagement analytics around each Dialog and each Personalization can be seen by going to:
...
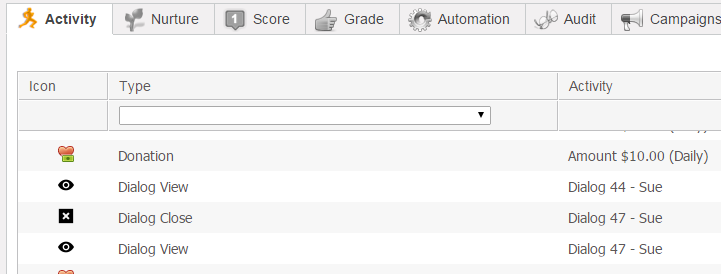
Dialog activity is also saved to a Prospect's Profile and visible from the Activity tab. In the screenshot below you see a Dialog View and Dialog Close recorded on the Prospect.
Automatic Lead Scoring
When a Prospect views a Dialog, converts via a Dialog, or closes a Dialog their activity can be score. Default scores are below and can be customized at any time.

Turning off a Campaign
Temporarily:
Suppose you're running a seasonal campaign (winter), but the season is over with, and you won't be running the campaign until the same time next year. To temporarily bring down the campaign either unpublish the Dialog or the Personalization, either will not record activity (views, closes, etc.) and stop showing the dynamic content.
...
To permanently stop the campaign, remove the embed code from your website.
Deleting Engagements
To delete a Dialog do the following:
...
- Click Content > Engagements
- Under the Personalizations section, click the gear to the right for the Personalization you want to remove. Select Delete.
Testing
You might be wondering how to test your content. One useful tip is to use a proxy server, which helps simulate visiting your website from another country. Try out a Personalization by using the Country filter and the instructions below to setup a proxy.
...