...
To create an Inbound Webhook, navigate to Settings > App Setup > Webhooks and click the Inbound tab. Click the New button.

Give your webhook handler a name, description, and protection period. The protection period is the time in which the system will ignore duplicate webhooks. If you notice another service sending multiple of the same webhooks, adjust the protection period for to match your other system.
| Note | ||
|---|---|---|
| ||
If you are receiving many duplicate webhooks, it is possible that the other system is waiting for a response. If you send a response back from Lead Liaison, it may prevent the other system from resending. See the Adding a Response section below. |
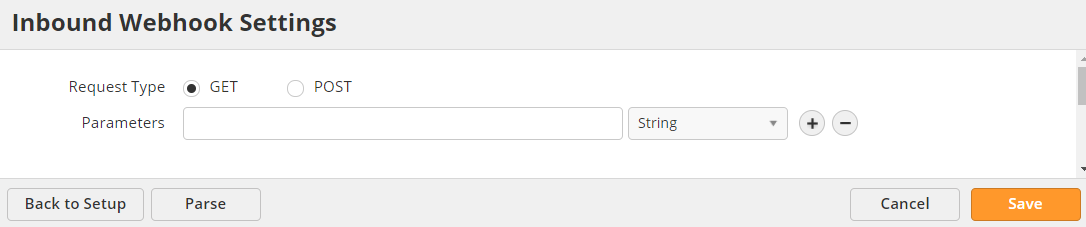
You can send a Webhook webhook with either a GET or POST command.
- GET – lookup data in Lead Liaison and return it to the service calling the Webhook.
- POST – send information to Lead Liaison to create or update a Prospect record. When using POST, you will also need to select a body type.
- Form – send form data. The system will create or update a Prospect connecting the parameter values to the mapped field.
- JSON – send data in a custom JSON template. When using this option, you will need to upload your JSON template to generate parameters.
Parameters
To add parameters, specify the parameter name and type. Add and remove parameters with the plus and minus buttons to the right.
Instead of adding parameters manually, the system can also parse a test webhook. To parse a test webhook
- Click the Parse button
- Copy the endpoint URL (listener)
- Go into the program sending the test
- Send a test webhook to the provided endpoint URL
Once you send the test webhook, the system will automatically parse out the parameters from the test.
| Note | ||
|---|---|---|
| ||
Do not close the Automatic Parsing dialogue box while sending a test webhook. If you do, you will need to click the Parse button again, and the system will generate a new endpoint URL. |
Once you've added parameters, click Save to set the field mappings.

Select the webhook parameter on the left and the Lead Liaison field that it should fill on the right.
Responses
You can add a response to Lead Liaison's webhook handler. A response lets the other system know that we successfully received the webhook. Responses are optional, but they may prevent the other system from attempting to resend a webhook, and the other system may rely on responses for reporting purposes.
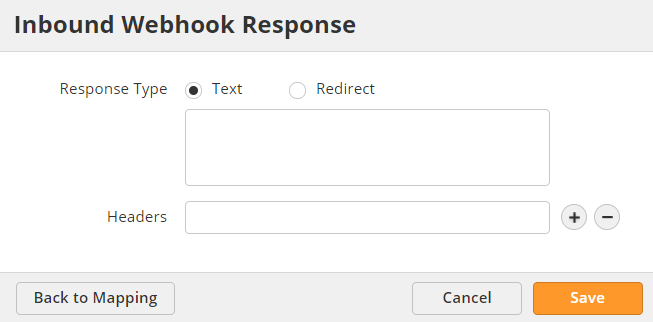
Refer to your sending system's documentation to check what kind of response it takes. Once finished, click Save.
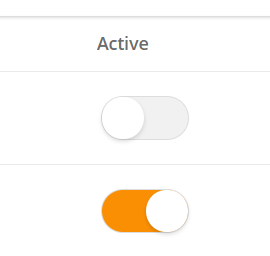
Activation/Deactivation
Control whether or not the system processes inbound webhooks by activating or deactivating the handler. From the Inbound Webhook tab, click the Toggle in the Active column. An active Handler will have an orange toggle, an inactive one gray.
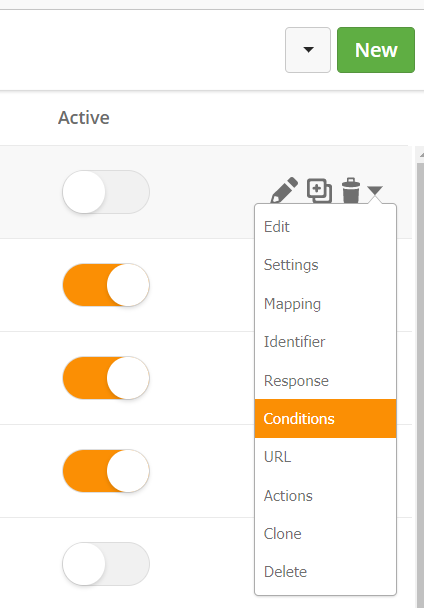
Conditions
Use conditions to filter which calls the system will accept. To add a filter, use the drop-down menu to the right of the handler and select Conditions.
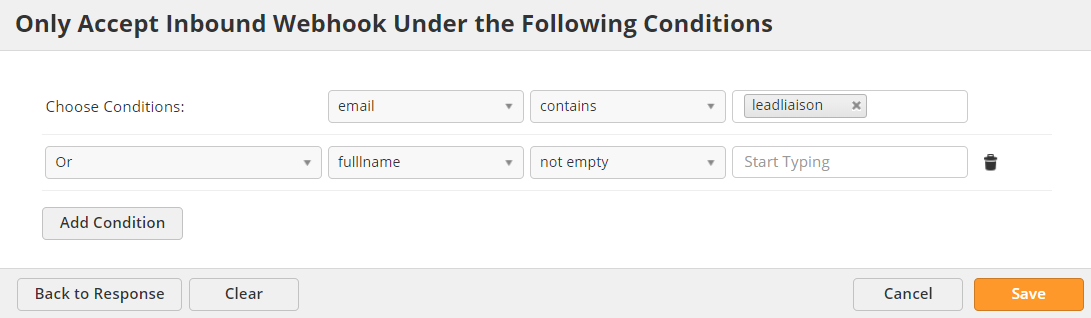
Use any webhook parameter to add conditions. Click Add Condition to add multiple conditions. Once you have added conditions, the handler will ignore any webhooks that do not match. In the example below, we have added a condition to only allow webhooks that either have "leadliaison" in the email field or the fullname field is not empty.
The Endpoint URL
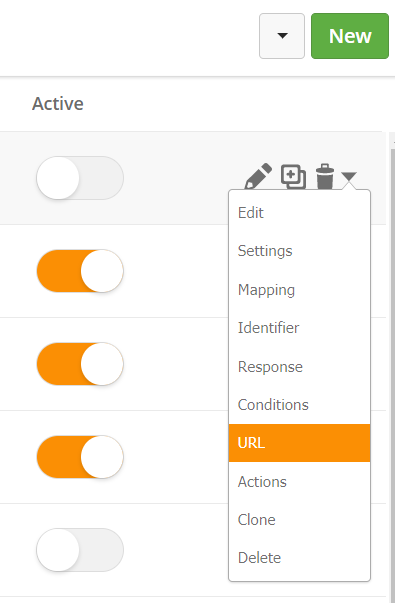
You will need to give the system sending webhooks the handler's endpoint URL. Access the URL from the Inbound Webhook tab by selecting URL from the drop-down menu to the right.
See the sending system's documentation for where to add the endpoint URL.
Fulfillment Actions
You can add a Fulfillment Action to the webhook handler. The Fulfillment Action will fire every time the handler receives a valid webhook. For example, if another system is updating a Prospect record in Lead Liaison, a Fulfillment Action could send an alert to the Prospect Owner to make them aware of the changes.
To add a Fulfillment Action, select Actions in the drop-down menu to the right of the handler.

To learn more about Fulfillment actions, click here.
Viewing Calls
You can view the calls sent to your Webhooks. From the Inbound Webhook page, click on the number in the Calls column. If you don't see a number, the webhook has not received any calls.

The calls are listed in the descending request date by default. Use the search icon in the top-left to sort by request type (GET/POST) or Status (Success/Error).
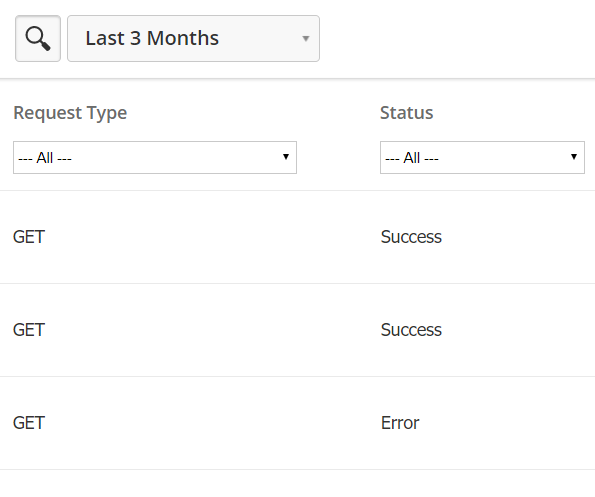
Because the handlers could potentially receive thousands of calls, the system only displays the last 7 days worth of results. Use the drop-down menu in the top-left to adjust the time frame. Please note, it may take several minutes to load records if you choose a longer time frame.
Call Details
You can view a webhook's call details to debug errors. To view the call details, click on the exclamation mark icon in the Details column. Once you click, a new window will open.
In the window, you will see the original request. Click the arrows next to the objects to expand them.
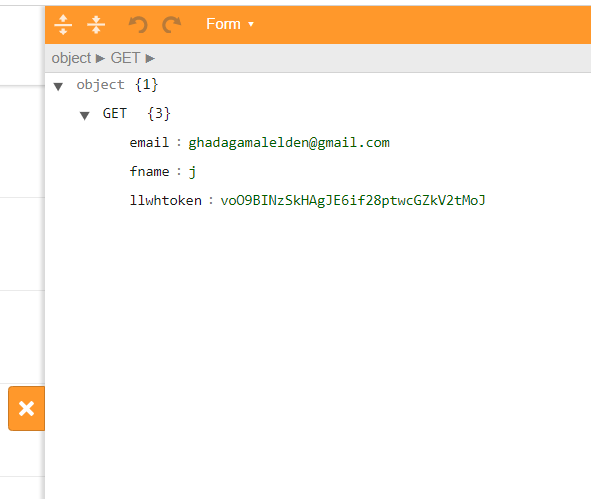
By default, the system displays the request in Form view, but you can also view the raw code or text. Use the drop-down menu at the top of the window to change the view.
Click the "X" icon to close the window.