| Table of Contents |
|---|
...
Prior to attending the event, ensure that your device is equipped with the most recent version of the mobile app. The app is compatible with Apple iOS version 14 or laterhigher, Android version 10 or higher, and Amazon Fire OS 7 and above, supported on Amazon Fire tablets released in 2018 or later.
...
| Info |
|---|
If your users cannot access the Google Play Store or Amazon Appstore, users may download our APK directly to install. The user must give their device permission to install from unknown sources. Click below to access the appropriate APK. Currently Apple does not allow for similar side-loading methods on iOS or iPadOS devices. If you need to side load on an iOS or iPadOS device, please contact Lead Liaison support for more options. |
New Users
If you are a new user, you will receive an email with an invitation code and links to the App Store and Play Store. If you prefer a text message invite, please contact your event coordinator before the event. After installing,
Open the mobile app
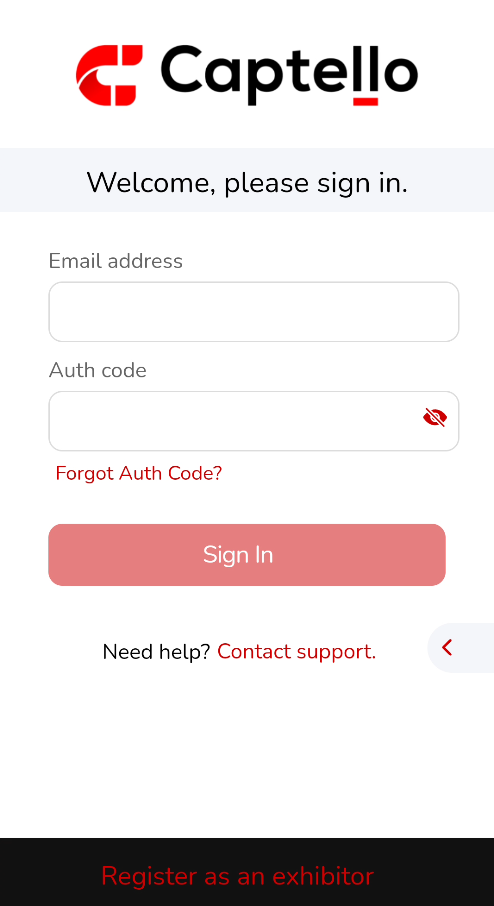
Enter your email
Enter your authentication code
Tap Sign In
If prompted, allow notifications
Once you have logged in, you will not need to do so again. The app will remember your device unless you uninstall the app or manually unauthenticate.
Resending Auth Code
If you forgot or lost access to your auth code, tap on 'Forgot Auth Code?', to resend it to your email.
Existing Users
If you are an existing user, you are ready to go. Make sure you have the most up-to-date version of the app. Normally the app will update automatically through the App Store, but it is best to check for pending updates before the event.
If you uninstalled the app or unauthenticated after your last event, simply use the same authentication code and follow the steps above. If you no longer have your code, ask your event coordinator to resend it.
Using the App
When you first log in to the app, you will see the Events screen. The Events screen will only show events you have been invited to.
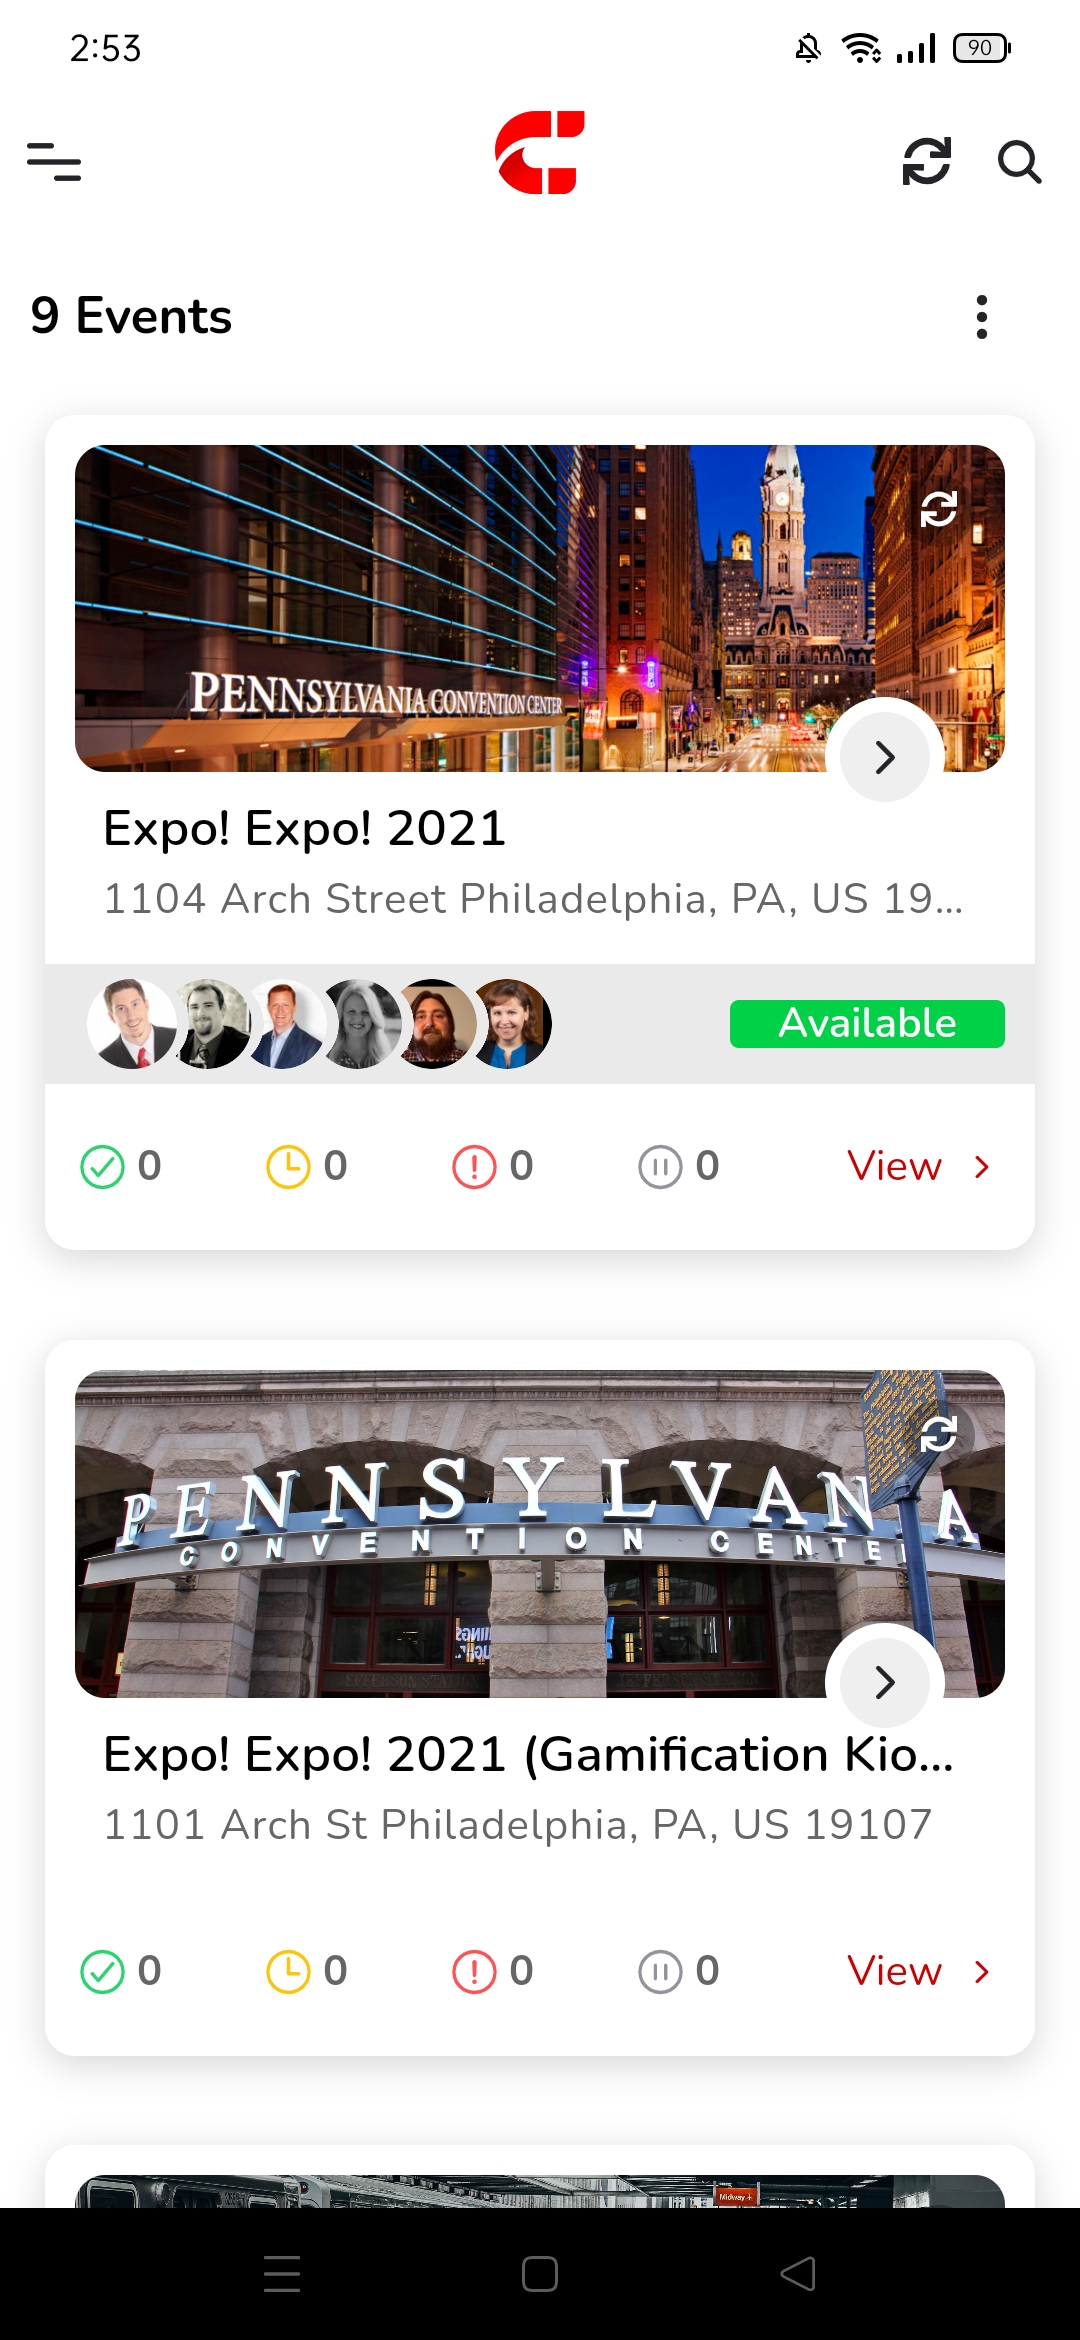
While the App loads, you will see a syncing bar at the bottom. If this is your first time opening the app, it might take up to 30 seconds to fully sync everything.
Tap on an Event to open its options.
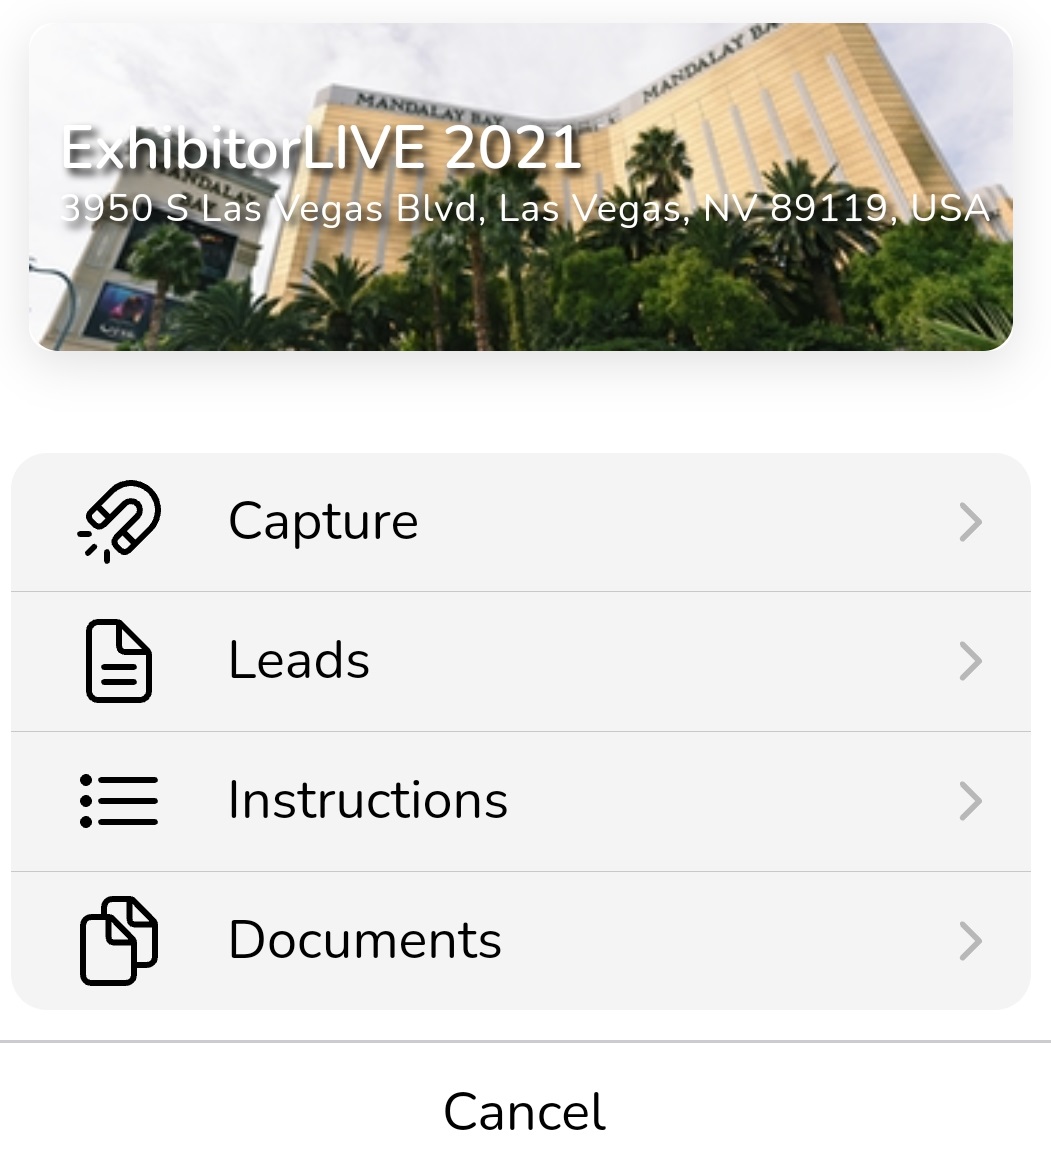
Capture - open event lead capture form
- Rapid Scan - opens the badge scanner or business card element for the form and allows the user to scan one after another. This option is only displays if an administrator has added it to the form properties.
Review Submissions - view or edit previously-captured leads
Instructions - view instructions for this event
Cancel - return to Events screen
Mobile App Menu
Settings
Before starting, review your device settings. To access settings, tap the menu icon in the top-right corner and select Settings.
...
This is the same information as you get in the Events Dashboard under the web app.
Lead Capture
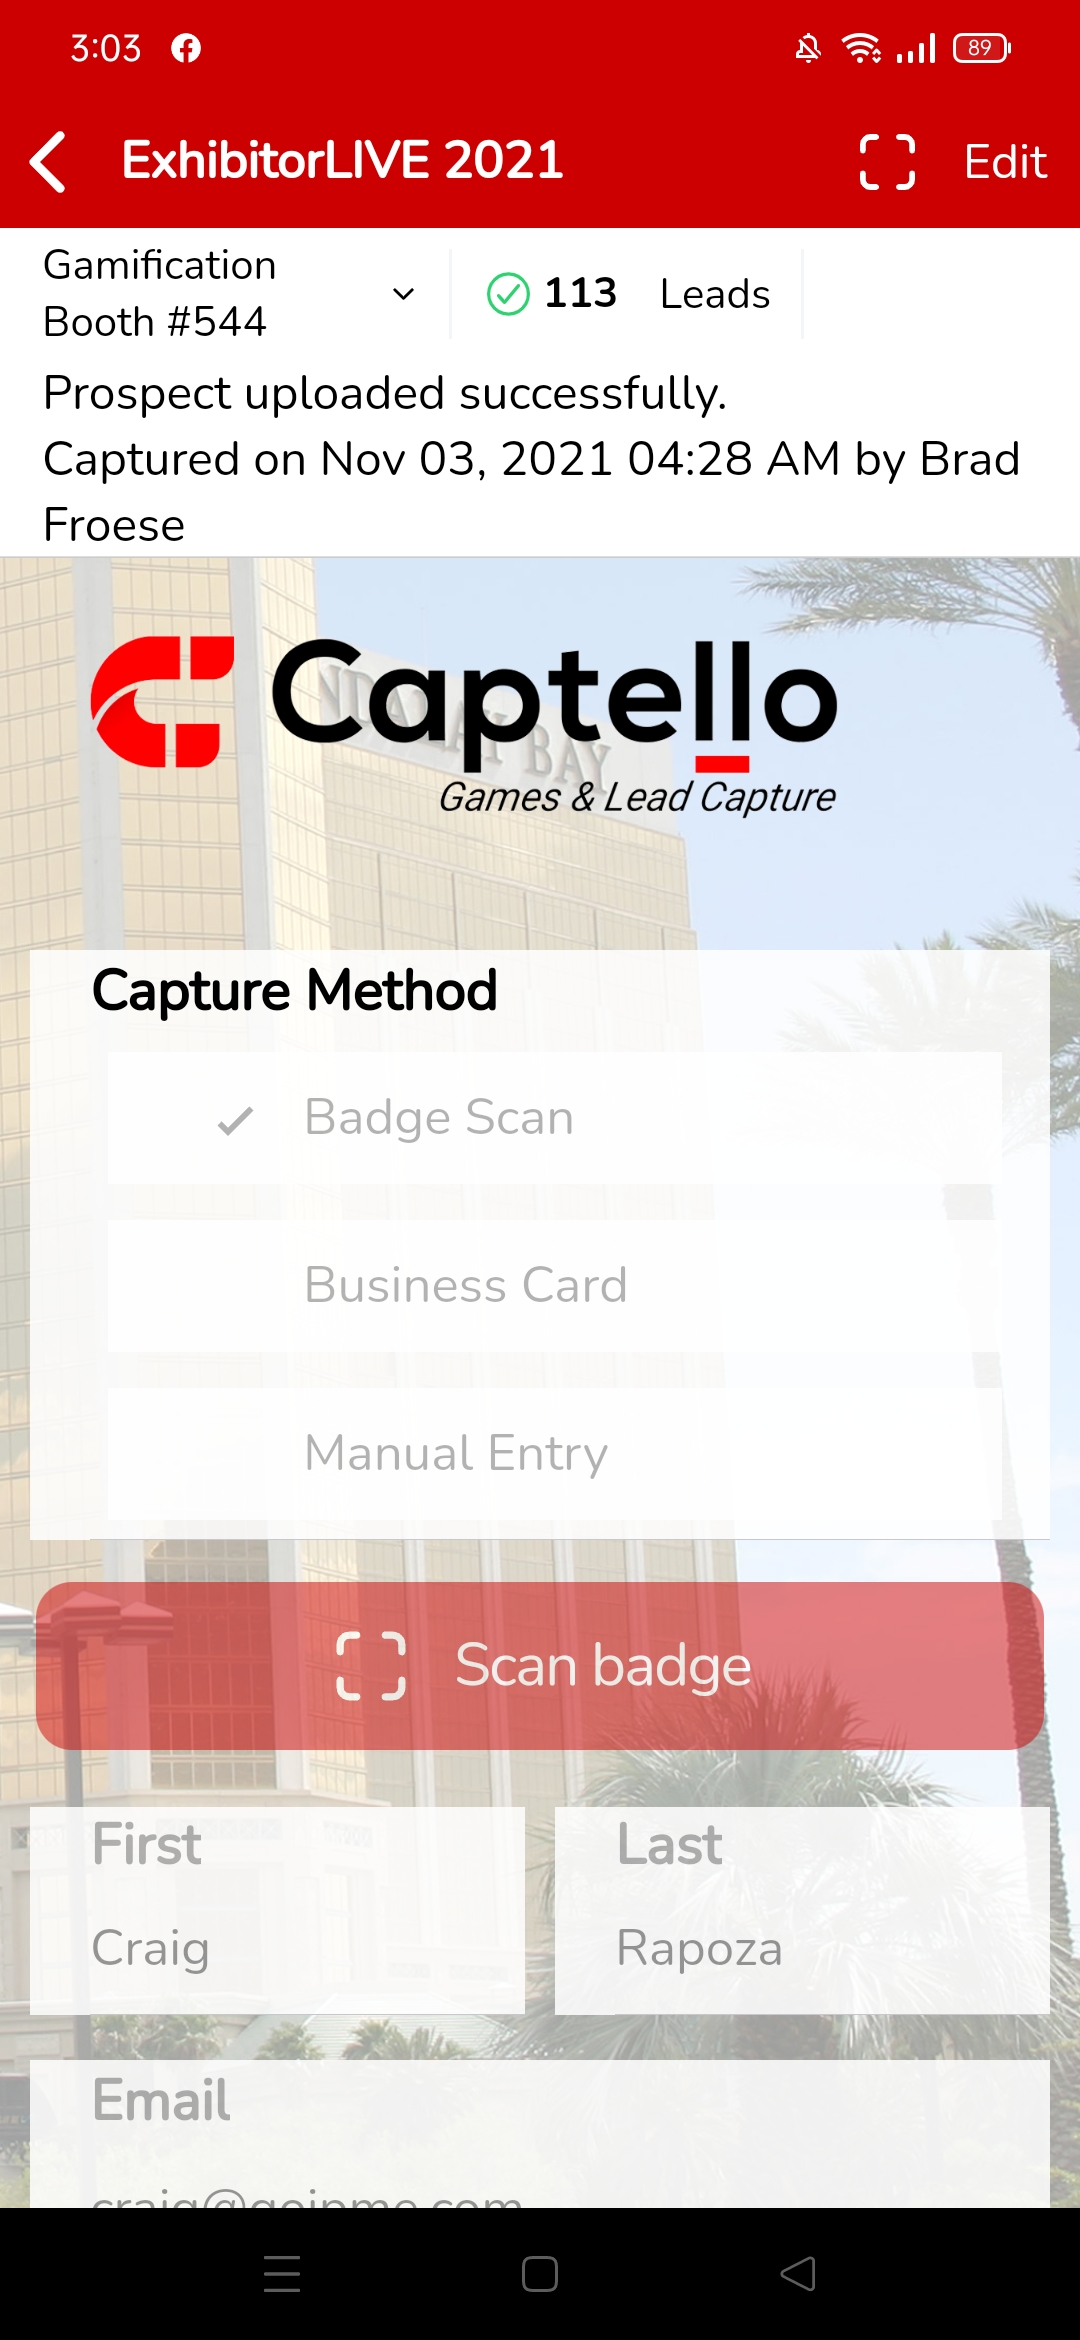
To begin capturing leads, tap on the appropriate show and select Capture. If this is the first time you have opened this Event form, you may see the Event’s instructions.
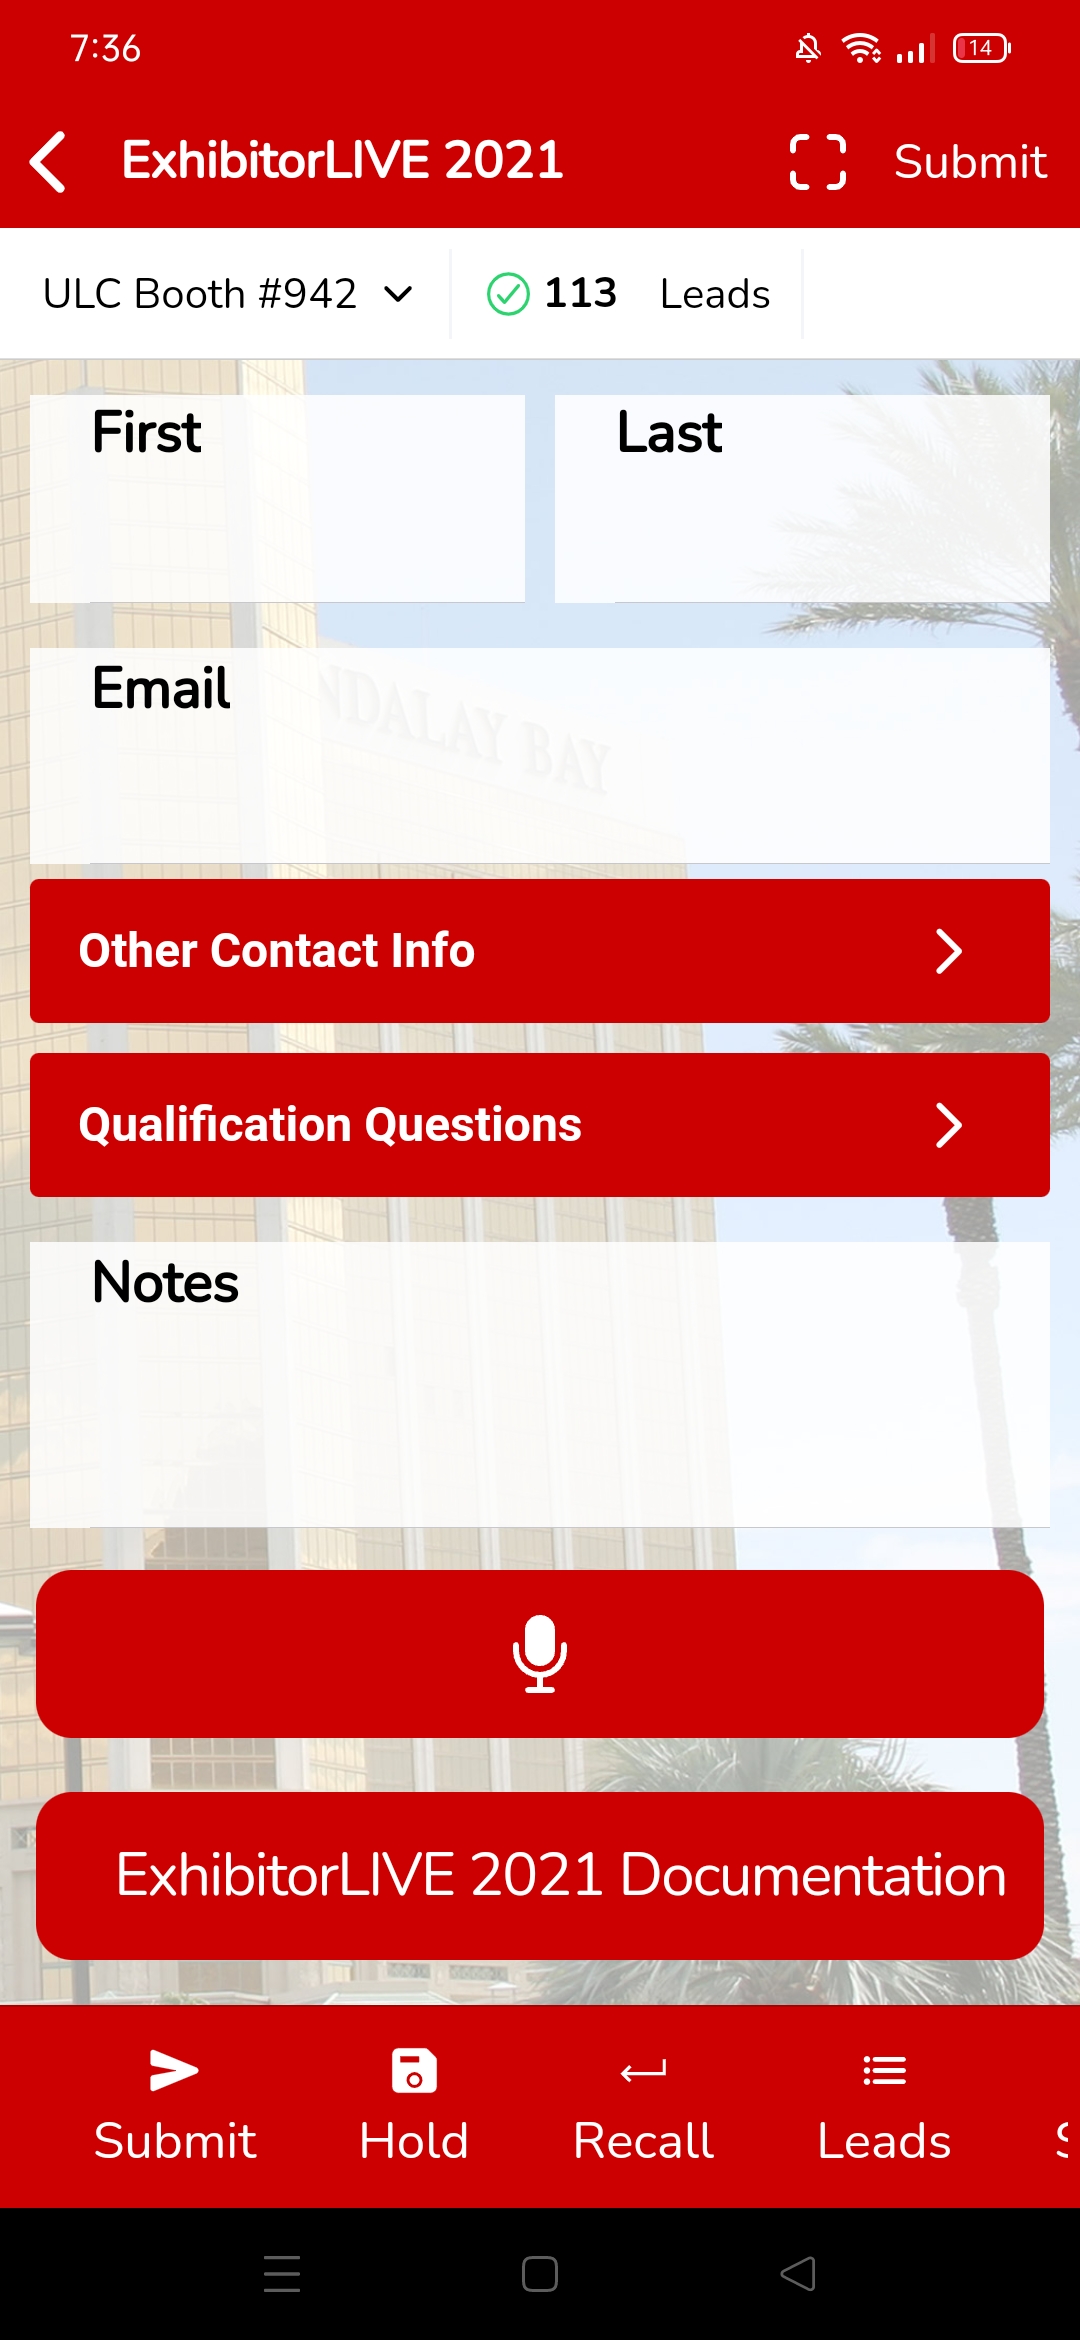
Once you have completed the form, tap the Submit button in the top-right corner of the screen. You should see a success message as shown below. To cancel your submission, tap the back arrow in the top of the screen.

Rather than manually enter data, you may have different options for capturing data. These options include
- Capturing a business card for transcription
- Scanning a badge
- Searching through a pre-registration list
Menus
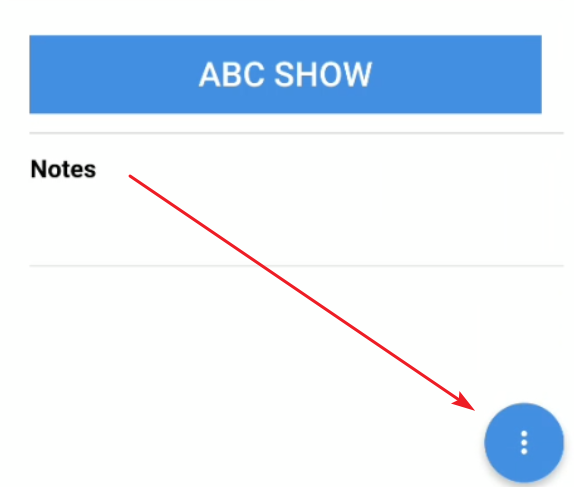
Your event coordinator may have enabled either the Buttons Menu or Floating Buttons. These buttons make it easier for you to capture, edit, and review your leads at an event. Depending on the event's settings, your options may vary from those shown below.
Buttons Menu
The Buttons Menu is a horizontal menu at the bottom of the form.

- Submit – submit current submission
- Reset – clear all form fields, scans, images, and recordings
- Recall – retrieve the last submission for editing
- Leads – takes user to the Review Submissions page
- Scan – scan a name badge or business card (depending on if those elements are on the form
Floating Buttons
The Floating Buttons are an alternative menu style to the Buttons Menu. Instead of displaying across the bottom of the form, the buttons can be shown/hidden by tapping an icon.
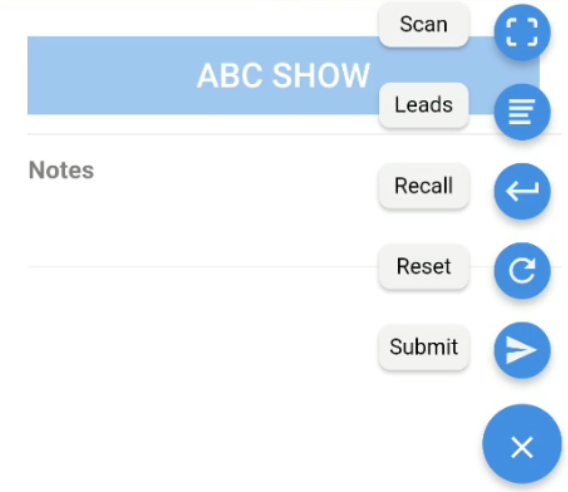
- Submit – submit current submission
- Reset – clear all form fields, scans, images, and recordings
- Recall – retrieve the last submission for editing
- Leads – takes user to the Review Submissions page
- Scan – scan a name badge or business card (depending on if those elements are on the form
Sections
Your event coordinator may have organized your form into sections. Sections will contain multiple fields. You might see Sections for contact data, survey questions, etc. Simple tap on a section to see its fields.
...
To use the business card capture tool, tap the boxes to activate your devices camera. The left box is for the front of the card, the right box is for the back of the card. You can also capture almost any form of written document using this element.

For resumes and other documents, make sure to focus on contact data rather than trying to fit the entire document into the frame. Remember, you can always use the Back business card element to capture additional details. See the Resume Capture Examples below.
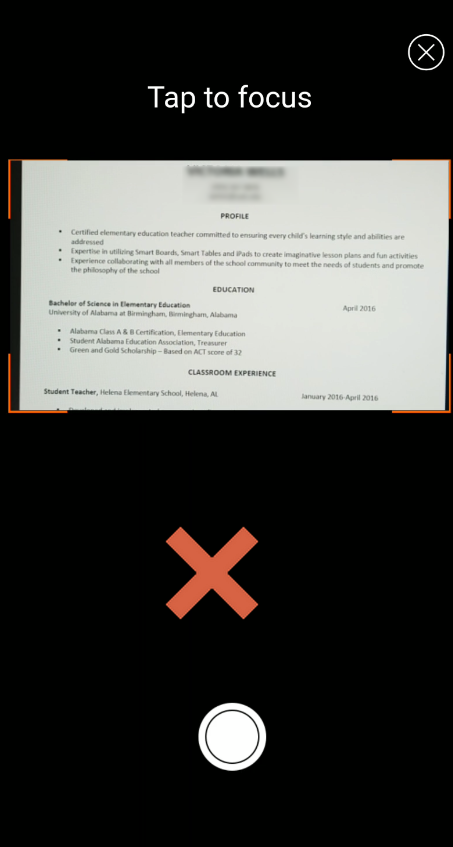
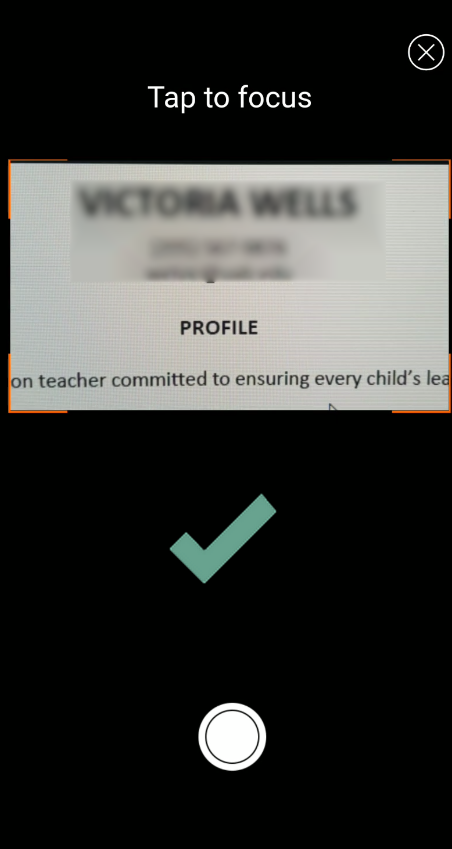
To make sure Lead Liaison can accurately transcribe the data, be sure to:
Keep relevant contact data in the frame
Allow your device to focus
Keep the device steady while taking pictures
Keep the document in good lighting
Review the image after you have taken it
...
| Info |
|---|
The business cards will not be sent for Transcription until after you have exited Rapid Scan. Once you exit, the system will upload the badge scans to the selected transcription portal. Depending on the number of images, this may take several minutes. |
Group Scan
You can capture multiple leads from the same group or company with the Group Scan feature. Multiple people can be scanned in rapid succession. The first person scanned is always the primary person for the group. All data from the primary person’s submission, besides their contact information, is copied to every other person in the group. When enabled, the standard badge scan button will be split into two buttons, with the smaller group scan button off to the right.
All survey responses, notes, questions and follow up documentation settings will apply to the entire group. To enable Group Scan as an option, turn on the toggle in the Settings tab of the Scanner element.

Here is a quick video overview:
Documents
Mobile app users can use your Documents to:
...
To review your form submissions, tap on the appropriate form and select Review Submissions. Tap on the submission to see the full form response. You will also see relevant metadata about how the submission was captured once you tap into it.
Submissions are color coded based on their status. The table below explains each of the statuses.
...