...
- Navigate to Admin > App Setup > Email > Unsubscribe Options.
- Make sure the Preference Center setting is Use default unsubscribe page
- Choose Custom Unsubscribe and click the Create New button.
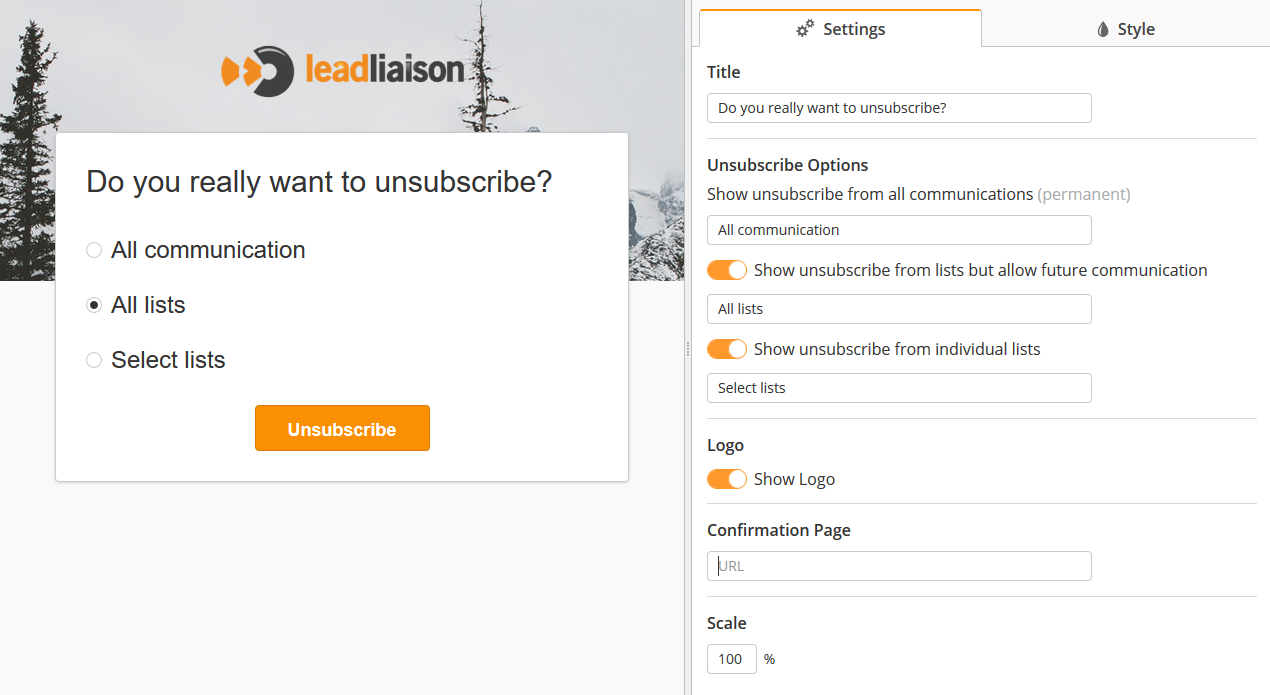
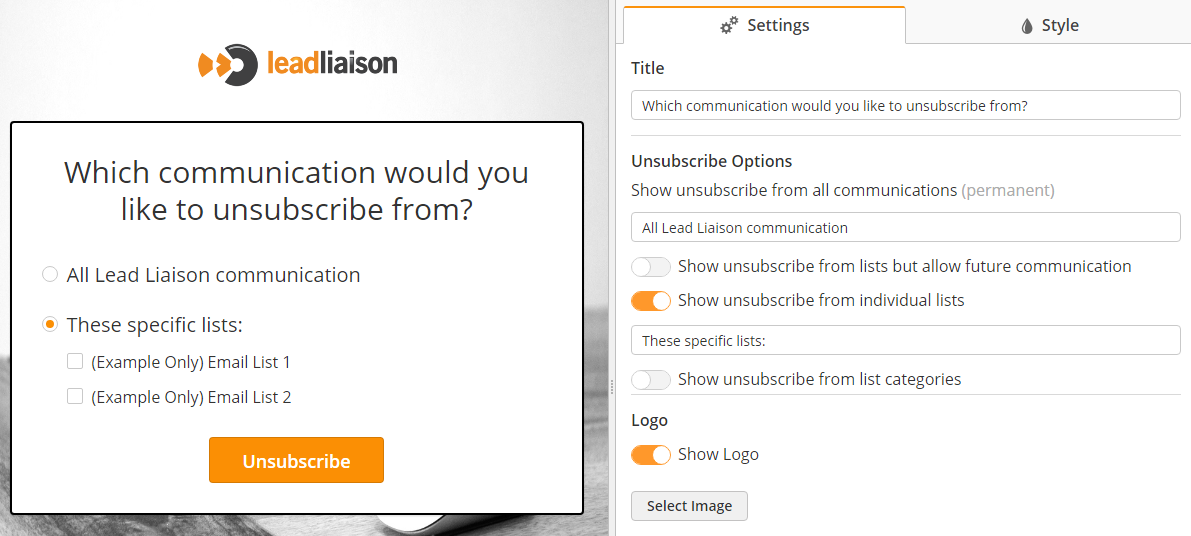
- Use the designer to build you custom unsubscribe page. On the left hand side is your unsubscribe, on the right pane you'll see settings and style to change all aspects of the page.
- Click the Preview button on the top right to see a mobile responsive version of your unsubscribe page.
...
- Once the custom font has been added, it's selectable from the font dropdowns.
Using Categories
Categories provide an easy way to group lists into a "bucket". If you don't want your recipients seeing the details of your public lists, create categories and place your lists into the categories.
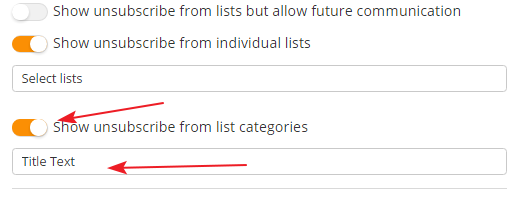
To enable categories on your unsubscribe page, flip the switch on your unsubscribe template, as shown in the screenshot below. Use the text box below the switch to create a custom title. Your email recipients will see all of the Categories containing Lists and can choose which to unsubscribe from.
| Info |
|---|
All categories containing lists will appear in the unsubscribe email. We recommend you keep your categories broad and easy to understand for your recipients. Save the specifics for lists. |
Lean more about creating and managing Categories Here.
Editing a Custom Unsubscribe Page
- Navigate to Admin > App Setup > Email > Unsubscribe Options.
- Select your template from the dropdown, click Edit.
...
- While inside the template, single click on the template name in the top left corner of the screen.
Previewing a Custom Unsubscribe Page
...
- Navigate to Admin > App Setup > Email > Unsubscribe Options.
- Select your new template from the dropdown.
- Click the Save button.


