| Table of Contents |
|---|
Overview
Lead Liaison allows Admins to setup Admins can set up Teams across their organization. Each user can be part of multiple teams. If a user is part of multiple Teams then the rights/permissions for each Team is are inherited. For example, if permissions for feature X is off in Team A but on in Team B and the user is part of both Team A and Team B then the user will have access to feature X since it was on in Team B.
| Tip | ||
|---|---|---|
| ||
Setup Team permissions to provider Team members with select access rights. Learn more about Team permissions here. |
Managing Teams
This section covers adding, deleting, and editing Teams.
Adding Teams
To add a Team do the following:
- Go to Settings > Administration > Teams Setup > Users > Teams

- Click on the 'Add Team' tab toward the top of the page
...
- New button
- Enter the name of the new team.

- The new team is now visible under the 'Manage Teams' tab.
Deleting Teams
To delete a Team do the following:
- Go to Settings > Administration > Setup > Users > Teams
- Check the box under the 'Remove' column for each Team you want to delete
- Click the 'Remove Selected' link above the table to remove the selected Teams
...
- Click the gear and select Delete next to the Team you want to remove

Editing Teams
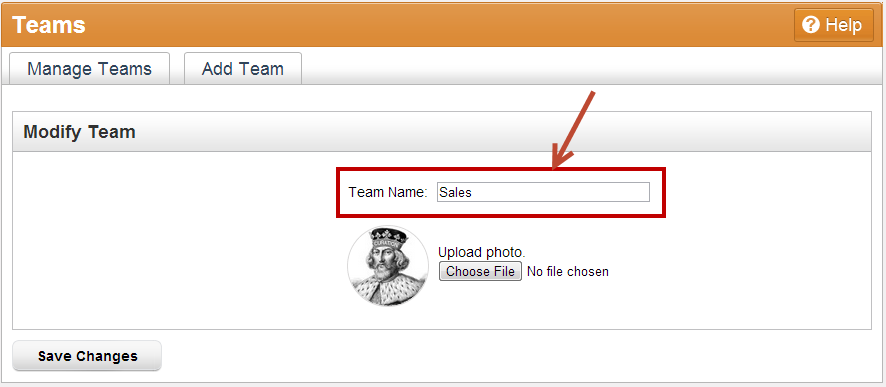
To edit a Team name do the following:
- Go to Settings > Administration > Setup> Users > Teams
- Under the Actions column gear click on 'Edit' next to the name of the Team you want to change the name of Edit

- Enter the new name of the Team and add/change a photo for the Team. See See the screen shot screenshot below:
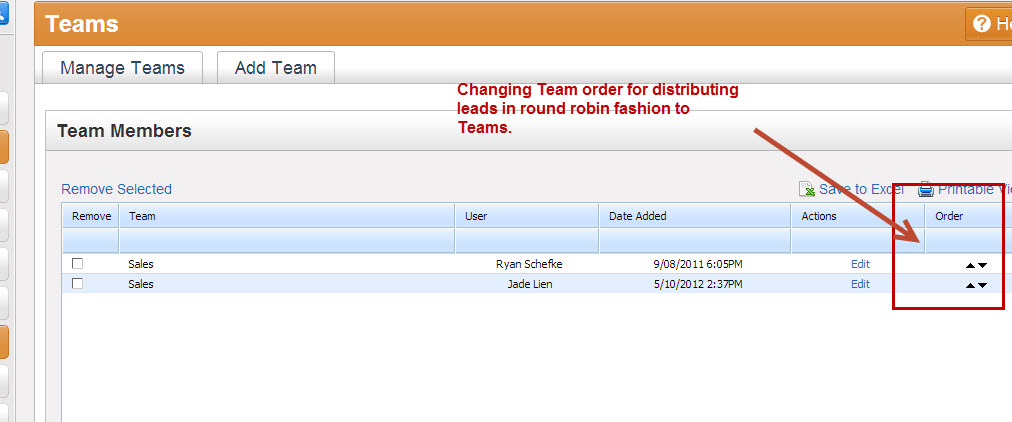
Distributing Leads to Teams
Lead Liaison allows users to distribute leads to Teams in round robin fashion. Higher priority Teams will receive leads first. To change the order of a Teams priority click the up and down arrows under the "Order" column.

Notifying a Team
To notify a Team name do the following:
- Go to Setup> Users > Teams
- Under the gear click Alert

- Customize the notification preferences for the team

- Click Save
Assigning a Security Profile to a Team
To assign a security profile to a Team do the following:
- Go to Setup> Users > Teams
- Under the gear click Assign permissions

- Click on the Security Profile field to choose the intended security profile

- Click Save
Unassigning a Security Profile to a Team
To unassign a security profile from a Team do the following:
- Go to Setup> Users > Teams
- Under the gear click Unassign permissions

- Click on the Security Profile field to choose the intended security profile to be removed

- Click Save
Assigning Capture Form Labels to a Team
To assign a label or labels to a Team do the following:
- Go to Setup> Users > Teams
- Under the gear click Capture form labels

- Click on the Labels field to choose the intended label or labels

- Click Save
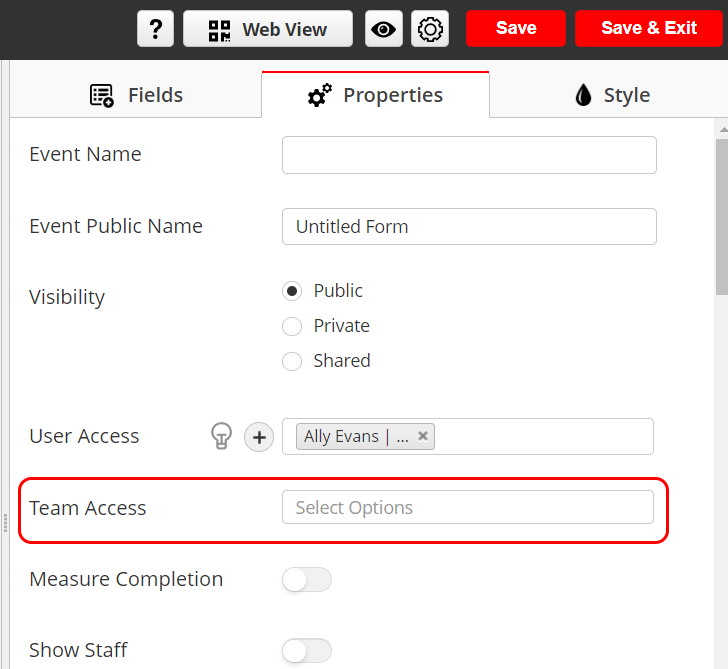
Assign Access to a Team for an Event
From the Event Designer:
- Go to the Properties tab
- Go to Team Access
- Choose the intended team to assign them access to this event.
- Click Save.
The team members will then be moved to Below User Access as shown: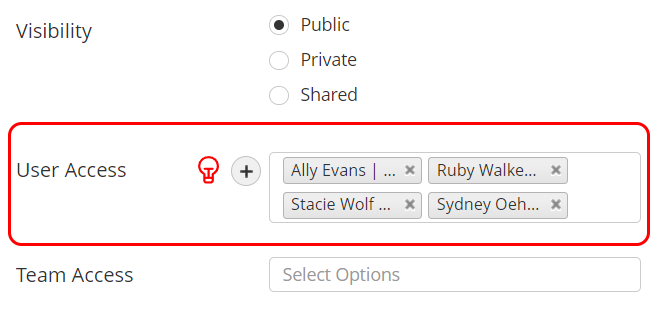
Removing a User from a Team
To remove a user from a Team do the following:
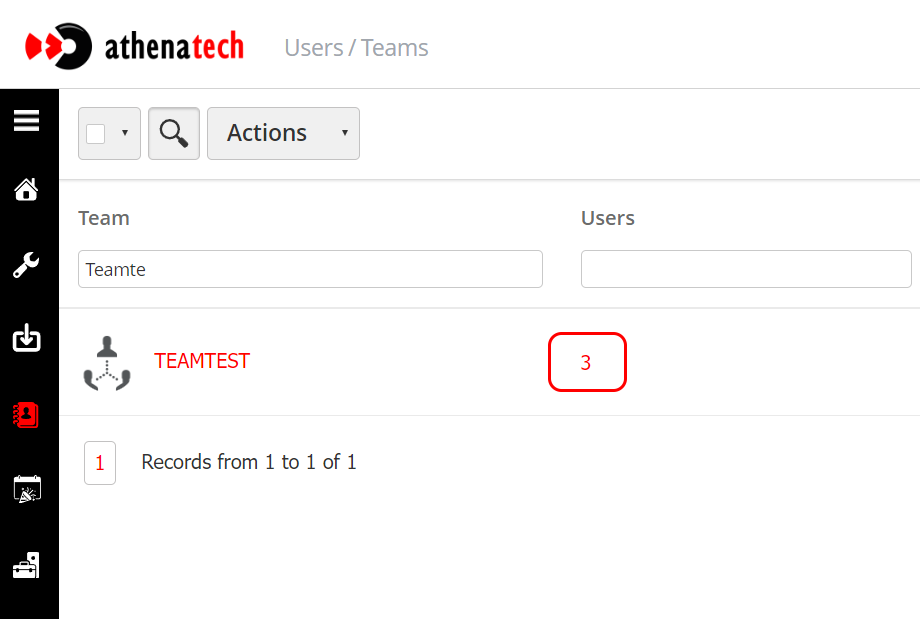
- Go to Setup> Users > Teams
- Search for the intended team.
- Click on the number below the Users column.
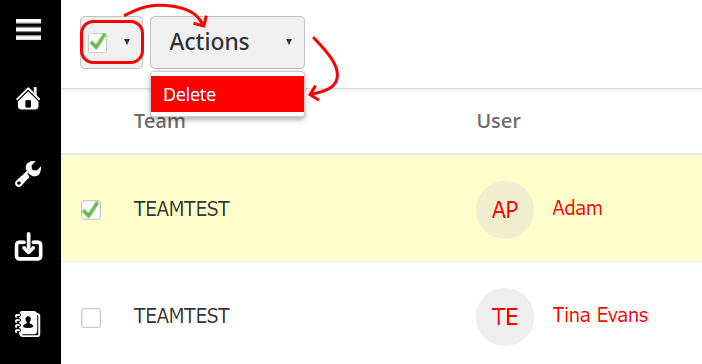
- Click on The check box to select all users or click in the dropdown to select individuals.
- Click on Actions > Delete
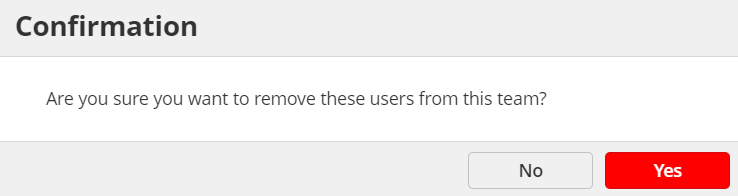
- Confirm your selection.
| Note |
|---|
Note: Removing a user from a team does not remove them directly from the capture forms they are assigned access to. Since they are saved below User Access. They must be removed from the User Access of the intended capture form as well. |
