...
Create a new segmentation by clicking the green plus next to Segmentation under the Design tab. going to Workflow > Segmentation
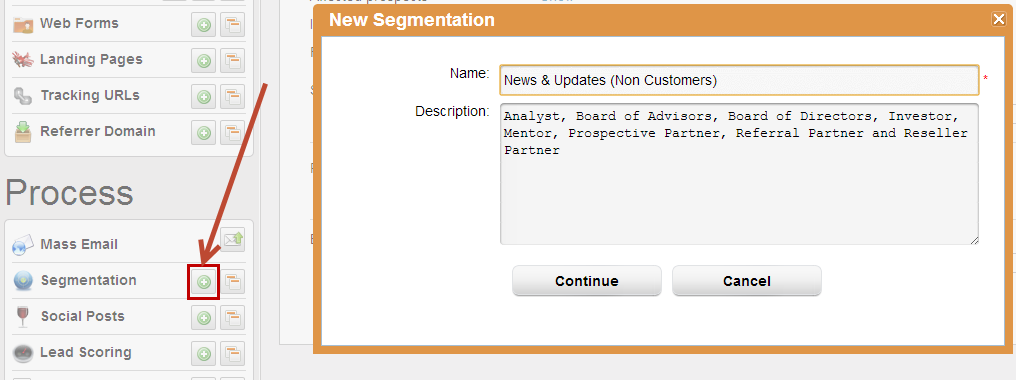
Step 2: Filter the Database
...
| Info | ||
|---|---|---|
| ||
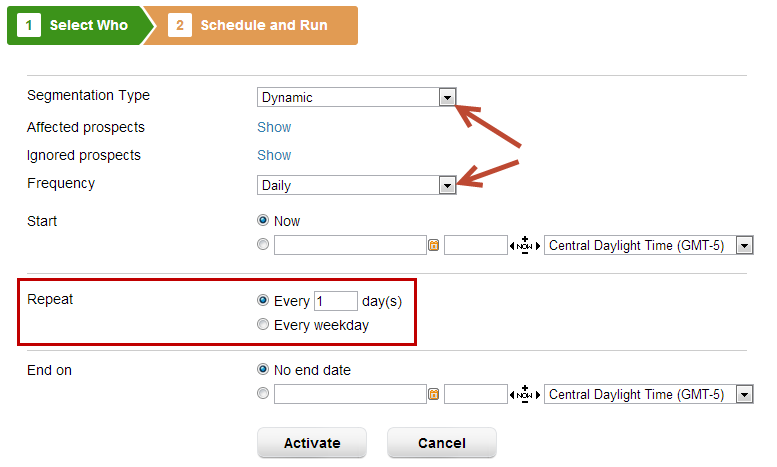
If you plan to use your segmentation for email marketing purposes, make sure to click the "Show Advanced Settings" link at the bottom of the Save and Schedule page and select the "Build List" option. This will build an email marketing list which you can use for communication. |
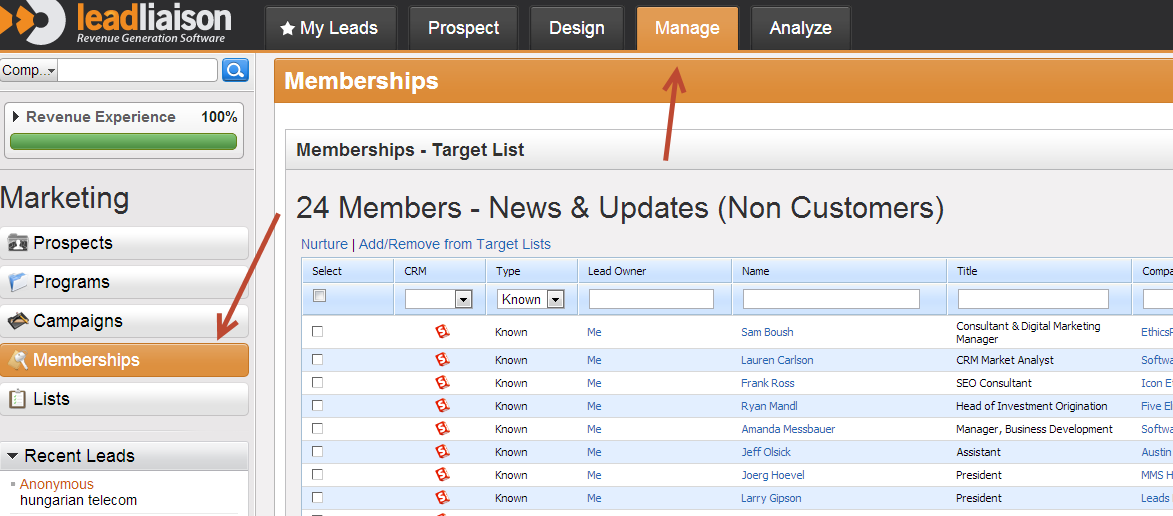
- Validate your list members by
...
- going to Manage > Lists. Click the number next to the list you've built to see the memberships.
Step 6: Build Email Campaign
Now that your list is built, build an email campaign to send to the list. To do this, click the manage icon next to Email under the Design tab then click the Create an Email Campaign button Create > Emails. Build your html and text version of the email message.
...
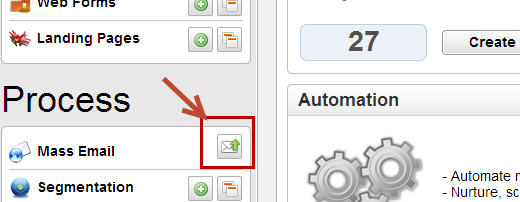
Now that your email marketing message has been built, click the send button next to "Mass Email" under the Design tab to send your message to your list. Alternatively, click Workflow > Mass Email.
Step 8: Select the List
...