...
Enter a name for the Zoom Account. Note, this name is only for internal purposes to help differentiate Zoom Accounts since multiple Zoom Accounts may be connected at once. Click Authorize.
...
Click Authorize on On the next screen, click Pre-approve and then click Authorize to allow the platform to connect with your Zoom Account.
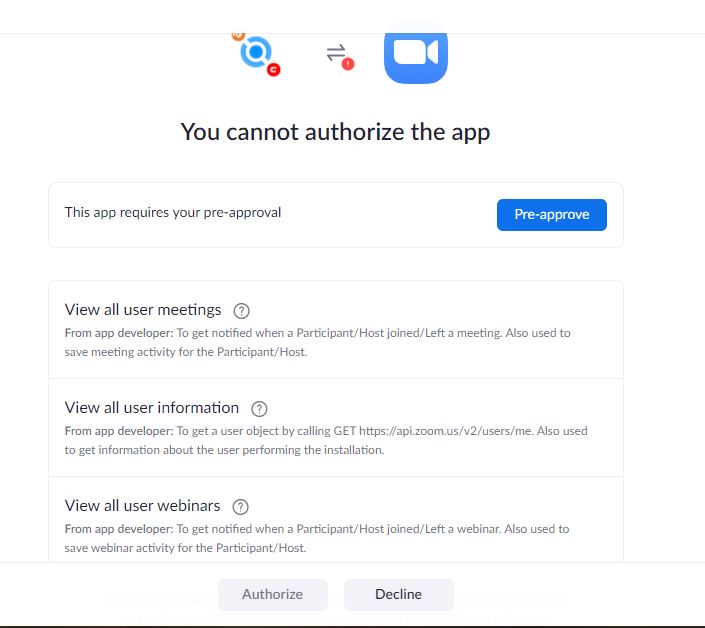
If you receive a message similar to the one in below screenshot then you’d need to first check your Zoom role permissions to make sure you are allowed to:
- view all user information
- view all user webinars
- view all user meetings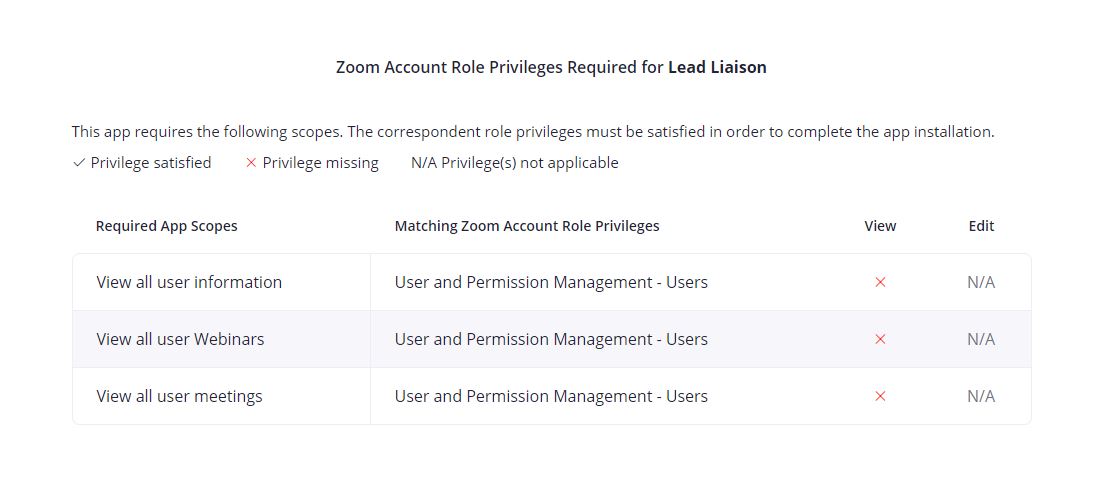
You may find more about using role management in Zoom documentation here.
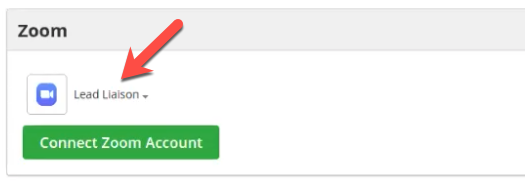
Once your account is connected it will appear within the Zoom Connector as shown below:
Uninstalling the Zoom Connector
...
Navigate to Setup > Integrations > Connectors > Zoom.
Click the down arrow next to the Zoom Account you want to uninstall.
Click Remove Account.
...
| Info |
|---|
Our App is also available on Zoom App Marketplace here. |
Prospect Creation
If the Prospect does not currently exist (based on email address) then the system will create a new Prospect based on the attendee’s information and a timeline entry will appear in the new Prospect’s profile.
...