Overview
Use the media manager to upload jpg, jpeg, png, gif, html, htm, txt, docx, doc, zip, pdf, css, js files as marketing assets for your business which you can use in multiple places in Lead Liaison. For example, upload images to use in the landing page designer, web form designer and email campaign designer. Also, upload a global style sheet (CSS file) to reference and use in a Layout Template.
Media Manager Must be Turned On
If you don't have access to the Media Manager contact your Account Manager for help. The Media Manager will need to be enabled on your account.
Using the Media Manager
Adding Media
To add media to the Media Manager do the following:
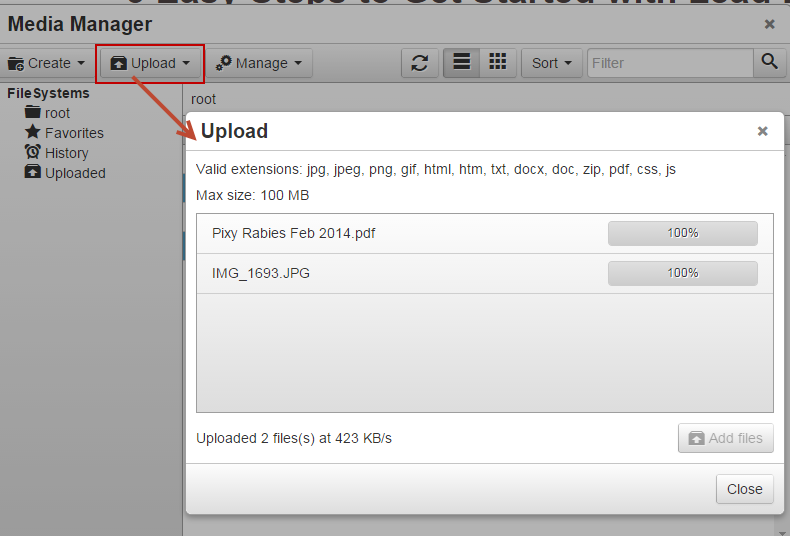
- Click Create > Media
- Click Upload
- Select your source for upload:
- Local machine
- Dropbox
- Google Drive
Creating Folders
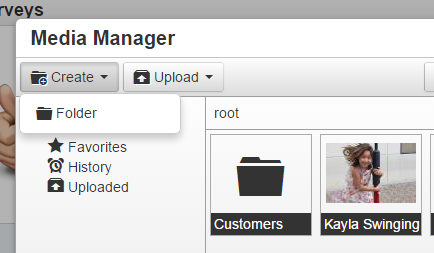
To create folders in the Media Manager click the Create button and then Folder.
File Details
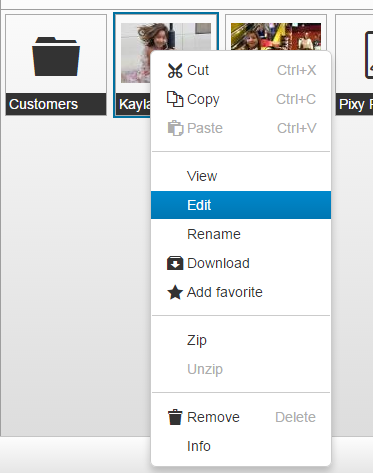
Right click on any media piece within the Media Manager to see a menu of options, as shown in the screenshot below.
- Edit = Opens up an image editor to resize the image and add styling effects.
- Add favorite = Adds the image into the "Favorites" folder on the left.
- Download = Downloads the file to your local machine.
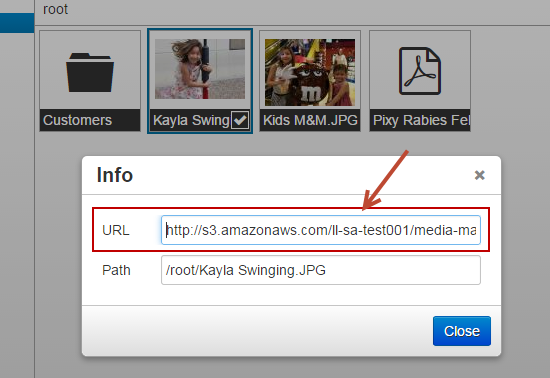
- Info = Provides a path to the file.
Use the Info option to see the file path:


