Overview
Anyone can build a professional-looking email with Lead Liaison's visual designer. Using drag-and-drop elements, you can create a template to use over again, or to send as a one-off email.
Choosing a Template
To use the visual designer, select Start with a Template when creating a new email.
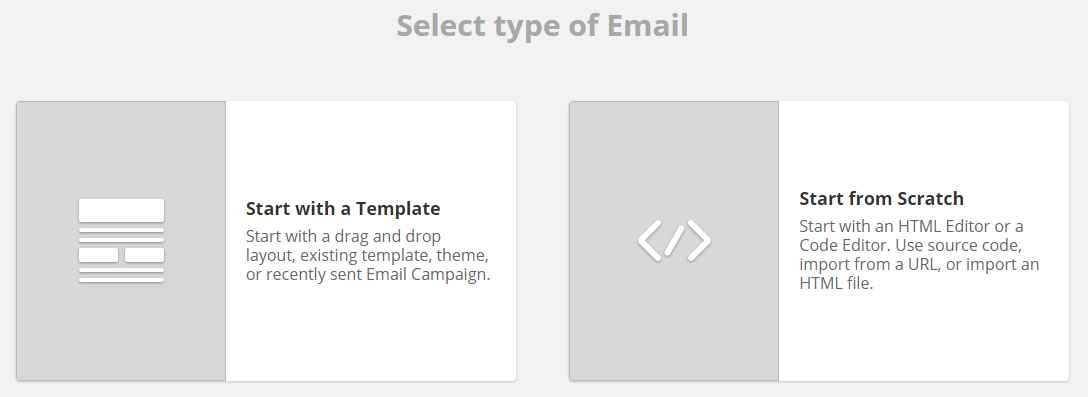
Choose a starting point from the menu shown below.
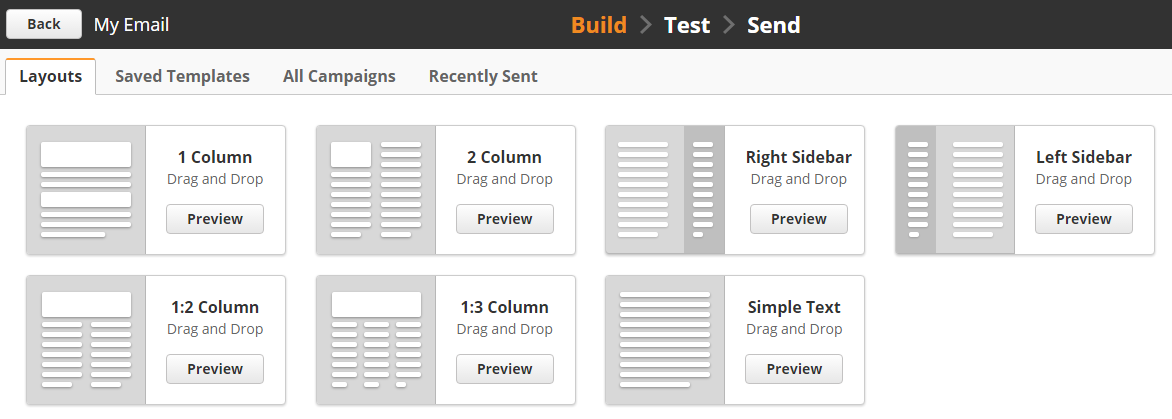
- Layouts – pre-made layouts in the system to build upon. Click the Preview button to see the layout in your browser.
- Saved Templates – layouts saved by your organization. Click the Preview button to see the layout in your browser.
- All Campaigns – build a new email with the content and layout of a previously-sent email.
- Recently Sent – build a new email with the content and layout of a recently-sent email.
Editing Page Design
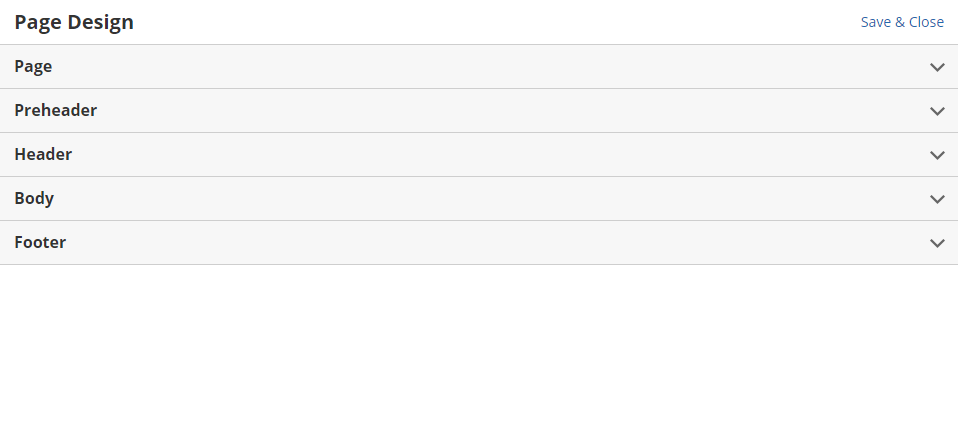
The visual designer breaks emails into four sections, and you can edit the design of each section. We have deleted all content from our layout in the image below to show you the sections.

- Preheader – a quick message normally displayed in the recipient email client's preview; "open email in browser" included here by default.
- Header – the top of the email normally used for logos, banners, large text etc.
- Body – the main body of your email used for content.
- Footer – the bottom of the email normally used for socially media links; unsubscribe link included here by default.
To edit the design of your email, click on the design tab to the right, then click Edit Page Design.

Click on each of the sections to edit the design of the whole page or page section.
- Page – edit the page background color, border, global Heading 1 and Heading 2 colors/shadows, and custom fonts.
- Preheader – edit the default background, border, text font/color/weight, line height/alignment, and link font/color/decoration for the Preheader section.
- Header – edit the default background, border, text font/color/weight, line height/alignment, and link font/color/decoration for the Header section.
- Body – edit the default background, border, text font/color/weight, line height/alignment, and link font/color/decoration for the Body section.
- Footer – edit the default background, border, text font/color/weight, line height/alignment, and link font/color/decoration for the Footer section.
Once you have finished editing the page design, click Save & Close in the top-right corner.
The design hierarchy is Content > Page Section (Header, Footer, etc.) > Page. For example, if an individual piece of content like a text block has a black background, it would override the background color settings in the Body section. Likewise, if the Footer calls for a specific text color, it would override the global text color in the Page settings.
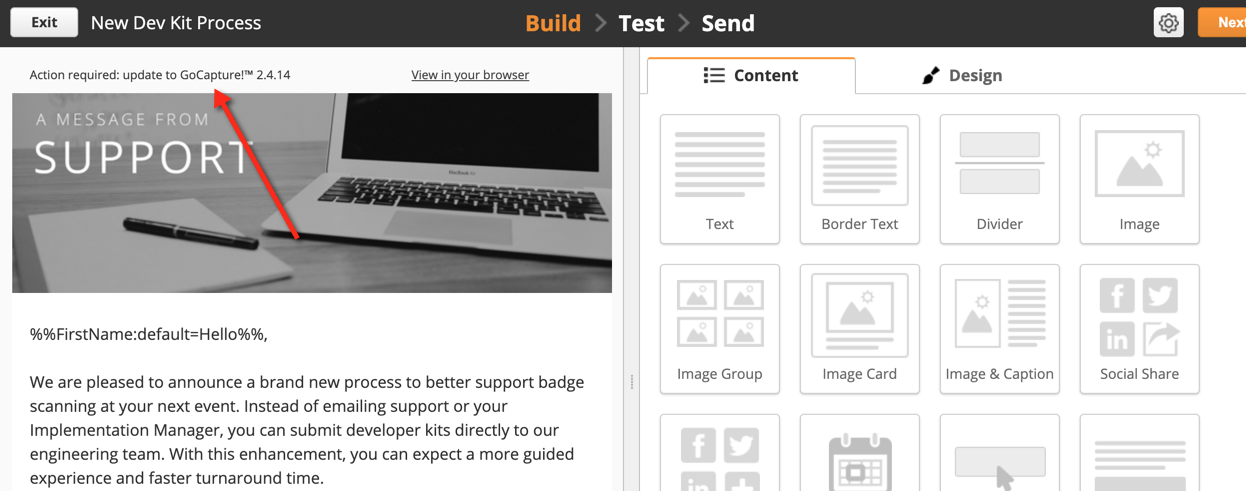
Adding Content
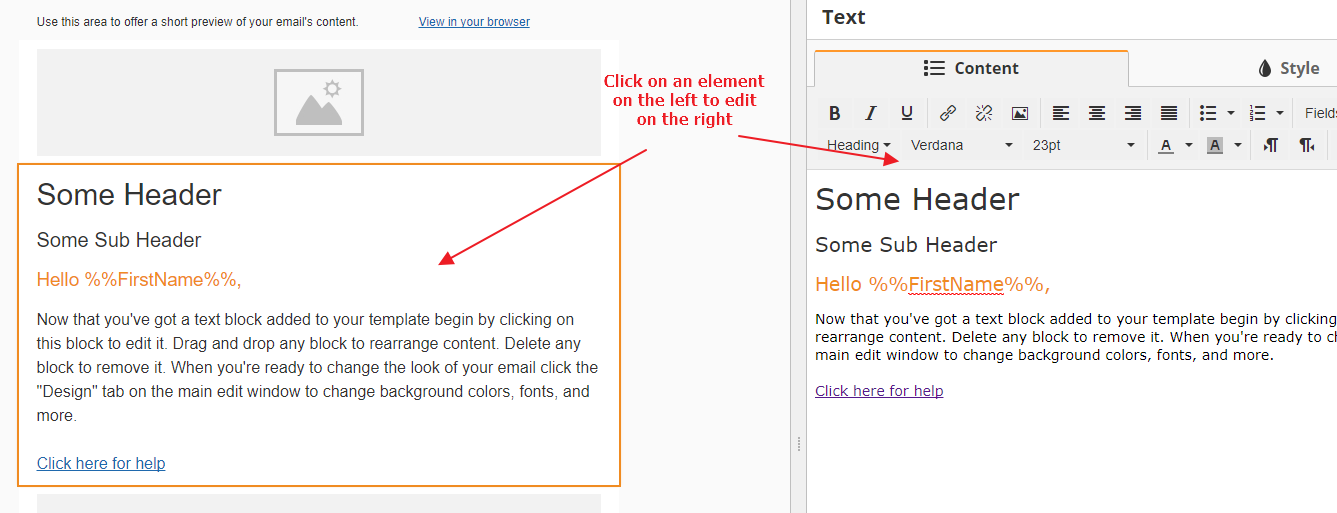
To add content to your email, drag and drop the elements from the right of the screen to the sections on the left. Once you have your elements in place, click on them to edit.
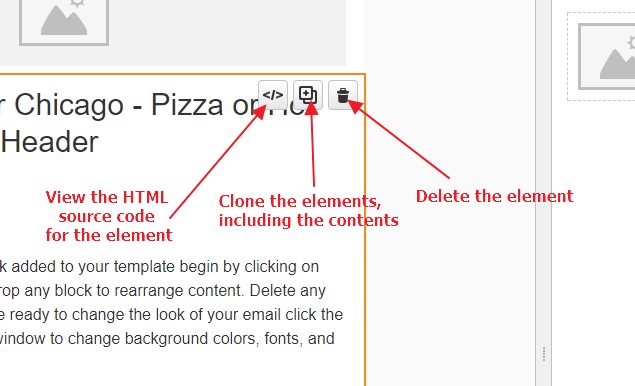
While mousing over the element, you can choose other action items.
Text Elements
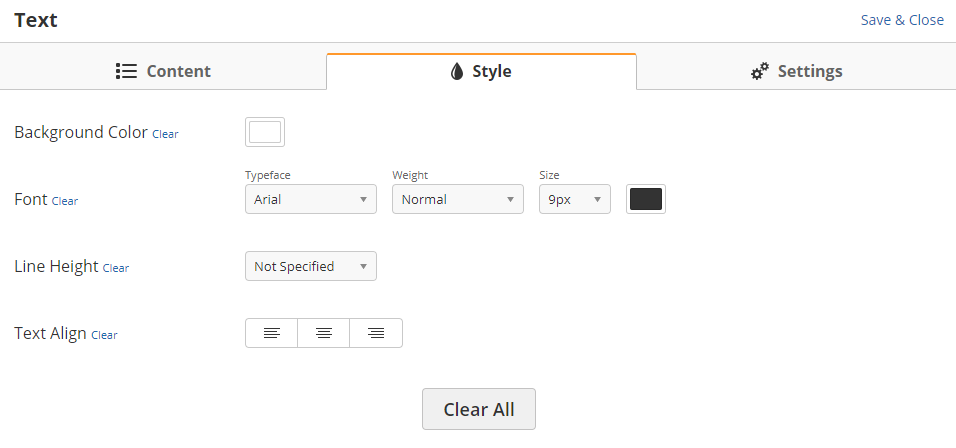
Text elements have a style tab. From the Style tab, you can change the background color, font, line height, and text alignment.
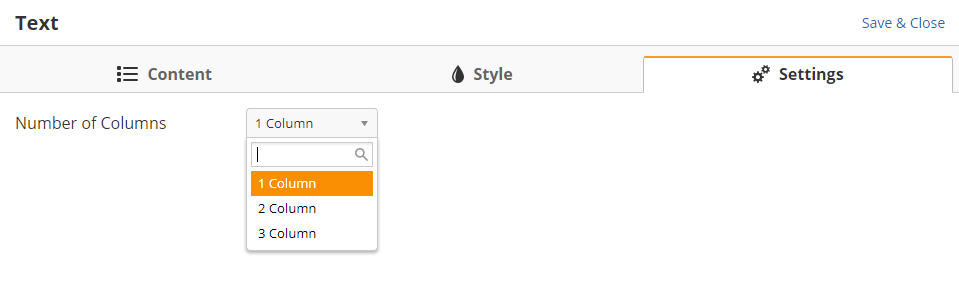
Add or remove columns from the text elements using the Settings tab.
Preview Text
Preview text gives your recipients a peak at the contents of your email. The preview text is typically in the preheader of your email.
Merge Fields
You can use merge fields to import field data from any standard or custom field in a text element. Using merge fields is a great way to personalize email contacts. For example, you can use the First Name merge field to pull in a prospect's first name, or the Company field to pull in the name of the prospect's company.
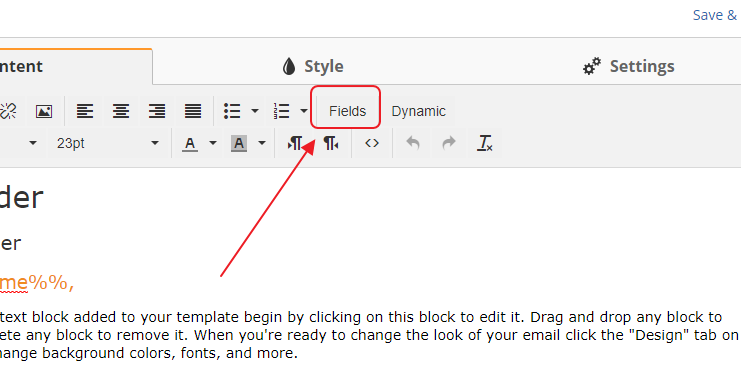
To use a merge field in an email, click on a text field to open the text editor, and then click Fields.
Learn more about merge fields here.
Conditional Content
With Conditional Content, the system will dynamically change the content of an email based on Prospect Criteria. For example, it could use a picture of a hot dog for a Prospect from Chicago and a picture of pizza for one in New York.
To add a condition:
- Open any text element.
- Click Conditions in the top-right corner of the editor.

- Enter your condition using Prospect, Owner, or Organization fields.
- Enable or disable case sensitivity.
- Enter your content.
- Click Insert.
Content
You can put any kind of content into a condition that you would in the standard editor. For example, you can add an image, insert a link, or add a bulleted list item.
The system will automatically input a special line of code with your content. It will look similar to the image below.
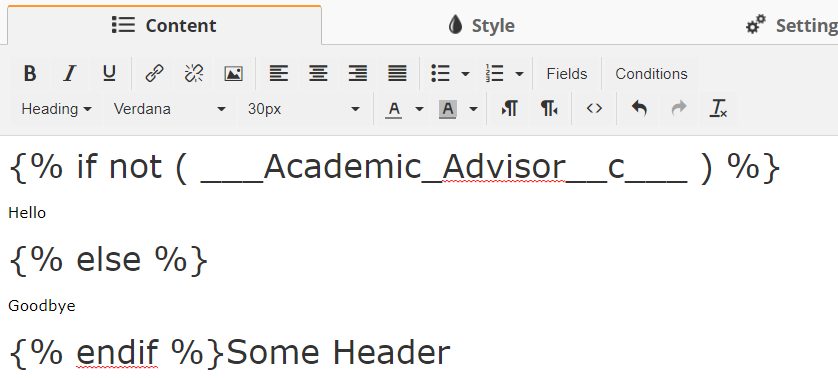
When the system sends the email, it will remove the lines of code and only show the content that is relevant for that Prospect.
Default Content
You can add default content that the system should use if the condition doesn't apply. To add default content, when adding your condition, click on the Otherwise toggle. Any content you enter into this section will display if the Prospect does not match your condition.
Multiple Conditions
You can add multiple conditions to your email. The system will only ever use the conditions that match the Prospect. For example, you might send out links to documents that a Prospect has requested on a form. You would add each individual document link to its own condition. When the Prospect receives the email, the will only see links to the forms they requested.
Image Elements
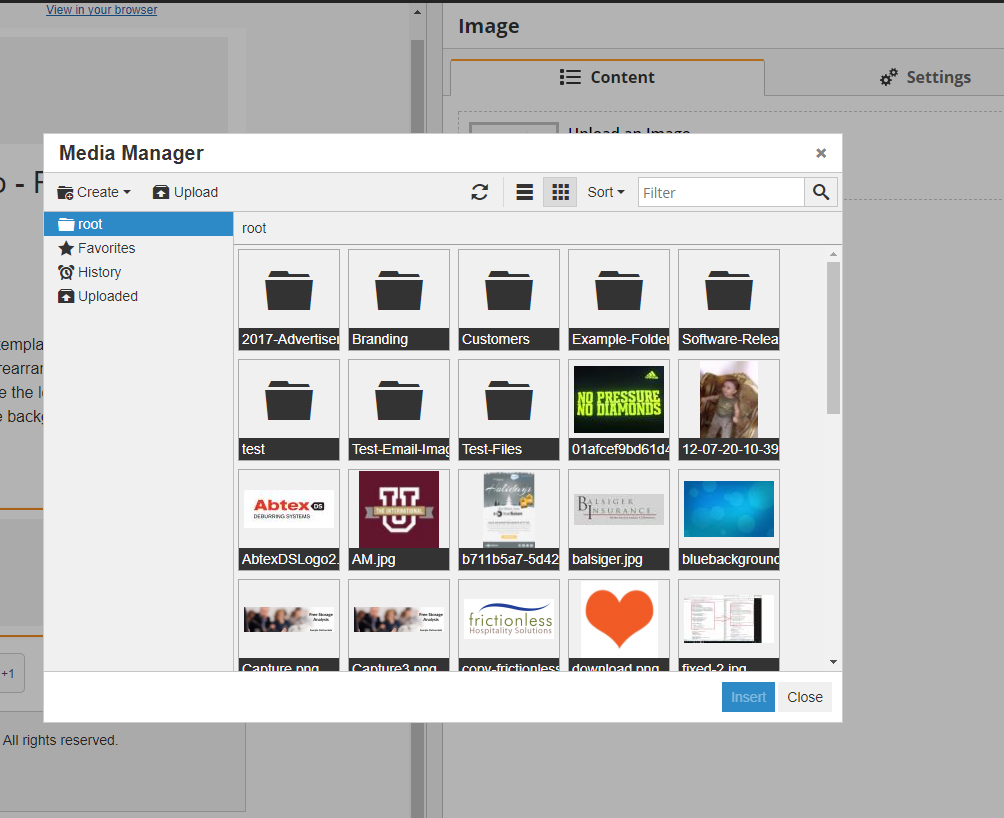
If you add an element with an image, click on the Browse link to add an image from the media manager.
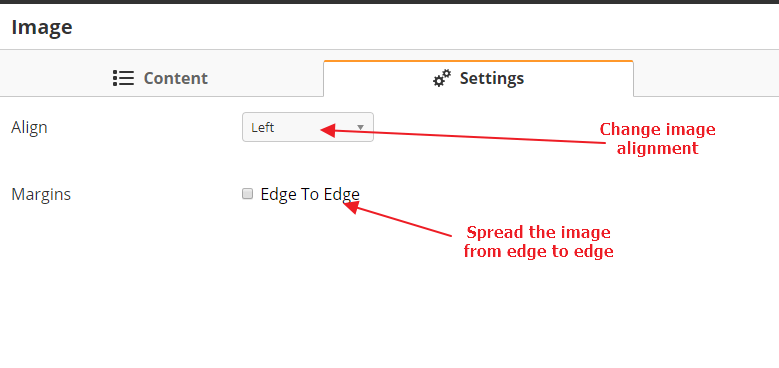
From the Settings tab, change the image's alignment. You can also check Edge to Edge to make the image spread across the entire email.
To resize an image after placing it, use the resizing arrows in the bottom-left corner of the image. The system will maintain the image proportions automatically.

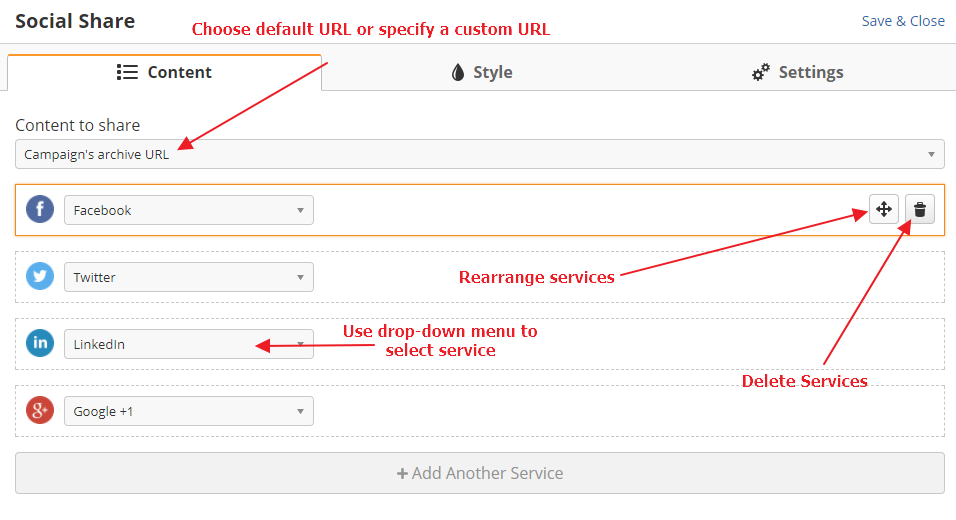
Social Share
The social share buttons let your followers share you social media pages in a single click. In the Content tab, use Content to Share to either choose the default URL from the social media campaign, or to specify a custom URL. Use the action buttons to reorder or delete services, and click Add Another Service to add another social media service.
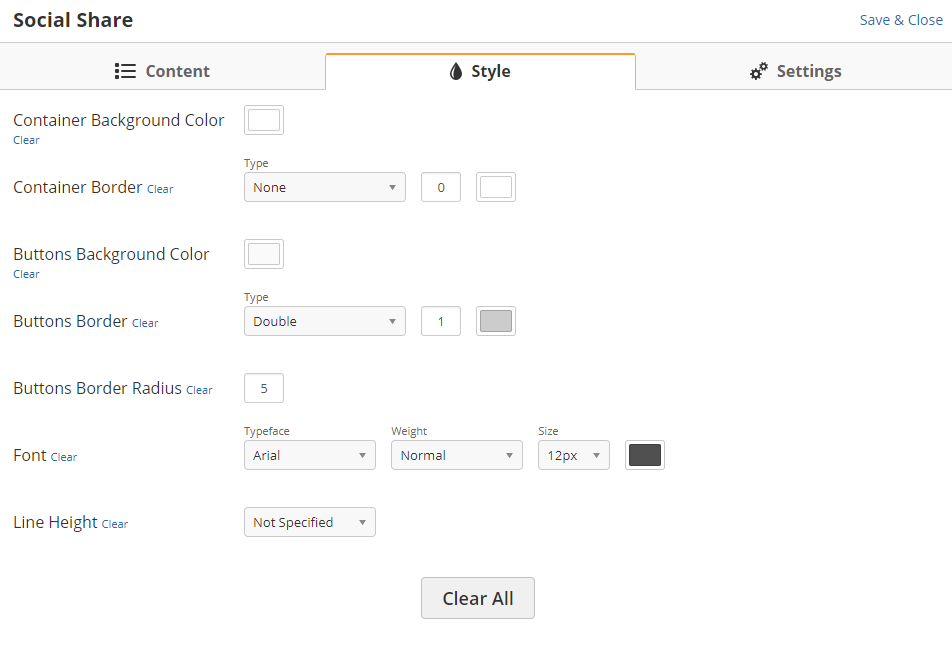
From the Style tab, you can change the styling of the social share buttons.
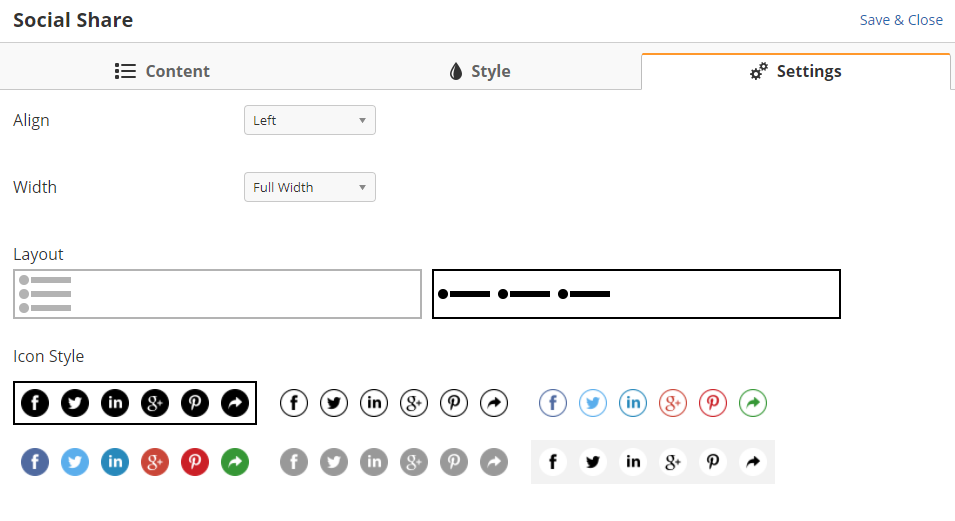
From the Settings tab, you can change the layout and icon style of the social share buttons.
Social Follow
Social follow buttons give a link to your email recipients to follow your social media accounts. The Content, Style, and Settings tabs follow the same rules as Social Share buttons.
Calendar
Attaches a calendar invite to icons representing different calendar services, including Microsoft Outlook, Google Calendar, and iCalendar. This feature is perfect for pre-planned events like meetups, lunch-and-learns, trade shows, webinars, and other events. Use the Content tab to set the event title, date, time, and description.

The Style and Settings tabs use the same rules as the Social Share buttons.
Sending a Calendar invite will not add an event to the sender's calendar, nor will it check the sender's calendar for availability. This feature is best used for pre-planned events already marked on the sender's calendar.
Button
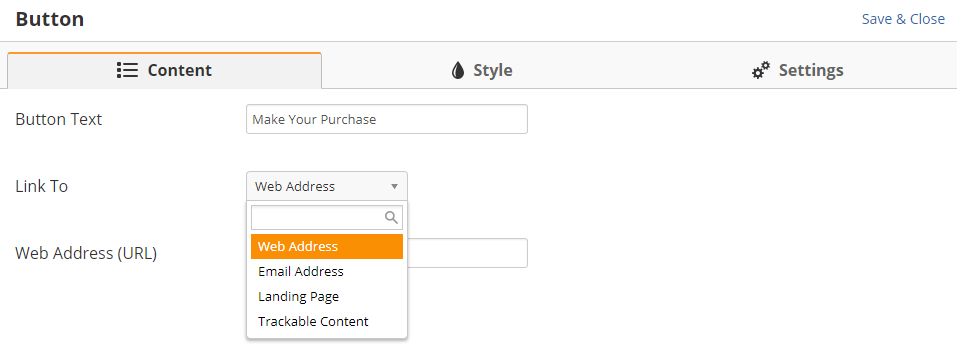
You can add a button to send recipient's to a specific web address. For example, you might email an invitation to a lunch-and-learn, and include a button that says "RSVP Now!" That button would then lead to a landing page with an RSVP web form.
Use the Content tab to change the button text and link type. You can link to a web address (URL), email address, Lead Liaison landing page, or trackable content such as a white paper or one pager.
Use the Style tab to change the styling of the button.
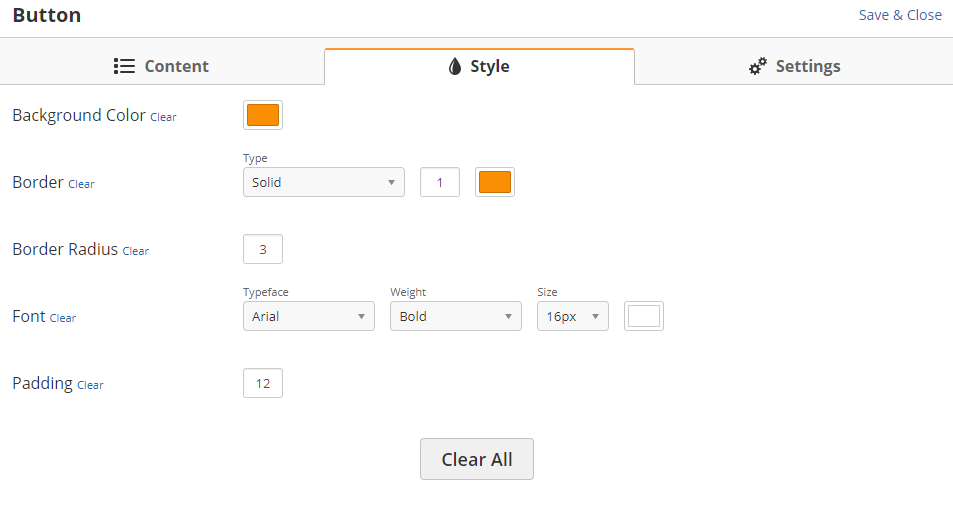
Use the Settings tab to change the button's alignment and width.

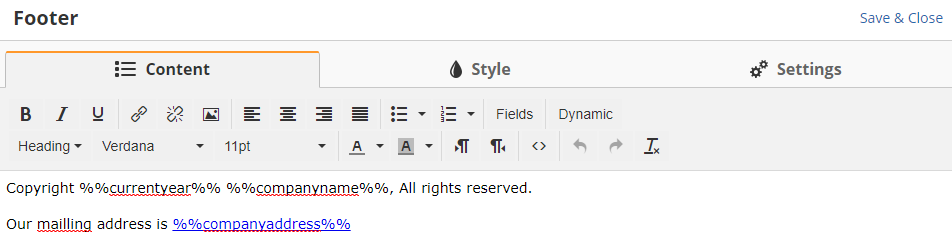
Footer
The Footer element is a specialized text element that includes a specialized message including the email copyright statement and company mailing address. You can edit the footer like any other text element.
HTML
Use the HTML element to add in custom HTML code. You could use this for embedded content or special content like HTML tables. Be aware, many email clients to not support embedded content (especially videos and iframes) or advanced HTML, so we recommend /wiki/spaces/CORP/pages/18874646 before sending.
Video
Use the video element to add a thumbnail image with a link to a video from YouTube or Vimeo. Use the Content tab to link the video, and add your own thumbnail or let the system pull the thumbnail directly from the source. You can also add a caption that will display below the video thumbnail.
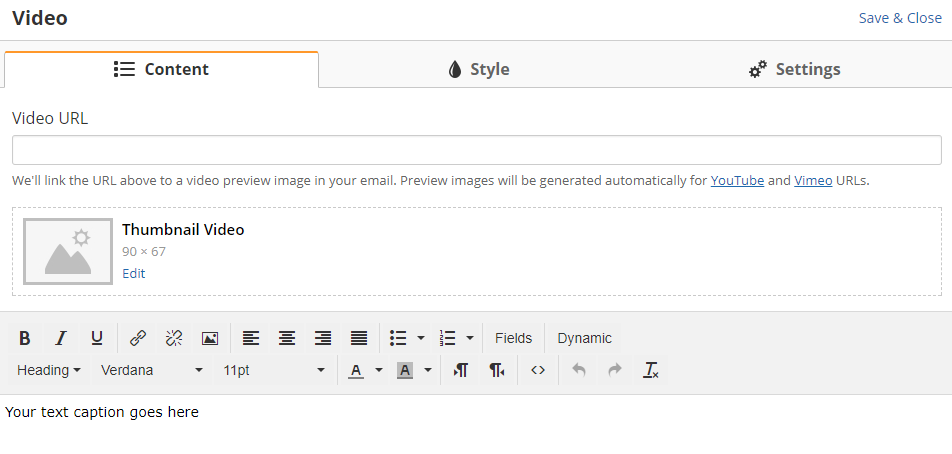
The Style and Settings tabs follow the same rules as image elements.
The video element will not embed the video into your email. Most email clients do not support embedded video. If you want to use a video service other than YouTube or Vimeo, simply link your own thumbnail using an image element. Learn more about email and video marketing here.
Columns
The two- and three-column elements let you add multiple elements in the same horizontal space.
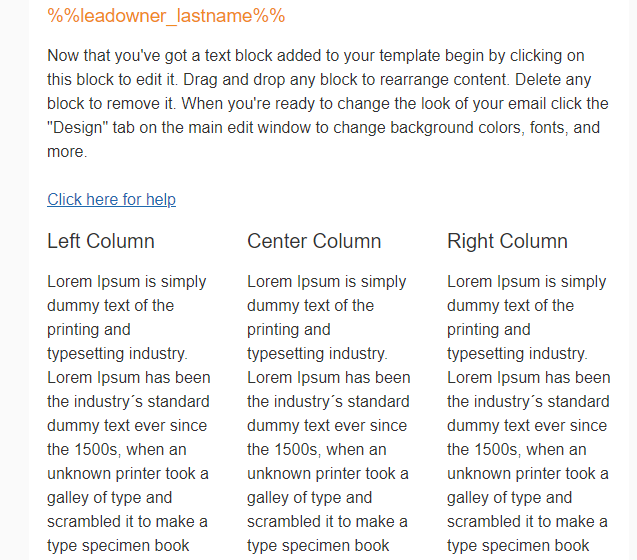
By default the columns will have three text elements. Delete the text elements to add different types of content. In the example below we have added buttons to the left and right columns. The center column is empty and will appear blank when sending the email.

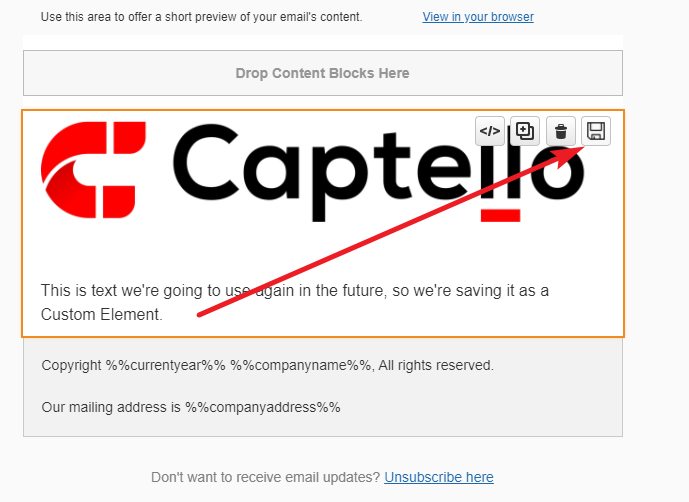
Custom Elements
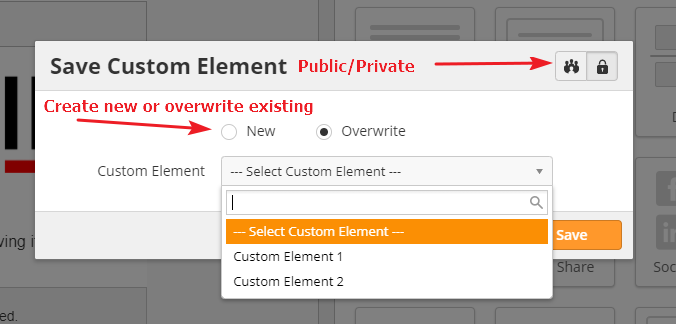
You can save Custom Elements for later use. Once you've created your element, click the Save icon.
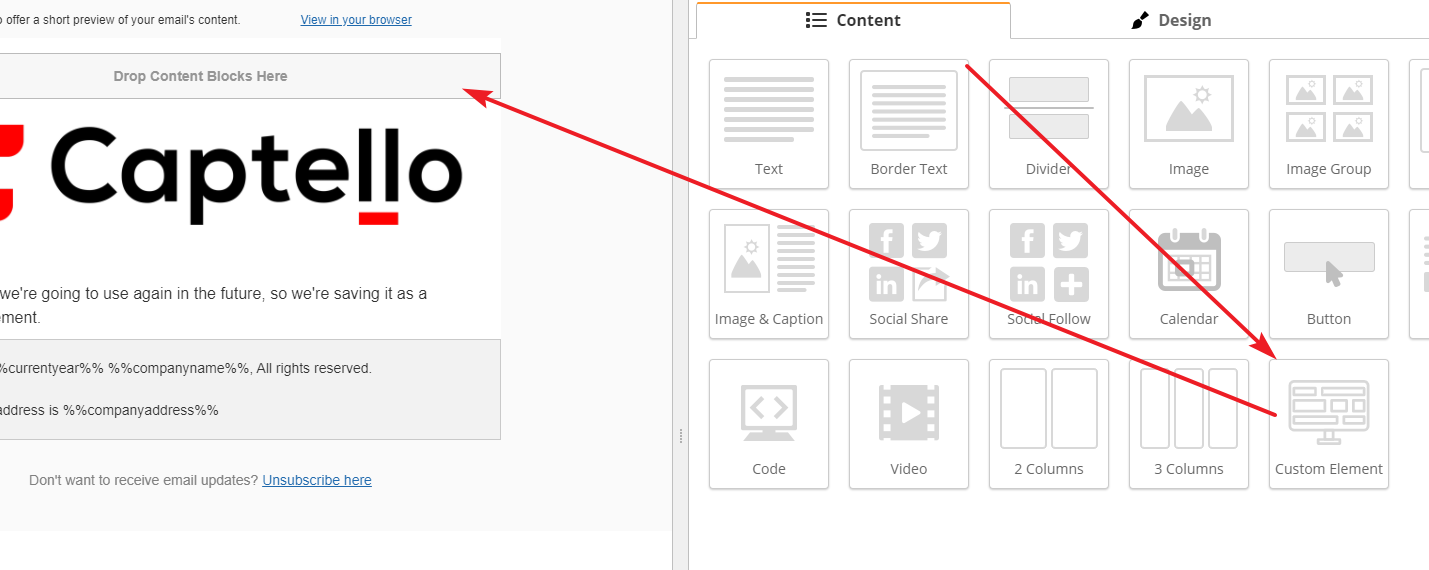
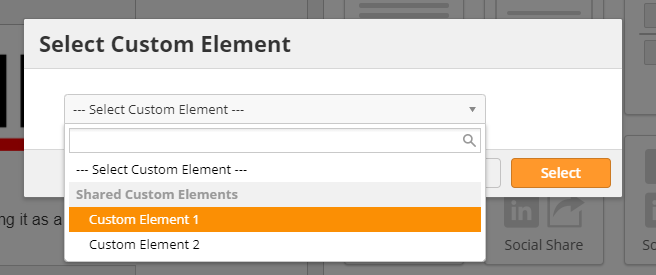
To use a Custom Element, drag over the Custom Element icon and select from the drop-down.
Sending Your Email
Once you have created your email, you can either send it as a one-off email to a list or use it in a Fulfillment Action or Automation.
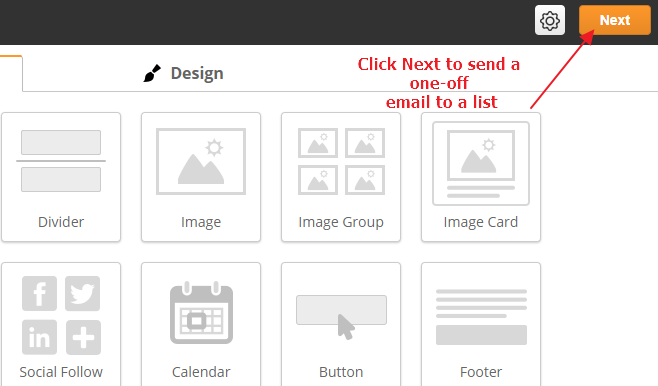
Send to a List
If you want to send this as a one-off email to a list, click the Next button in the top-right corner of the screen.
Learn more about sending emails here.
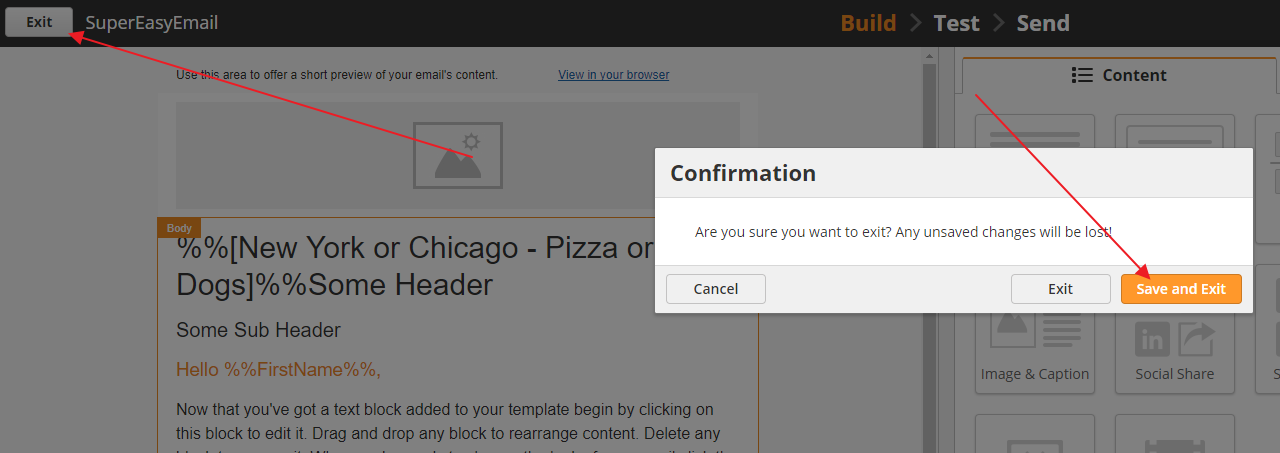
Use in a Fulfillment Action/Automation
You can use Fulfillment Actions and Automations to automatically send your emails to prospects. For example, you might want to send an email in response to filling out a form. You might also want to build an email drip campaign for prospect nurturing.
If you want to use this email in a Fulfillment Action or Automation, simply click the Exit button and Save and Exit.
Once the email is saved, it will appear in the drop-down menu for the Send Email action in Fulfillment Actions and Automations. Learn more about Fulfillment Actions and Automations from here.