Overview
OneFocus™ CRM changes the way Lead Liaison™ displays Prospect Profiles. From the CRM-version of the Prospect Profiles screen, you can view any Organizations, Attachments, Activities, Deals, and Contracts associated with the Prospect. You can also still see contact information, automatons, and lists shown in the non-CRM version.
Adding New Prospects
You can manually add new Prospects in three different ways. You can click the New button in the top-right corner of the All Prospects page; you can click the New Prospect icon on the Sales Shortcuts; you can click Add Prospect on the Prospect Info Card.
New Prospect Form
Use the New Prospect Form to add any information you have on the Prospect.
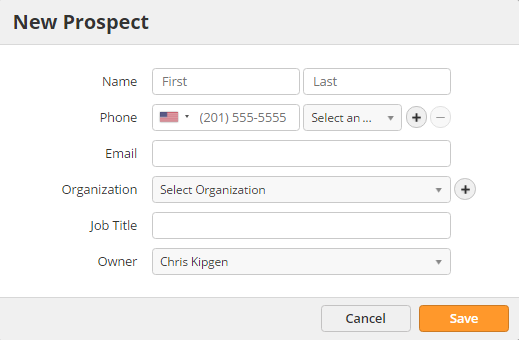
- Name – add the Prospect's first and last name
- Phone – enter the Prospect's phone number. The drop down menu selects the country code. The (+) and (-) icons add or remove additional numbers.
- Email – enter the Prospect's valid email address
- Organization – search for an existing Organization or press (+) to create a new Organization
- Job Title – enter the Prospect's job title
- Owner – select the user who will own the Prospect Profile
Be sure you are accurate with the Email, Organization, and Job Title as you can use these fields for Automations.
Using the Prospect Profile
You can access the Prospect Profile from almost anywhere in the platform. Whether in visitor tracking, lists, automations, click on their name to open their profile.
Prospect Overview
In the overview, you will see the prospects name, score, grade, priority, owner, and location. Click on any of these fields to update them.

If the system has identified the prospect's social media profiles, the overview will also include their social profile picture.
Info Cards
The Info Cards to the left of the screen give you a quick visual summary of the Prospect's information and connections. You can rearrange the cards by clicking and dragging them to the order you prefer. Anything you move is exclusive to your login, so feel free to customize as you like.
Action Bar
The action bar is located directly below the Prospect Overview. From here, you can quickly engage your prospect without having to move to other parts of the platform. Some options may not appear depending on your product license and security profile.

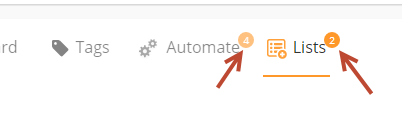
The action bar shows a small number in the corner of Tags, Automate, and Lists indicating the number of Tags, Automations, and Lists the Prospect is part of. In the screenshot below the Prospect is included in four Automations and part of two Lists.
Letter
Send a handwritten letter to your prospect for a personal touch. Clicking this option will open our handwritten-letter builder. Once you create the content and select your settings, we will write the letter by hand and mail it on your behalf (we have good handwriting). Learn more about handwritten letters here.
Postcard
Send a postcard to your prospect to thank them for their business, with them a happy birthday, or to send special offers. Select a postcard template to mail to the prospect.
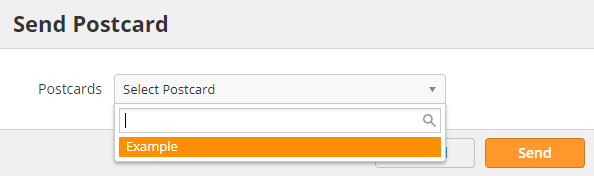
To create a new postcard template, navigate to Content > Postcards. Learn more about postcards here.
Tags
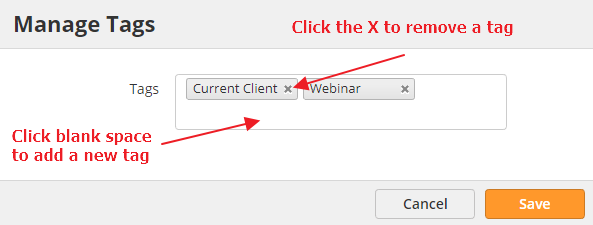
View, add, or remove tags for the prospect. Click the blank space to add a new tag, and click the "x" to the right of a tag to remove it.
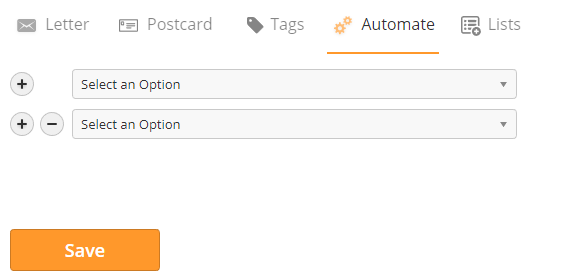
Automate
Manually add or remove the prospect from an automation. To add a new automation, click the (+) button and select the automation from the drop-down menu. To remove the prospect from an automation, click the (-) button. Once you are finished, click Save.
This is a great way to add a prospect to sales nurture campaigns. For example, you might realize that a prospect is a good fit but isn't qualified yet. You could add them to a nurture campaign from here to keep in touch via automation while you concentrate on more qualified prospects.
You can also suspend or remove a prospect in an automation's workflow from this tab.
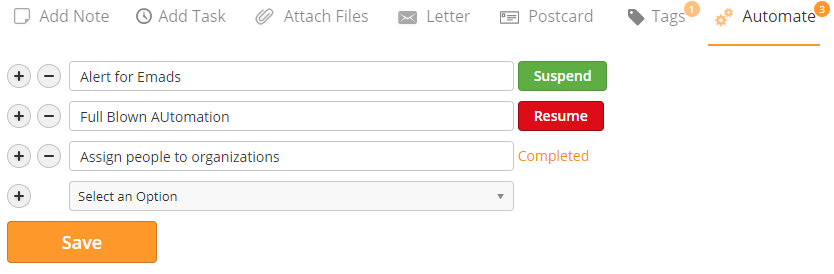
- Suspend – suspend the prospect on the current step of the workflow
- Resume – resume the workflow for the prospect starting with the next workflow step
- Completed – automation is complete
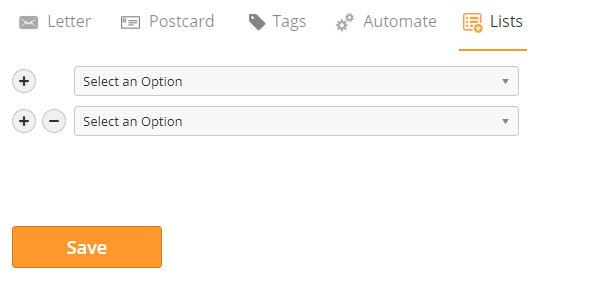
Lists
Manually add or remove the prospect from a list. To add a new list, click the (+) button and select the list from the drop-down menu. To remove the prospect from a list, click the (-) button. Once you are finished, click Save.
Action Menu
The action menu is located directly to the right of the Prospect Overview. From here, you can take additional actions.

- Campaign – add or remove the prospect from campaigns
- Program – add or remove the prospect from programs
- Delete – delete the prospect or send them to the recycle bin
- Events – view GoToWebinar events the prospect has participated in
- Share – share the prospect profile with other users
- Suppress Buy Signals – stop receiving buy signal alerts from this prospect or their domain
- Tags – view, add, and remove tags
- Sync with CRM – sync to Salesforce.com or Microsoft Dynamics
- Send Letter – send a handwritten letter
- Send Postcard – send a postcard
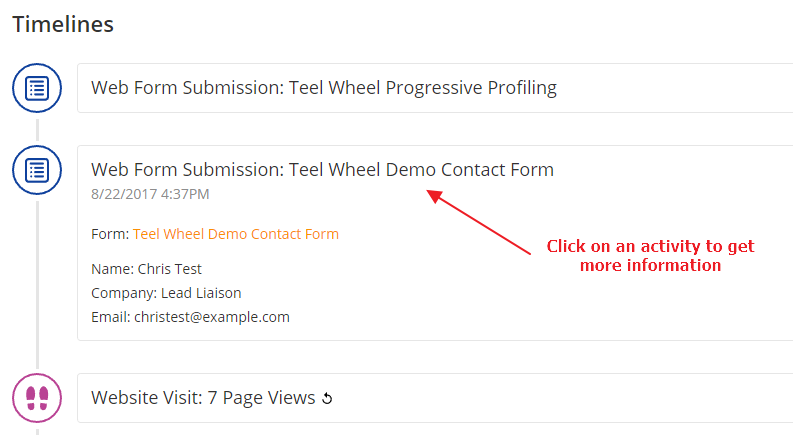
Timelines
The Timelines show all engagements and actions for a prospect. This includes outbound activities like an email sent to the prospect, inbound activities like a website visit, and automation activities. Click on an activity to get more information like form submission results, watched video heat maps, and automation steps.
Timeline Options
You can view different Timelines with a variety of options. To change timelines, use the drop-down menu in the top-right corner of the Timelines panel.
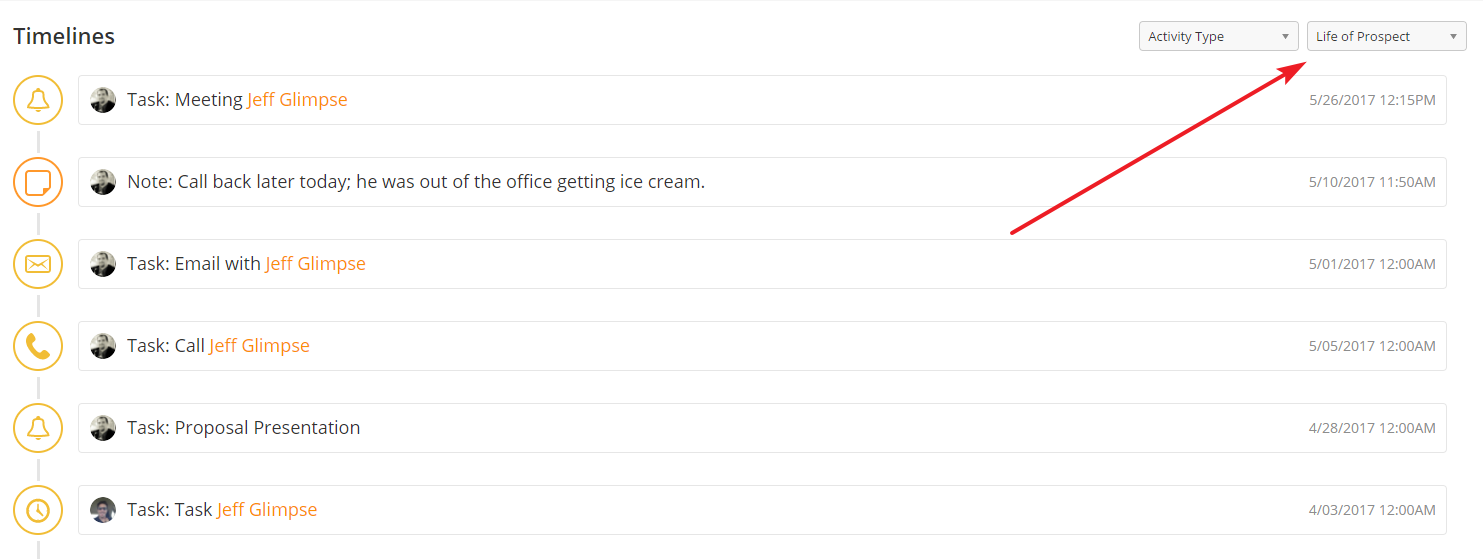
The Prospect Profile supports the following Timelines:
- Life of Prospect – all activities associated with the Prospect
- Inbound Activity – actions by the Prospect bringing them to your content, such as web page visits, email links clicked, and form submissions
- Outbound Activity – outbound marketing sent to the Prospect
- Activities – tasks completed or scheduled in OneFocus™
- Notes – Prospect notes added to OneFocus™
- Score – activities that changed the Prospect's Lead Score
- Grade – activities that changed the Prospect's Grade
- Automations – automations the Prospect is added to/taken out of
- Audit – individual automation steps applied to the Prospect
- Campaign – campaigns the Prospect is added to/taken out of
- Programs – programs the Prospect is added to/taken out of