Overview
Build different unsubscribe templates and easily switch between them to match your branding, different times of the year, and frankly - whatever you're in the mood for! Creating a custom unsubscribe page is easy. Here's how:
Creating a Custom Unsubscribe Page
- Navigate to Admin > App Setup > Email > Unsubscribe Options.
- Make sure the Preference Center setting is Use default unsubscribe page

- Choose Custom Unsubscribe and click the Create New button.
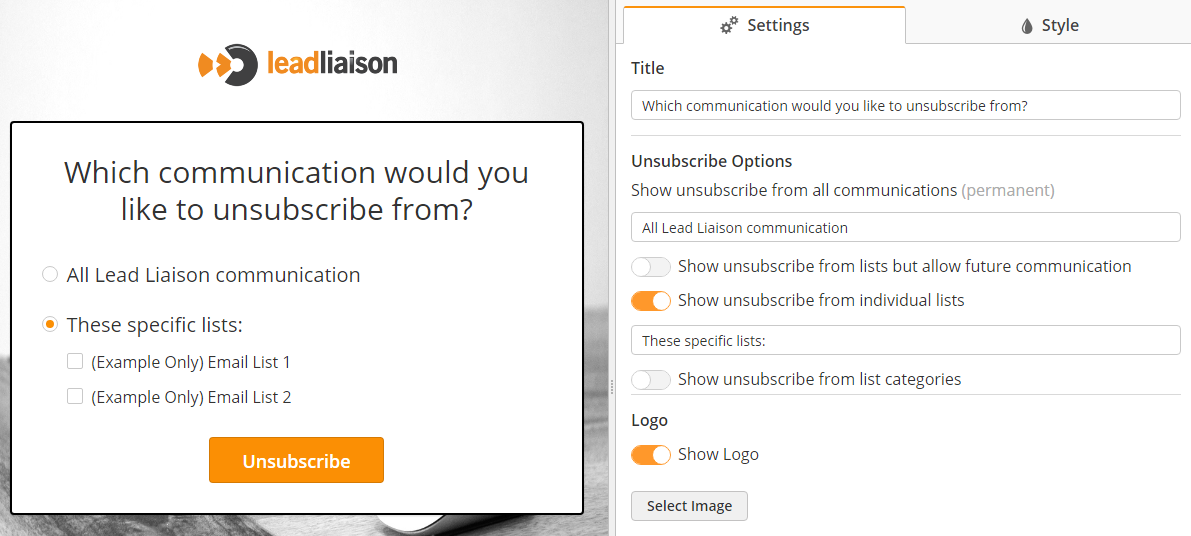
- Use the designer to build you custom unsubscribe page. On the left hand side is your unsubscribe, on the right pane you'll see settings and style to change all aspects of the page.
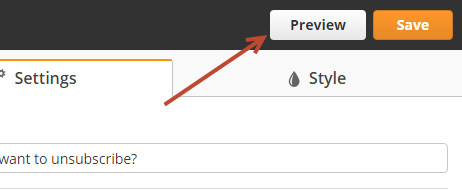
- Click the Preview button on the top right to see a mobile responsive version of your unsubscribe page.
Using Custom Fonts
Looking to add Roboto text into your unsubscribe page to match styling across all marketing assets? No problem!
- Select the Style tab
- Enter your custom font URL and name
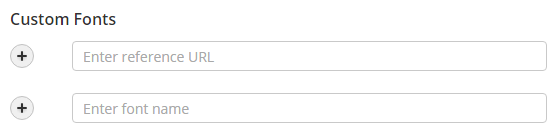
- Once the custom font has been added, it's selectable from the font dropdowns.
Using Categories
Categories provide an easy way to group lists into a "bucket". If you don't want your recipients seeing the details of your public lists, create categories and place your lists into the categories. For example, you might have five different lists that relate to tips or tricks for your product/service. You could assign each of the five lists to a new category, called "Tips & Tricks". Now, when a recipient wants to unsubscribe, they could choose to unsubscribe from only the Tips & Tricks category, which would unsubscribe them from all five lists in your category.
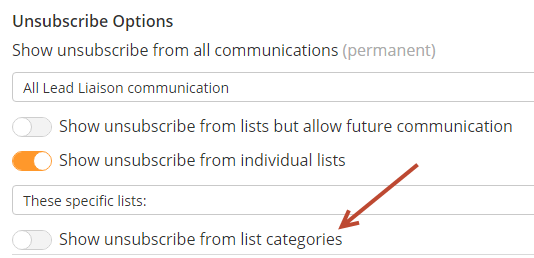
To enable categories on your unsubscribe page, flip the switch on your unsubscribe template, as shown in the screenshot below.
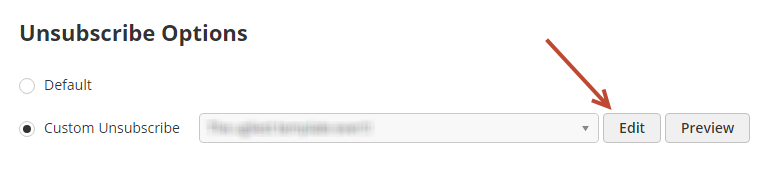
Editing a Custom Unsubscribe Page
- Navigate to Admin > App Setup > Email > Unsubscribe Options.
- Select your template from the dropdown, click Edit.
Naming/Renaming a Custom Unsubscribe Page
- While inside the template, single click on the template name in the top left corner of the screen.

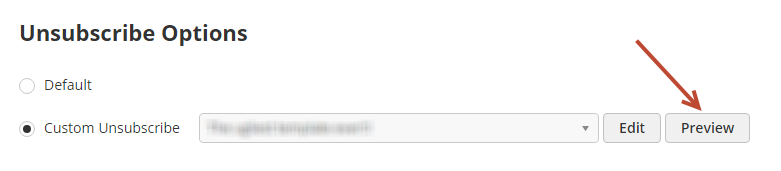
Previewing a Custom Unsubscribe Page
- Navigate to Admin > App Setup > Email > Unsubscribe Options.
- Select your template from the dropdown, click Preview.
Switching Custom Unsubscribe Templates
When switching to a new template the changes are made live, right away.
- Navigate to Admin > App Setup > Email > Unsubscribe Options.
- Select your new template from the dropdown.
- Click the Save button.