Creating Automation Campaigns
To begin your marketing campaign go to Workflow > Automation. This will create a new Automation process.
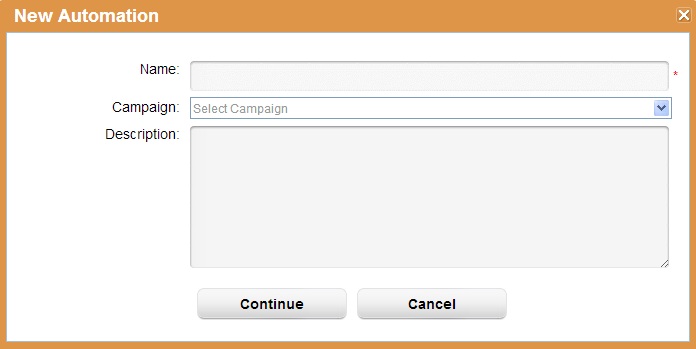
A popup similar to the one below will be displayed prompting you to enter information about your automation process. Below is a description of each of the fields in the popup:
- Name = This is the name of your Automation process.
- Campaign = Optionally select a Campaign to assign the Automation process to. The Campaign is only used to record a campaign touch if a Send Email action is part of your Automation and a prospect clicks a link in an email sent with this Automation. If you do not plan to add a Send Email action to the Automation there's no need to assign the Automation to a Campaign.
- Description = This is the description of your Automation process.
Next, continue through the three (3) step wizard to build your marketing campaign.
Click on Each Step
You can click on any of the Steps (1, 2 or 3) in the design wizard to move forward or backward in your campaign design. Current steps are displayed in orange. Incomplete steps are in light grey. Completed steps are in green.
Automation Campaign Canvas
Once you complete the "New Automation Campaign" popup you'll be taken to the three (3) step design wizard. Drag items from the section on the left to the same-color section on the right. A detailed description of each area of the canvas is described below:
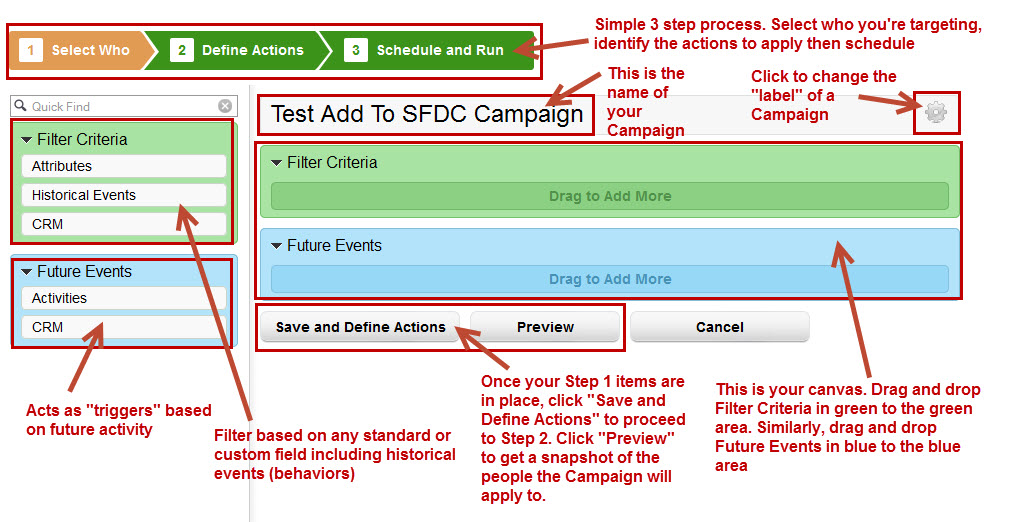
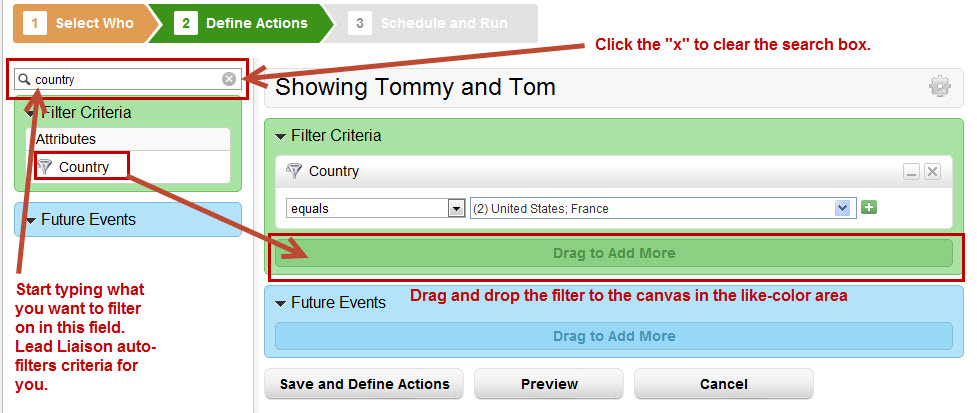
Drag and drop elements on the left to the right side canvas and use search to simplify your life per the graphic below: