Overview
End users will capture Prospect information by entering data onto a custom form, scanning badges, capturing business cards, and more. This document will guide users through downloading the app, setting it up, and capturing Prospect data.
Getting Started With the Mobile App
Before your event, make sure you have the latest version of the mobile app installed on your device. The app currently supports Apple iOS version 11+ and Android version 5.1+.
If your users cannot access the Google Play Store, Android users may download our APK directly to install. The user must give their device permission to install from unknown sources. Click below to access the appropriate APK.
Currently Apple does not allow for similar side-loading methods on iOS or iPadOS devices. If you need to side load on an iOS or iPadOS device, please contact Lead Liaison support for more options.
New users
If you are a new user, you will receive an email with an invitation code and links to the App Store and Play Store. If you prefer a text message invite, please contact your event coordinator before the event. After installing,
Open the mobile app

Enter your email
Enter your authentication code
Tap Authenticate
If prompted, allow notifications
Once you have authenticated, you will not need to do so again. The app will remember your device unless you uninstall the app or manually unauthenticate.
Existing Users
If you are an existing user, you are ready to go. Make sure you have the most up-to-date version of the app. Normally the app will update automatically through the App Store, but it is best to check for pending updates before the event.
If you uninstalled the app or unauthenticated after your last event, simply use the same authentication code and follow the steps above. If you no longer have your code, ask your event coordinator to resend it.
Using the App
When you first log in to the app, you will see the Events screen. The Events screen will only show events you have been invited to.
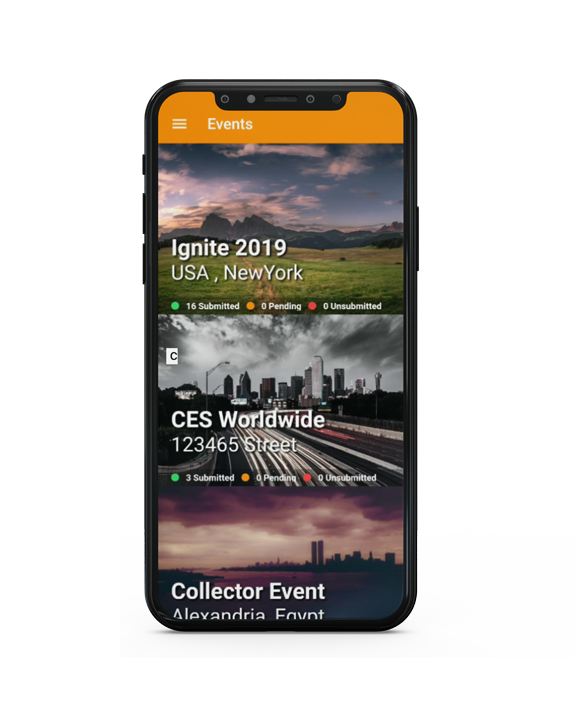
While the App loads, you will see a syncing bar at the bottom. If this is your first time opening the app, it might take up to 30 seconds to fully sync everything.
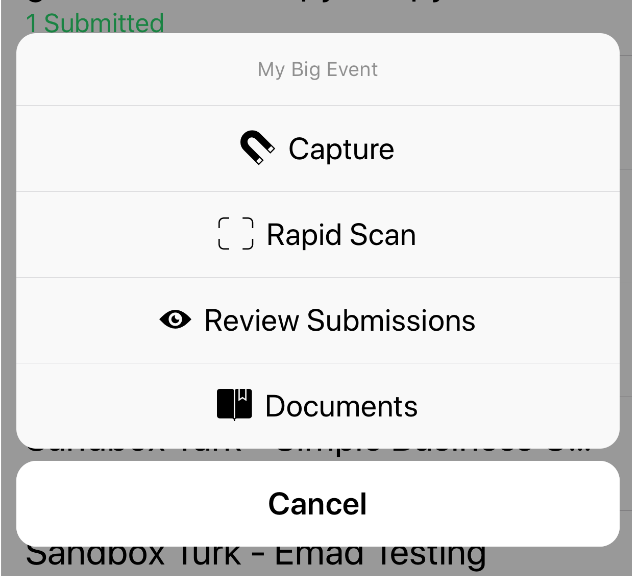
Tap on an Event to open its options.
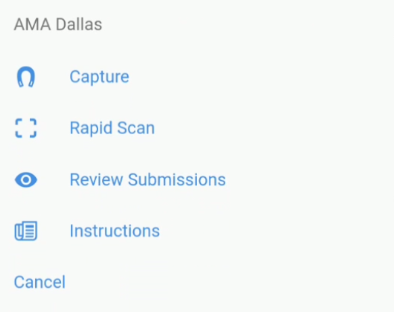
Capture - open event lead capture form
- Rapid Scan - opens the badge scanner or business card element for the form and allows the user to scan one after another. This option is only displays if an administrator has added it to the form properties.
Review Submissions - view or edit previously-captured leads
Instructions - view instructions for this event
Cancel - return to Events screen
Mobile App Menu
Settings
Before starting, review your device settings. To access settings, tap the menu icon in the top-right corner and select Settings.
Organization
The organization section shows data on your organization's profile from Lead Liaison. This data is for informational purposes only and cannot be changed within the app.
Name– the name of the organization
Key– device key for testing purposes only
Operator– user the device is assigned to
- Device ID - a unique ID for your device (may be used for support purposes)
Localization
Change the displayed language. App menus, field labels, and field hints will change, but Event Names and locations will not change.
The app will detect the user's default language settings on their device. If supported, it will automatically adjust to that localization if Auto Translate is turned on in the back end.
Automatic Upload
The operations section has the automatic upload option. By default, automatic upload is enabled. While it is enabled, GoCapture!™ will automatically push new prospects to the Lead Liaison platform. If you prefer to review submissions before sending them off, turn this toggle off.
Save Business Cards on Device
Saves a copy of the business card image (both front and back) in images locally on your device.
Reminder for Unsubmitted Leads
Sends a notification if leads have not been submitted from the device to the server. This notification may be triggered when leads are collected in bulk. For example, from Rapid Scanning badges or business cards.
Auto-Crop
Turning this setting on will crop the image of the business card around the card only. Works best with contrasted backgrounds. Cropped images are easier to transcribe and result in higher quality results.
Kiosk Mode
Use this section to manage your kiosk mode password. If you open a kiosk mode form without setting a password, the app will ask you to create one at that time. If you forget your kiosk mode password, you will have to return to your device's home screen and exit the app to restart it.
Single Tap Selection
Allows a single tap on drop downs and eliminates the need to make a selection and then click a button to enter your choice.
Diagnostics
The Diagnostics section contains information that may be required by the support team in case of any questions or concerns. To save temporary device storage, you may turn logging off. However, the support team may be unable to diagnose potential issues without logs.
Unauthenticate
To unauthenticate your device, click the red button. Keep in mind, you will need a new authentication key in order to reactivate your device.
Support
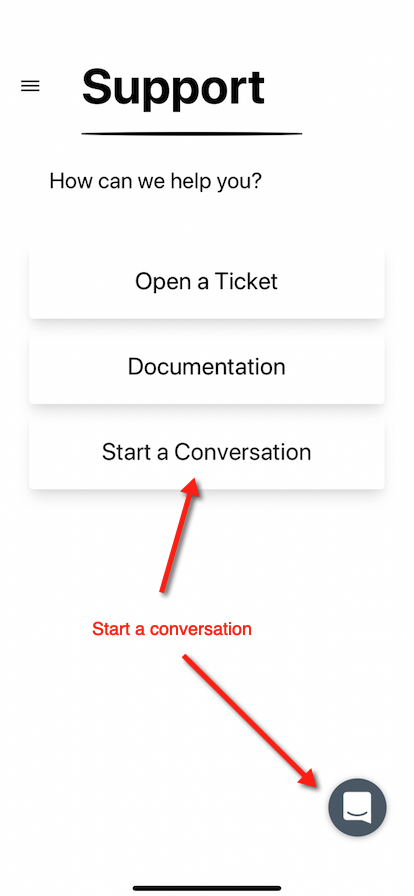
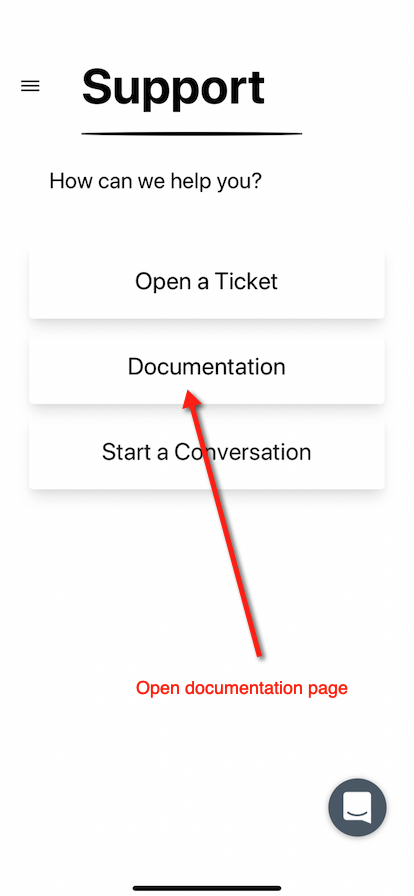
Inside the mobile application you'll see a menu option for Support. Inside this area there are three sections:
- Start a Conversation: This option launches a communication system that connects you with multiple members of our support team. From here the support team can provide guidance, troubleshooting, and even screen share with your mobile device. You can also search for help using a built in knowledge-base under the "Find an answer yourself" section. Support usually responds within a few hours. If your inquiry is urgent, it's possible to have a real-time conversation with a support representative. If you're not able to respond within the mobile app then an email will be sent to you.
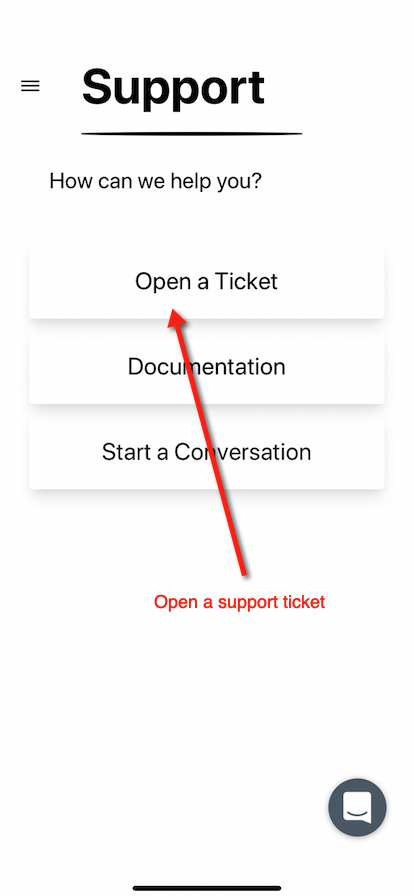
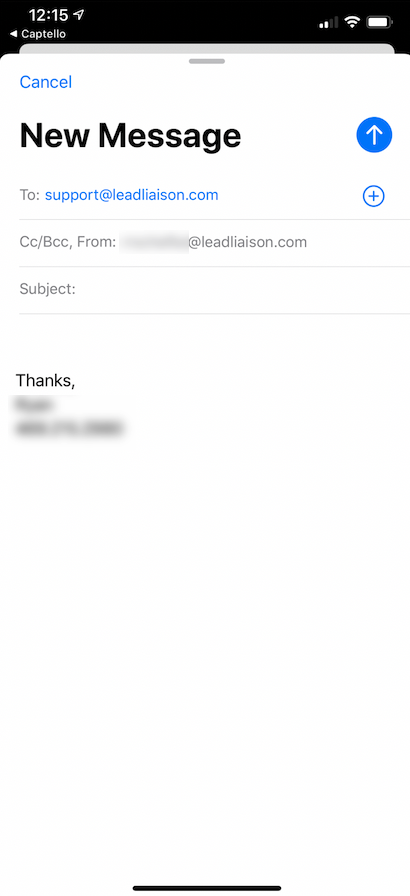
- Open a Ticket: This option opens your device's native email client. The email sends a message to support@leadliaison.com where a support ticket is opened.
- Documentation: The page links to our documentation page on the web.
| Start a Conversation | Open a Support Ticket | Open Documentation Page |
|---|---|---|
|
|
|

Lead Capture
To begin capturing leads, tap on the appropriate show and select Capture. If this is the first time you have opened this Event form, you may see the Event’s instructions.

Once you have completed the form, tap the Submit button in the top-right corner of the screen. You should see a success message as shown below. To cancel your submission, tap the back arrow in the top-left corner of the screen.

Rather than manually enter data, you may have different options for capturing data. These options include
- Capturing a business card for transcription
- Scanning a badge
- Searching through a pre-registration list
Menus
Your event coordinator may have enabled either the Buttons Menu or Floating Buttons. These buttons make it easier for you to capture, edit, and review your leads at an event. Depending on the event's settings, your options may vary from those shown below.
Buttons Menu
The Buttons Menu is a horizontal menu at the bottom of the form.
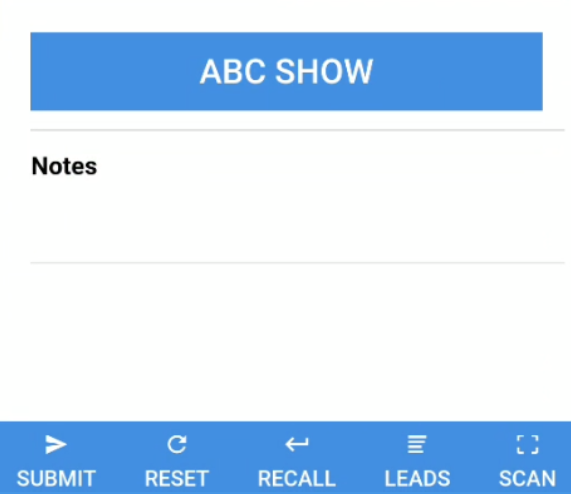
- Submit – submit current submission
- Reset – clear all form fields, scans, images, and recordings
- Recall – retrieve the last submission for editing
- Leads – takes user to the Review Submissions page
- Scan – scan a name badge or business card (depending on if those elements are on the form
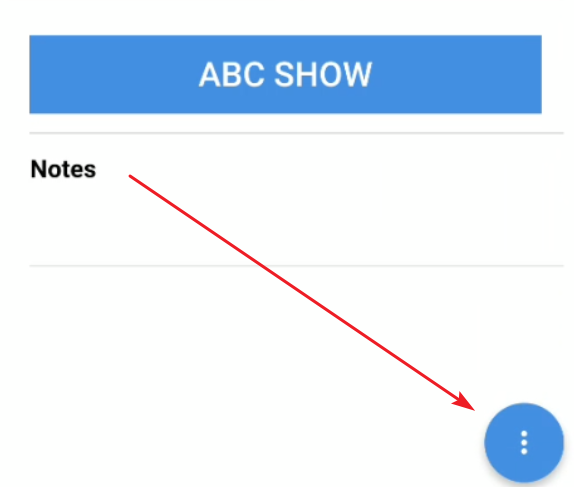
Floating Buttons
The Floating Buttons are an alternative menu style to the Buttons Menu. Instead of displaying across the bottom of the form, the buttons can be shown/hidden by tapping an icon.
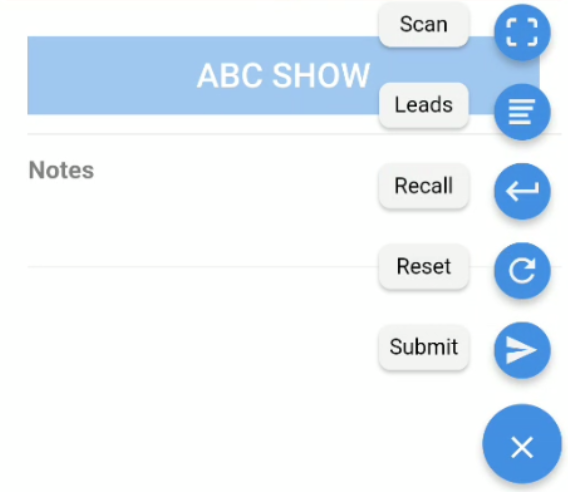
- Submit – submit current submission
- Reset – clear all form fields, scans, images, and recordings
- Recall – retrieve the last submission for editing
- Leads – takes user to the Review Submissions page
- Scan – scan a name badge or business card (depending on if those elements are on the form
Sections
Your event coordinator may have organized your form into sections. Sections will contain multiple fields. You might see Sections for contact data, survey questions, etc. Simple tap on a section to see its fields.
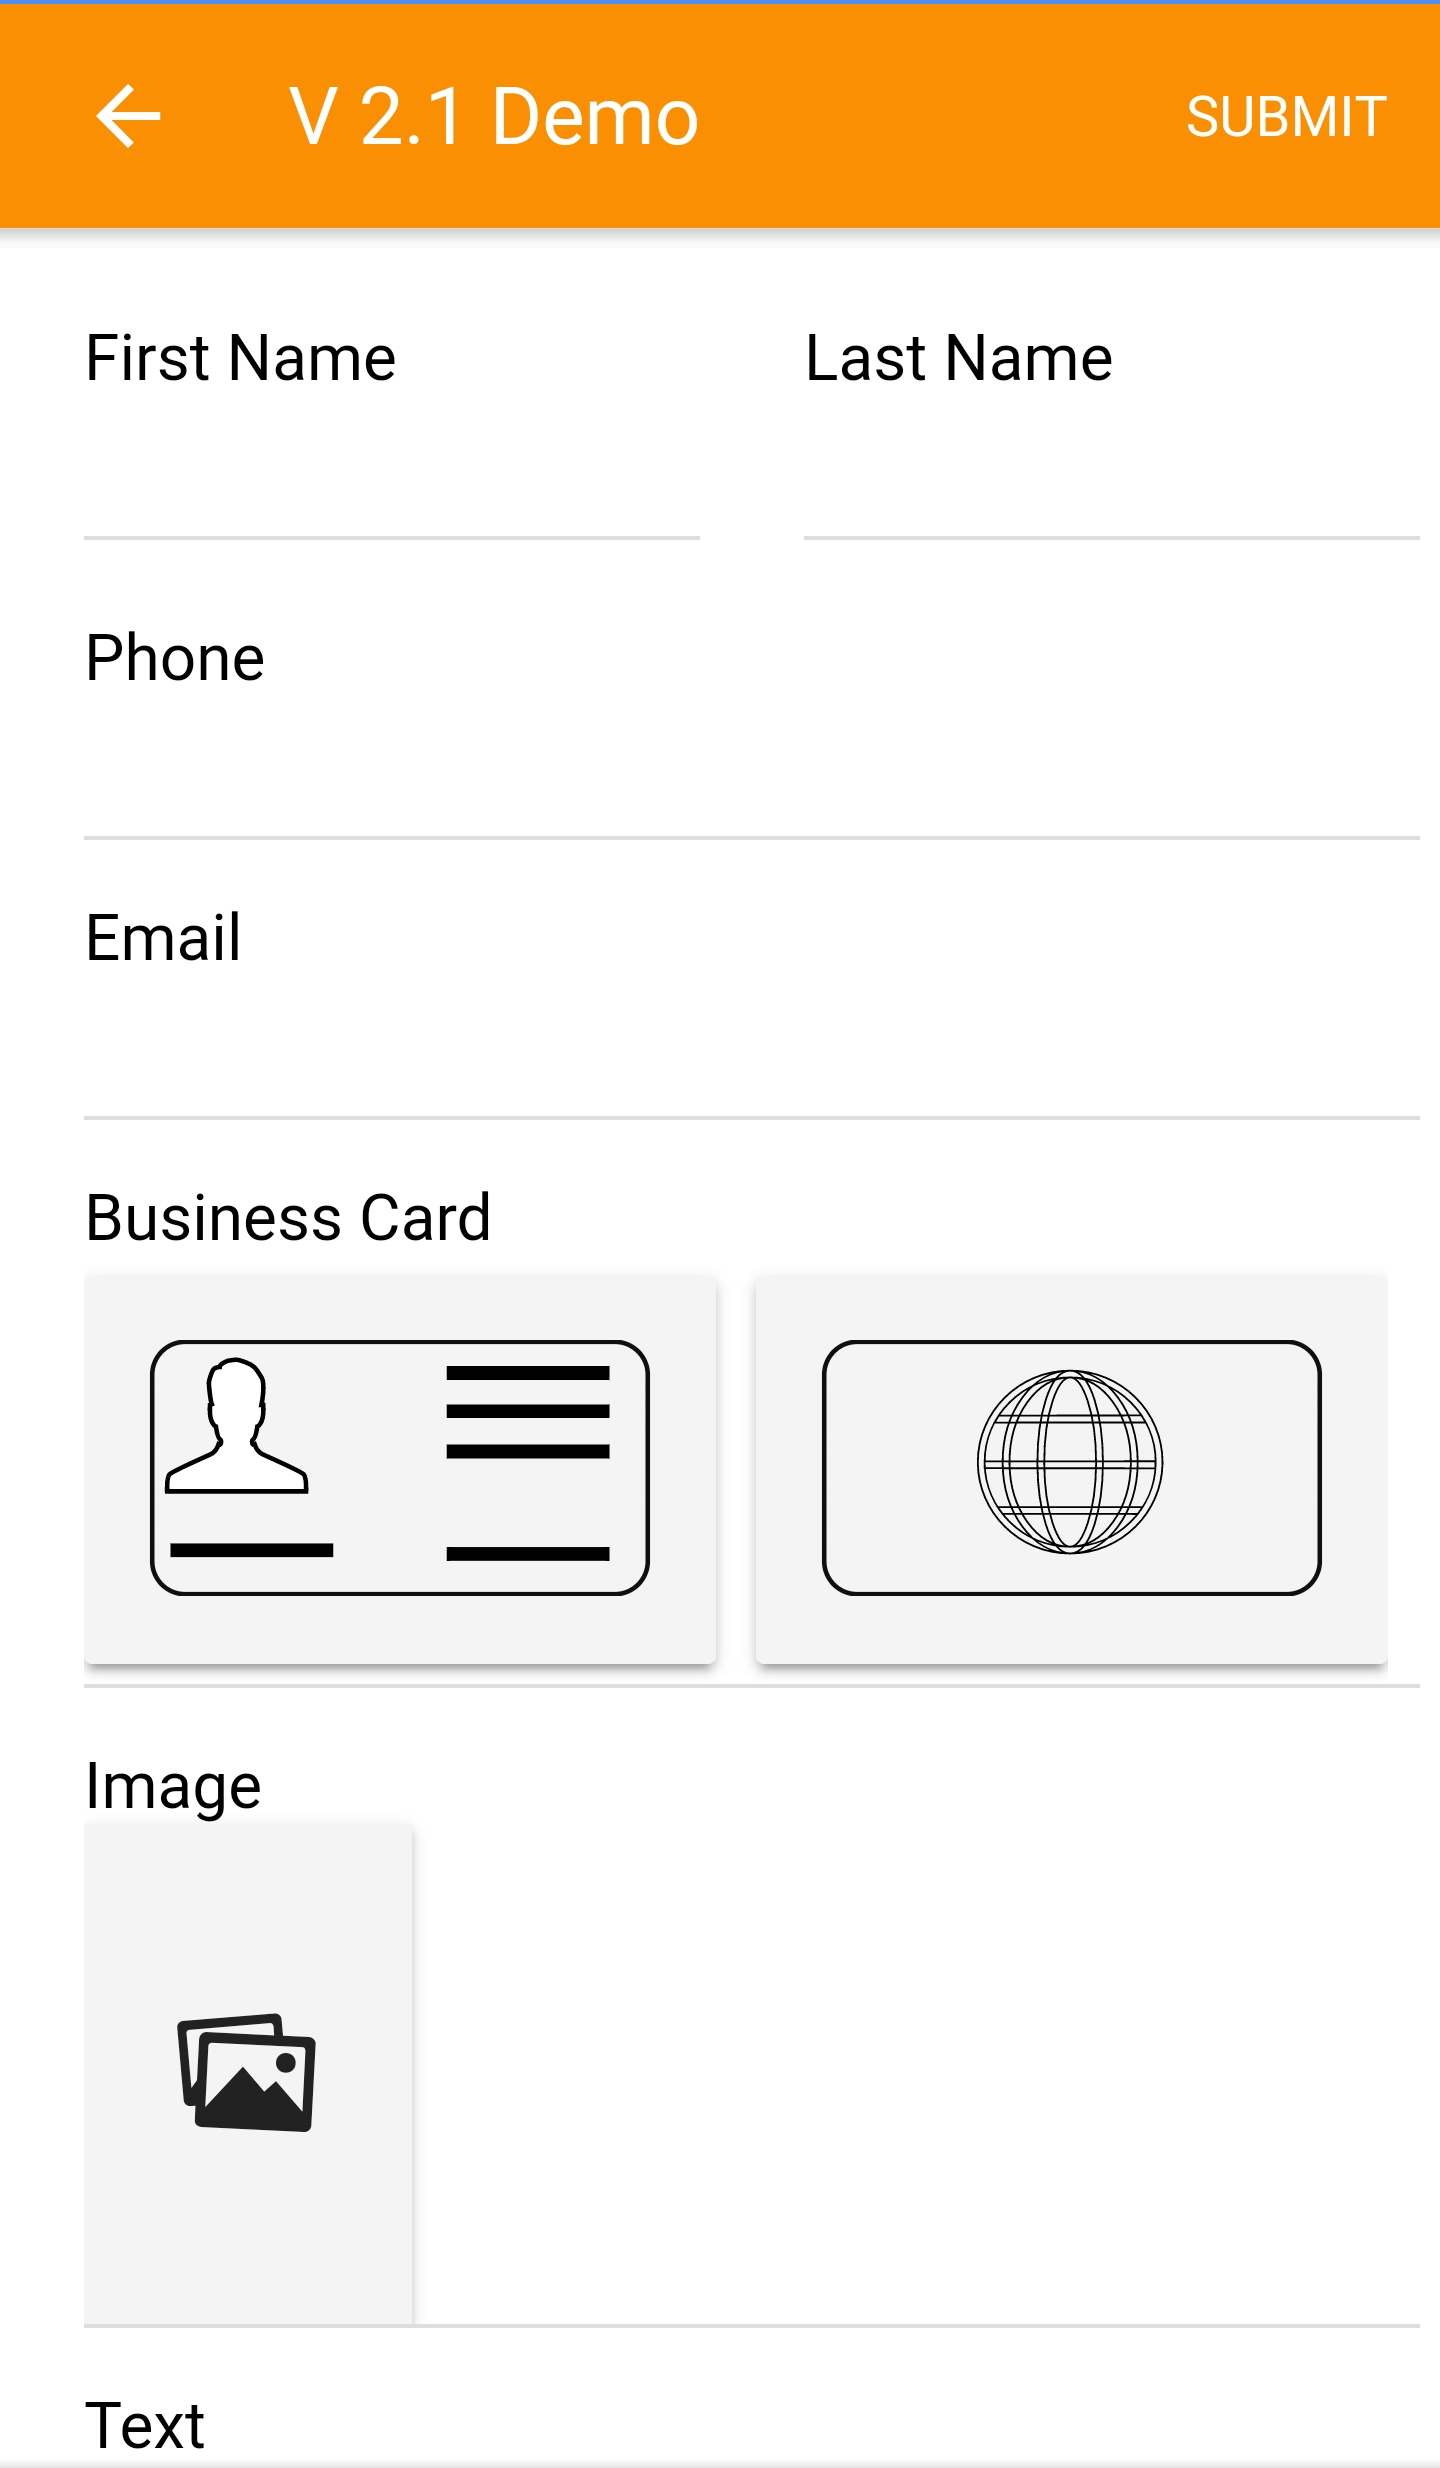
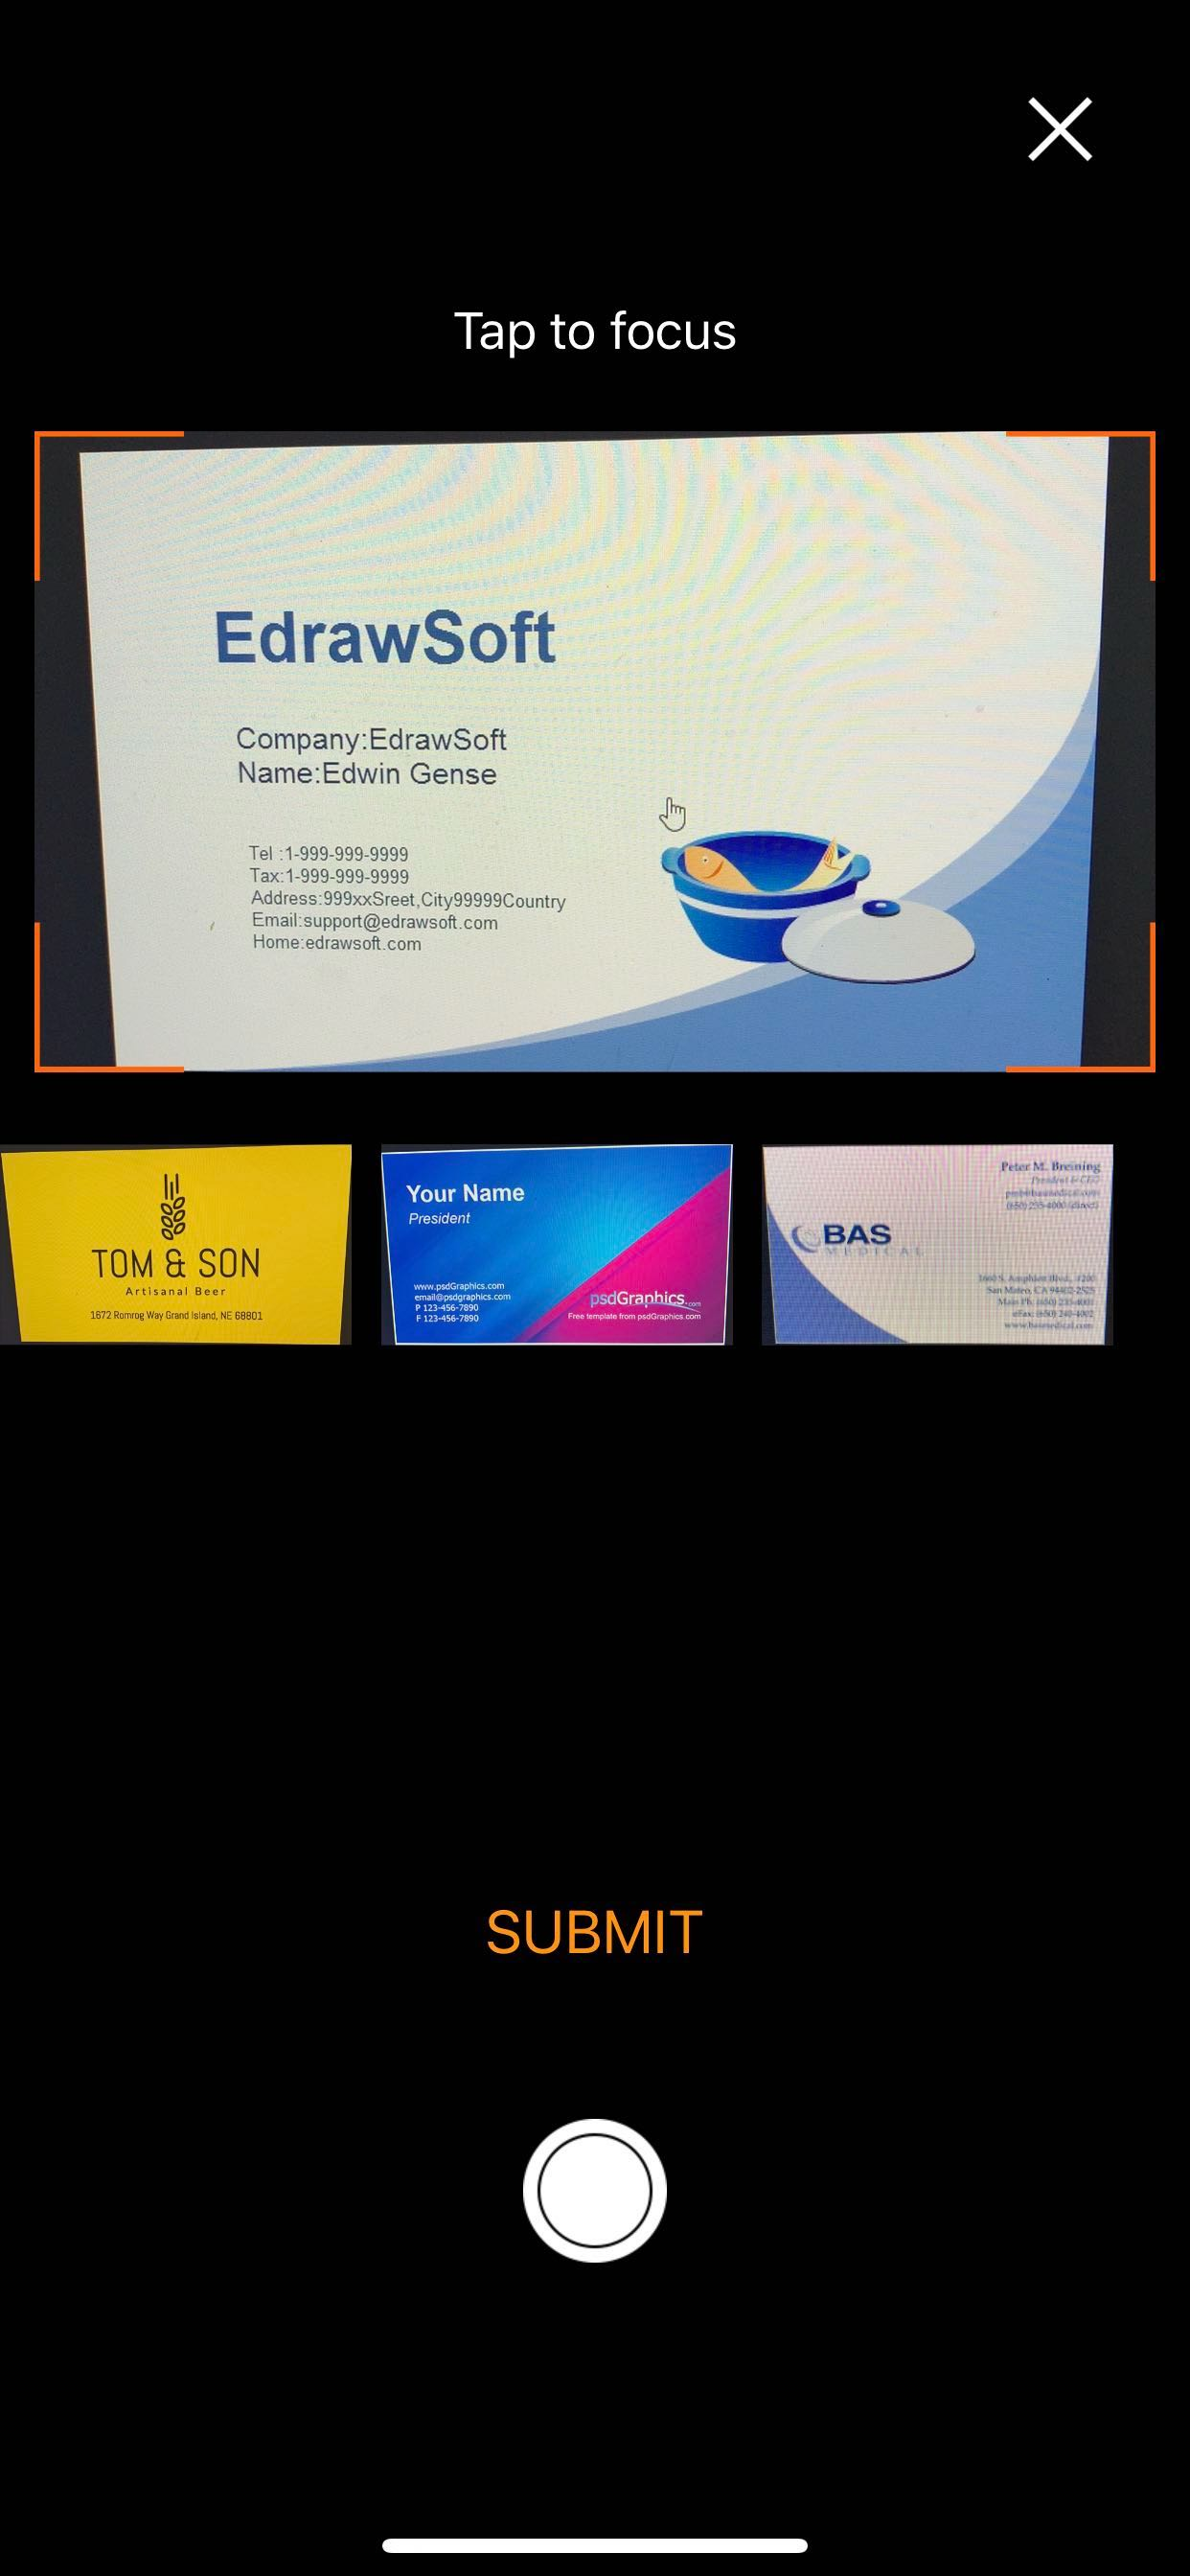
Business Card Capture
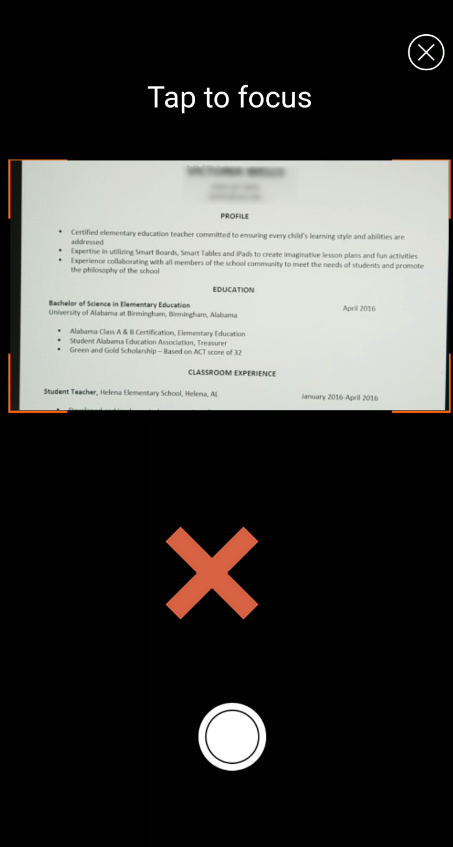
To use the business card capture tool, tap the boxes to activate your devices camera. The left box is for the front of the card, the right box is for the back of the card. You can also capture almost any form of written document using this element.

For resumes and other documents, make sure to focus on contact data rather than trying to fit the entire document into the frame. Remember, you can always use the Back business card element to capture additional details. See the Resume Capture Examples below.
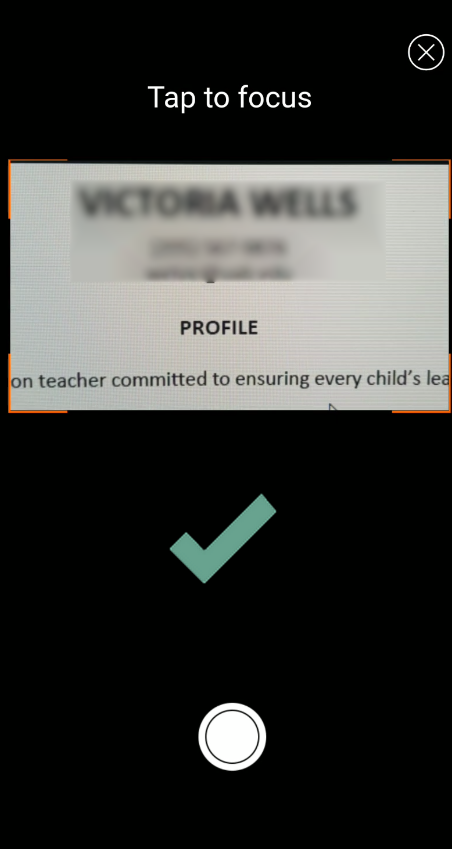
To make sure Lead Liaison can accurately transcribe the data, be sure to:
Keep relevant contact data in the frame
Allow your device to focus
Keep the device steady while taking pictures
Keep the document in good lighting
Review the image after you have taken it
After taking a picture, you can tap the thumbnail image for additional options.
- Remove – remove the image and start over
- View image – view the full-size image of the card
- Camera – take a different image with the device camera
- Choose from Library – choose a different image from the device's library
- Cancel – close the menu
Badge Scan
If you are using badge scanning at your event
- Tap on the form
- Tap Capture
- Tap the Scan badge button on the form
- Line up the barcode on the badge with the on-screen overlay until the device beeps
- Fill in any remaining fields that were not captured
- Tap the Submit button in the top-right corner of the screen when complete
Badge scanning also works in offline mode. When the device is offline, you will see a green success message letting you know the scan was successful. Once you see this message, you can hit Submit. The app will fill in the scanned fields once it is back online.
If you want to scan your own badge, you can click on the camera icon in the top-right corner of the scanning screen to switch to your device's front camera.
Rapid Scan
Supported Devices
Rapid Scan for business cards only works on iOS devices. Android support will be available soon.
If you are using Rapid Scan at your event
- Tap on the form
- Tap Rapid Scan
- If your form has both the business card and badge scan elements, pick which element to use

If using the badge scanner
- Line up the barcode with the on-screen overlay until the device beeps
- On iOS, tap cancel when complete
OR
- On Android tap the back button when complete
When in Rapid Scan mode, the app will not process the same badge twice. If you accidentally scan the same person's badge multiple times, you will not see duplicate submissions.
The app will not begin processing submissions until after you exit Rapid Scan. Once you have exited, the system will run the codes through the show Organizer's API and upload to Lead Liaison's server. Depending on the number of scans, this will take several minutes.
If using the business card reader
- Line up the business card with the on-screen overlay
- Make sure contact data is clear and in the frame
- Tap the Circle button to take an image
- Tap the small preview thumbnails to delete an image
- Tap the X button to finish
The business cards will not be sent for Transcription until after you have exited Rapid Scan. Once you exit, the system will upload the badge scans to the selected transcription portal. Depending on the number of images, this may take several minutes.
Documents
Mobile app users can use your Documents to:
- Share Documents from the Event Menu.
- Select Documents to include in follow up.
Video Tutorial
Tip: Long press on a Document thumbnail to open the Document.
Sharing Documents
To share Documents do the following:
- Tap on the event to open the Event Menu.
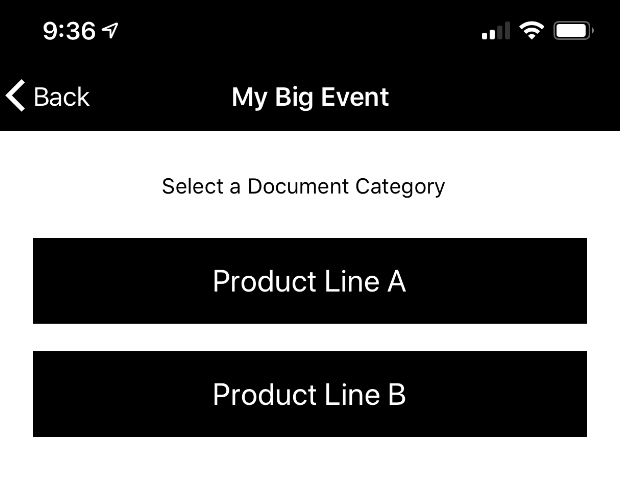
- Select Documents.
- If more than one Document Group exists then the user will need to tap on the relevant button first. If only one Document Group exists then skip to the next screen below.
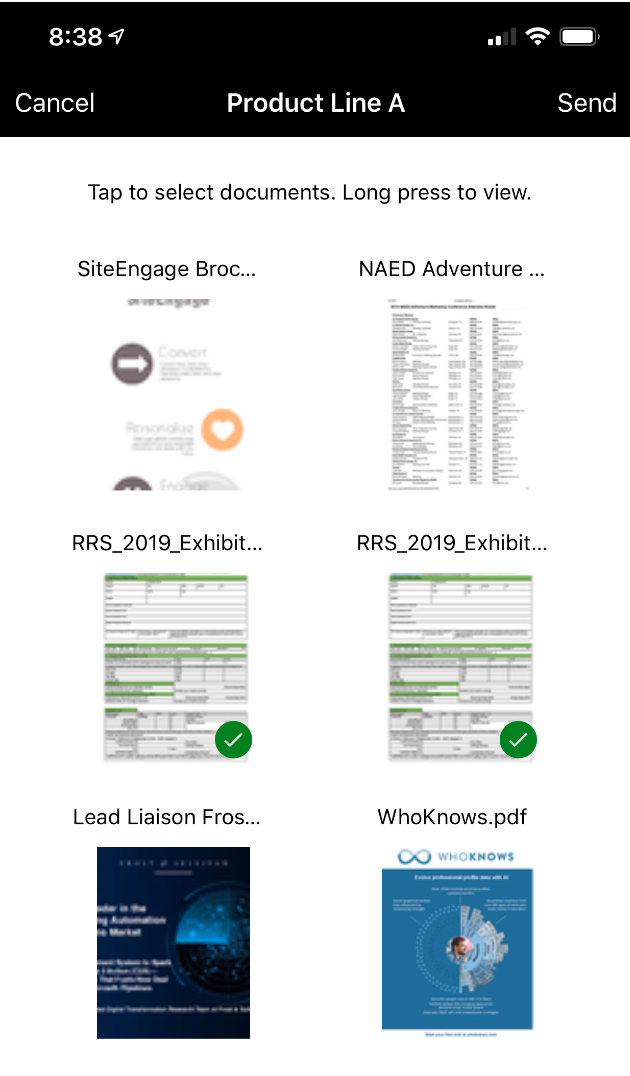
- Tap on the Documents to share. A green check will appear at the bottom right of the Document thumbnail indicating it's been selected.
- Click the Send button.
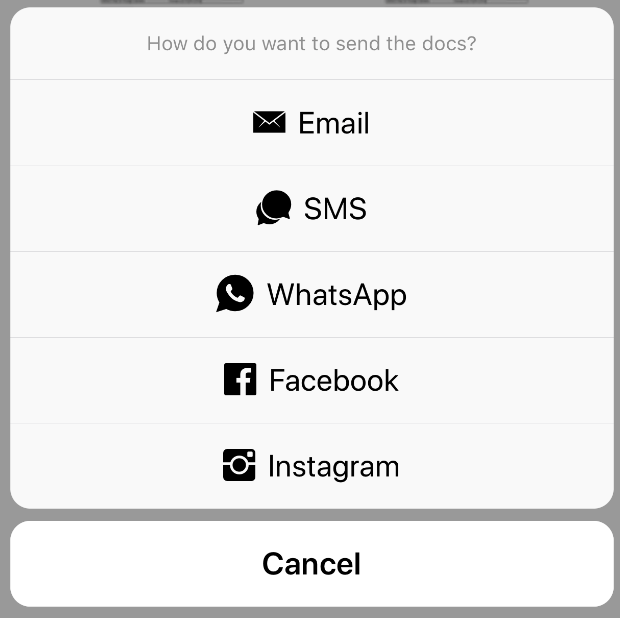
- Choose your share method. The following sharing methods are supported:
- Email: Opens the device's native email client and inserts trackable links for your Document(s).
- SMS: Opens the device's native SMS client and inserts trackable links for your Document(s).
- WhatsApp: Opens WhatsApp and inserts trackable links for your Document(s).
Selecting Documents for Follow Up
To share Documents for follow up in an email do the following:
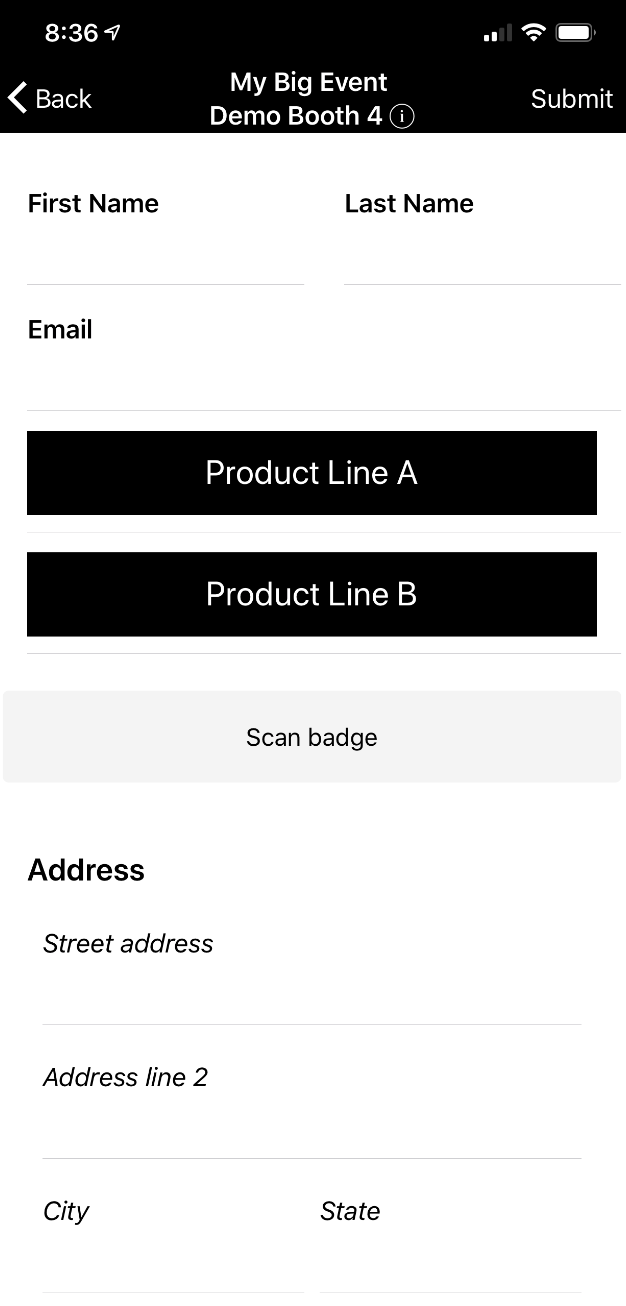
- Open your Event form on your mobile device.
- Capture lead information on your device as you normally would.
- Tap the button for the Document(s) you'd like to include in your follow up. In the example below, two buttons (a.k.a. Document Groups) are added to the form.
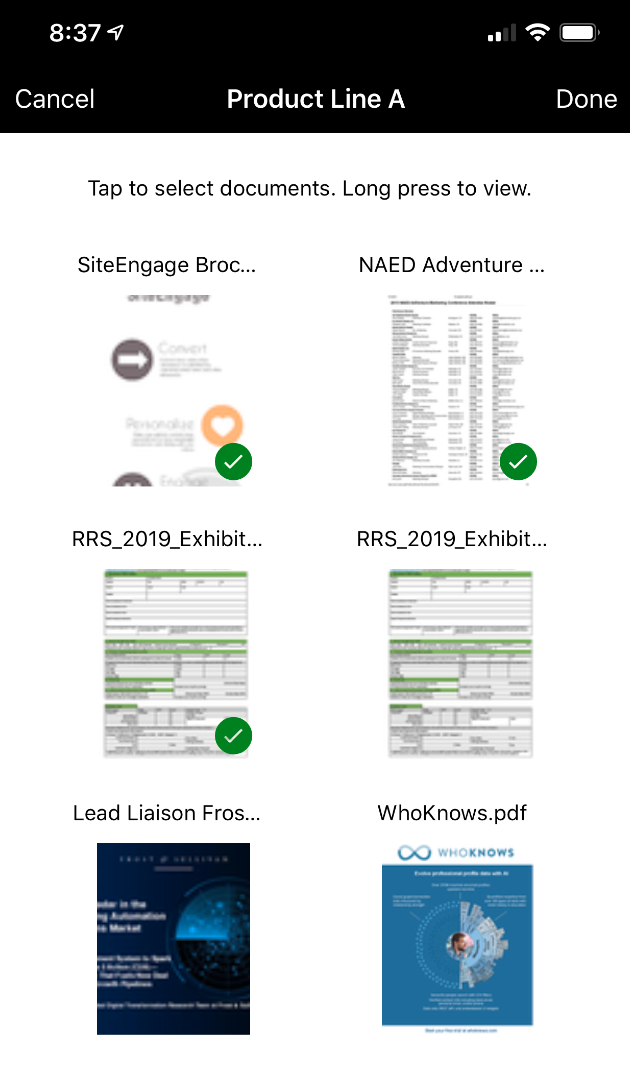
- Tap on the Document(s) to select them. A green check mark will appear for all selected Documents.
- Click the Done button.
Review Submissions
To review your form submissions, tap on the appropriate form and select Review Submissions. Tap on the submission to see the full form response. You will also see relevant metadata about how the submission was captured once you tap into it.

Submissions are color coded based on their status. The table below explains each of the statuses.
Status | Meaning | Can Edit |
Ready – submission ready to upload. Tap to block from upload. | Yes | |
Blocked – submission blocked from upload by user. Tap to unblock. | Yes | |
Sent – submission uploaded. | Yes | |
Pending – Submission is out for transcription and will update when the transcription is complete. | No | |
Error - The lead could not be uploaded to Lead Liaison. Please contact Lead Liaison support. | Yes |
Ready
Ready submissions are stored in the device and have not been sent back to the Lead Liaison platform. You will see this status if autosubmission is turned off or the device is working offline. To upload ready submissions, tap on the cloud icon in the top-right corner of the screen.
Pending
Pending submissions have been uploaded to the transcription portal but have not been completed. Once a transcription is complete, the submission will update with the prospect's information and change to Sent status.
Blocked
You can manually block a Ready submission by tapping on the blue icon next to the submission. The icon will turn red, and the app will not upload the submission, even if you tap the upload cloud icon. This option is best for unqualified leads like other vendors who visited your table during the show.
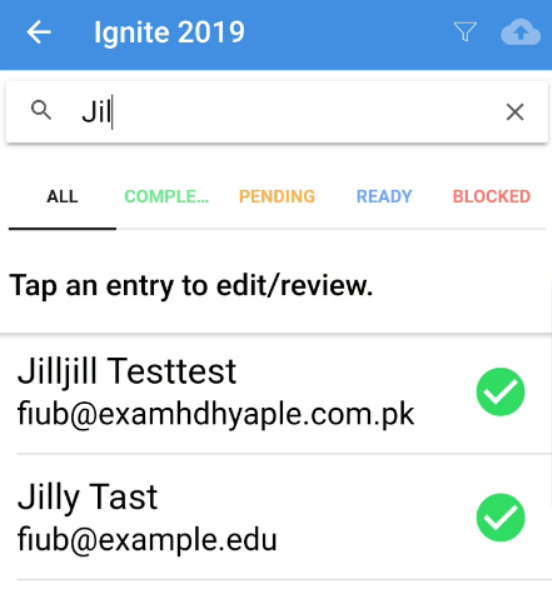
Search and Filter
Use the Search bar to search for Prospects by name or email. You can do a partial search if you are not sure of the Prospect's full name or email.
Click the filter icon on the top-right to use filters instead of searching. You can filter submissions by
- Name
- Capture Method
- Capture Date
- Captured By
For example, you could run a filter to find all of the leads captured by Associate A on October 23rd using business card transcription.
Edit a Submission
If a submission is in Ready status, you can edit it before uploading. Tap on the form and the Review Submissions. Tap on the submission to open the form again, make the appropriate changes, and the click the Submit button in the top-right corner.
Kiosk Mode
If you choose a form with kiosk mode enabled, you will not be able to back out of it again without your password. If you have not already set up a password, the app will ask you to create one.

When you are ready to exit the form, tap the back arrow in the top-left corner of your screen and then enter your password. If you input the incorrect password, the app will ask you to try again.
FAQ
Q: Will I need to remember my login information?
A: No, once you have authenticated your device, we will remember it from then on. Unless you manually unauthenticate or uninstall the app, you won’t have to log in again.
Q: Where do I find the app?
A: Links are included in your invitation email, but you can also search the Apple App Store or Google Play Store for “GoCapture!”
Q: I don’t have an invitation code. Where do I get one?
A: Contact your event coordinator.
Q: I uninstalled the app or have a new device. How can I get my login information?
A: You can use the same code from your previous install. If you no longer have the invite email, your event coordinator can resend the invite to you.
Q: How do I update the app?
A: Like any other app on your mobile device, through the Play Store or App Store.
Q: What are these qualifying questions for, and how do I know what to answer?
A: These questions were designed by your organization. Review the Event instructions and contact your event coordinator if you have questions.
Q: How long will it take to transcribe my leads?
A: Typical transcriptions like resumes and business cards are usually done in less than an hour. Handwritten transcriptions may take longer depending on language and legibility.
Q: I scanned a badge but instead of contact data, I just see the word "scanned" in every field?
A: Your device was unable to connect to the event organizer's API. Typically this is either due to connectivity issues or the organizer's API getting too many requests. GoCapture!™ will store the submission and try again the next time it syncs.