| Table of Contents |
|---|
...
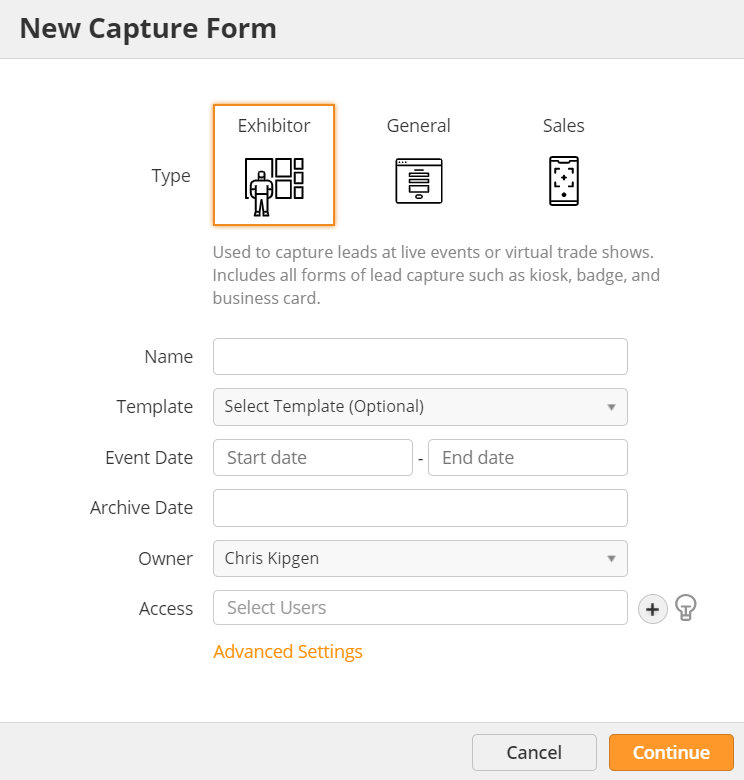
Events are the core of Event Lead Management. They include trade shows, conferences, meetups, and any other live event where you could capture lead data. To set up a new Event, navigate to Events > Capture and click New. Select from the following form types:
- Exhibitor – Used to capture leads at live events or virtual trade shows. Includes all forms of lead capture such as kiosk, badge, and business card.
- General – Used for different types of use cases such as digital marketing, employee engagement, and more.
- Sales – Used by sales teams to capture leads from a mobile device while on the go. Forms never expire and are always available.
Note: the options on the New Capture Form menu will change depending on your form type. Set additional options by clicking the Advanced Settings button.
- Name – name of your Event
- Template – create Event using a Template (see Templates below)
- Save to – save event to a folder
- Campaign – add event to Campaign for ROI tracking purposes
- Description – internal description of event
- Event Date – start and end date of event used for reporting
- Archive Date – the last date end users can capture new Prospects in the mobile app
- Event Owner – user in charge of managing event
- Event Address – physical location of the event using Google Maps
- Registration List – attach a List of attendees
- Labels – custom labels for segmenting reports
- Event Access – users and groups invited to the event
...
Specifying a language ensures we default to that language and only use transcribers certified for that language. Localized transcriptions tend to take longer, around 1-3 business days after the end of the event.
If you need transcription in a new language not already listed, please contact our support team at least one week in advance with the following details so we can make necessary arrangements on our end for the transcription:
...
End users can scan Prospect name badges with the Badge Scanner element. Every event is different and will usually have a specific barcode provider. We use a two-step validation process using both the barcode provider's test badge and the show's production (live) badge.
To add the Badge Sanner Scanner element,
- Contact the event organizer and purchase an API kit (might also be called a Software Developer's Kit, or SDK)
- Create your Event Form
- Follow the instructions on this page
- Once support confirms they have added the element, test the form
- If the barcode provider only provides a test badge, provide Lead Liaison a production badge at least 24 hours in advance (you will typically get your production badge by mail or during the check in process)
- Once Lead Liaison confirms ready, test the form using your badge
...
This option allows you to block submissions from domains and emails. When this option is enabled, you can block submission using the following options:
- Domain List(s) - Pick from a predefined domain list.
- Enter domain(s) - Manually enter the domains to block e.g. gmail.com, hotmail.com.
- Enter email(s) - Enter email addresses to block submissions from.
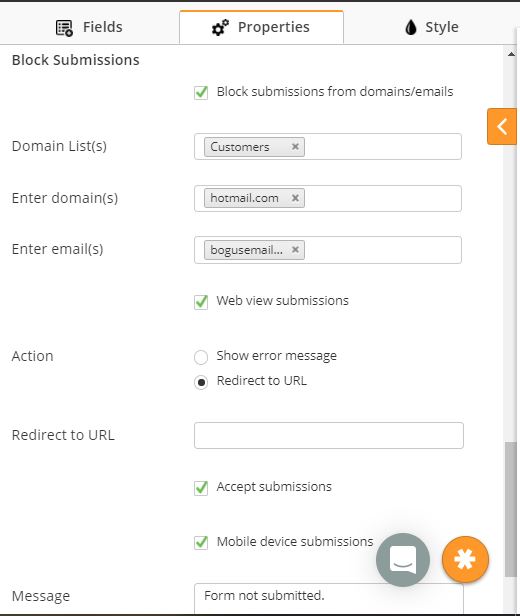
There are two methods of blocking:
- Mobile device submissions - When enabled, you can specify a message to show when the submission is blocked. Default is "Form not submitted."
- Web view submissions - When enabled, system will not accept web view submissions. With this option, you can either show an error message or you can add a redirect URL. If you choose a Redirect to URL then you can also specify whether you'd like to record the submission in the backend. This is controlled by enabling or disabling the "Accept submissions" option.
Note: If Block Submissions is turned ON then you cannot save the event form unless at least one of the above blocking methods is enabled.
Personal Email Addresses
You can block personal email addresses. For example, you may not want to process leads who have a yahoo.com or gmail.com email address. You can also use this function to block specific email domains (a competitor's email domain, for example). To block personal email domains,
...
To lean more about using fulfillment actions, click here.
Importing a Pre-event List
You can import a list to easily pull up contact information at your event. If your event organizer provides a list beforehand, follow these instructions to connect the List to your form.
To import a list from a CSV, XLS or .XLSX file do the following:
- Prepare your file for import. For a contact to be imported, the contact must have at least an email address or full name. If an email address is not provided then we check for a Full Name (or First Name and Last Name). If a Prospect is found with the same name then the import record is matched with the first contact the system finds. If no match is found then a new Prospect record will get created.
- Optionally create a List. Note, it's not mandatory to import contacts into a list. They can be directly imported into the system.
- Click Prospects > Import
OR - Click Sales > Import and select Prospects if you are using OneFocus™ CRM
- Drag & Drop the file into the dashed border box or select your file using the Upload button

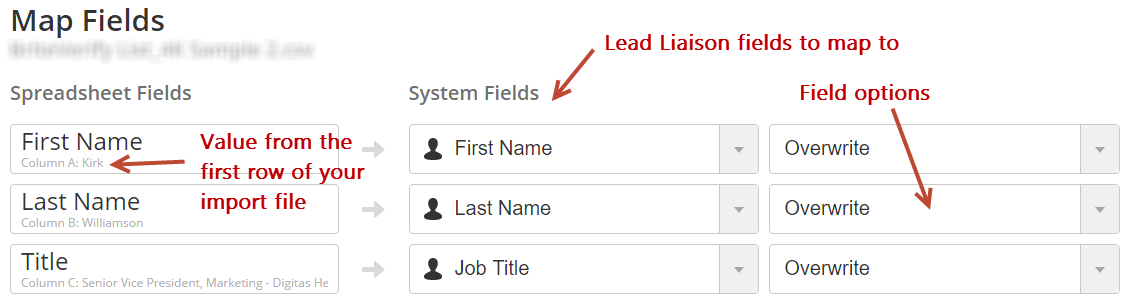
- Map fields. Most fields are automatically mapped; however, check all your fields to ensure the data is mapped to a Lead Liaison field.
- Import options per field:
- For Multi-Picklist Values:
- Ignore: Ignores the imported field data.
- Overwrite: Overwrites the data in the list and Prospect data if the imported data is not empty.
- Merge: Applies only to multi-picklist fields. Imported data will be used to update a Prospect's info without deleting existing information. For example, if the field is "Favorite Colors" and the Prospect's field has "Red, Blue and Green" and the imported data is "Brown, Green", then the resulting field data will be "Red, Blue, Green and Brown". Use a semicolon (; to separate multiple fields on your imported data.
- For Everything Else:
- Ignore: Ignores the imported field data.
- Overwrite: Overwrites the data in the list and Prospect data if the imported data is not empty.
- Update if empty: Overwrites the data in the list and Prospect data if the imported data is not empty and the Prospect's existing field data is empty.
- For Multi-Picklist Values:
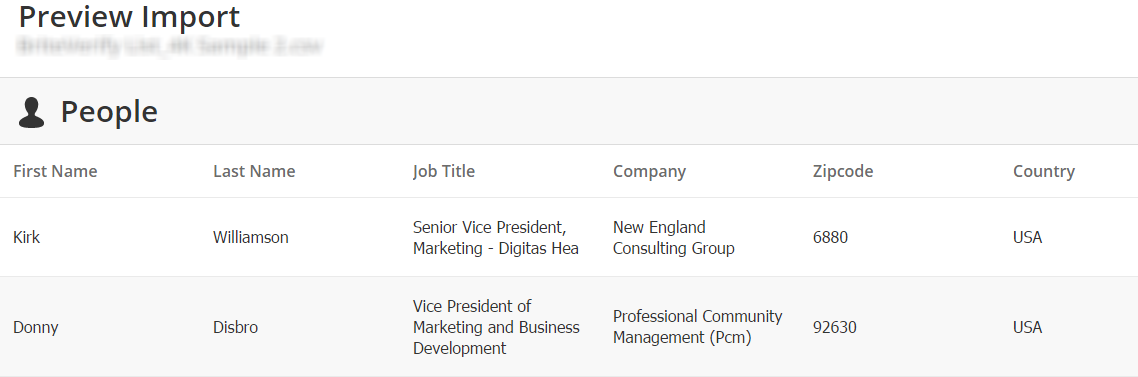
- Preview results. The first ten rows of data will be shown in the preview.
- Set your import options. Lead Liaison provides several options to add Prospects to a list, tag them, assign ownership, assign to a Campaign, set a Lead Source, and more. You must import your Contacts into a List to attach them to a GoCapture!™ form. Each option is explained below:
- Add to Lists(s). Select which list(s) to import contacts into. Note, this step is optional. Click the Create New List link to create a new list on the fly.
- Add Tags. Assign one or more tags to your imported Prospects. Click the Create New Tag link to create a new tag on the fly. To learn more about Tags read this.
- Assign Owner. Select which Owner to be assigned to all imported contacts. See Setting Lead Owner section below to assign individual Ownership within the import file. Assigning ownership within the file overrides the Owner: settings as shown in the screenshot above. Select Unassigned from the Owner drop down to not assign an Owner to each contact. The default Owner will be the user who is conducting the import.
- Assign to Campaign. Assigns imported Prospects to a Lead Liaison Campaign. To learn more about Campaigns click here. To create a new Campaign click the plus icon to the right of the drop down.
- Set Lead Source. Assigns a value to the Original Lead Source field. If the Prospect already exists you can override the Original Lead Source value by enabling the Override Existing Lead Source toggle switch. To create a new Lead Source, click the plus icon to the right of the drop down.
In order to connect the List to a GoCapture!™ form, you must import your Contacts into a List.

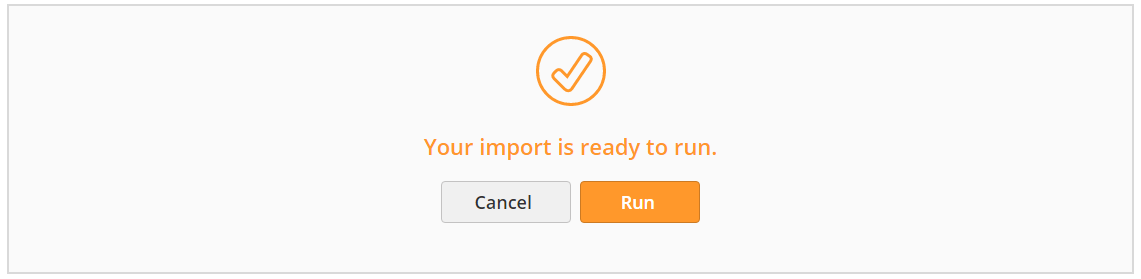
- Click Next.
- Click Run.
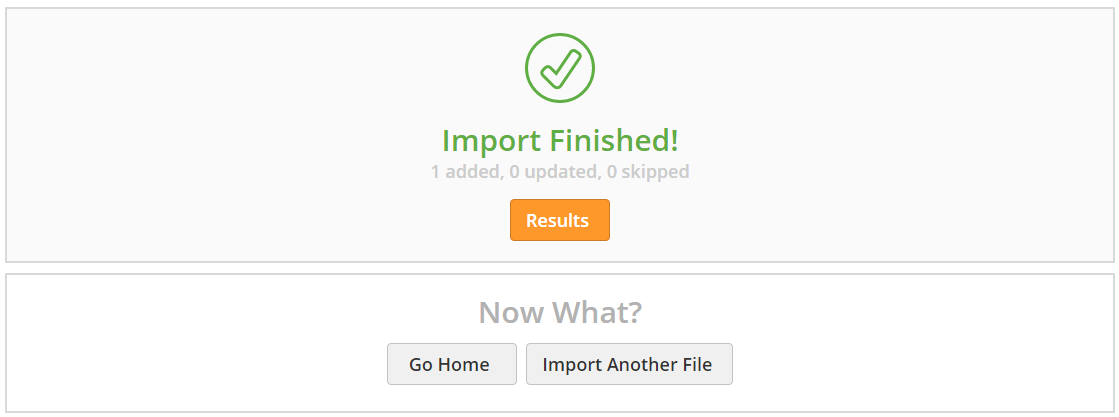
- View Results, Go Home, or import another file.
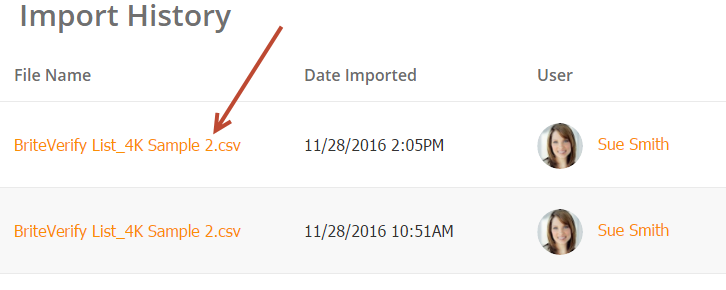
Download Past Import Files
To download files that have been previously imported do the following:
- Navigate to Prospects > Import
- Click the name of the file under the File Name column as shown below
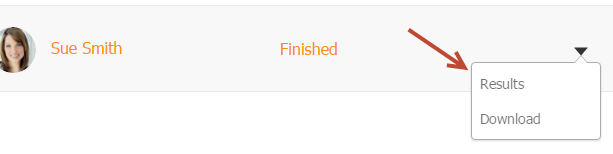
Viewing Imported Prospects
To view prospects from previous imports do the following:
- Navigate to Prospects > Import
- Select Results under the actions column as shown below
Setting Lead Owner
Add a "Lead Owner" field to your import CSV file to automatically set (or overwrite) the existing lead owner value in Lead Liaison.
Use Lead Liaison Username
Please note the value of the Lead Owner must be the Lead Liaison username of the Lead Owner. The Lead Liaison username is the username used when logging into Lead Liaison. To see your teams usernames look under the "User Name" column on the Managing Users page.
Importing Names
When importing names the First Name and Last Name must be separated into two distinct columns. Here are simple instructions on how to split names using Microsoft Excel.
Importing Boolean Fields
When importing a boolean field (1 or 0, true or false, yes or no) the following values are accepted:
- "true" or "false" (not case sensitive)
- "yes" or "no" (not case sensitive)
- "0" or "1"
Using 0
When using "0", the imported value will be empty. If you want the imported value to show up as "No" use "false" or "no".
These Lead Liaison Standard Fields are examples of fields that accept boolean values:
- Do Not Email
- Do Not Call
- Bounced
Importing Submissions
In some cases, you may need to import form submission data. For example, one of your representatives may have taken down a Prospect's information on a paper form rather than using the mobile app.
...