...
| Tip |
|---|
Management of custom fields and field mappings is accessed via Settings > App Setup > Manage Fields in Lead Liaison |
Removing a Custom Field in Salesforce.com
...
To add a custom field in Lead Liaison do the following:
- Click Settings > App Setup > Fields Manage Fields
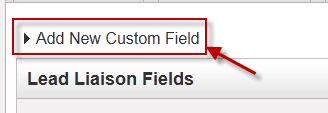
- Click the 'System Fields' tabClick the arrow and text that says 'Add New Custom Field' button
- Enter details of the new custom field:
- Name = Name you'd like to give this custom field. We suggest using the same name you used when adding the custom field to Salesforce.com
- Data Type = Type of data. Data types are explained below.
- Click the 'Create' button Save button when finished.
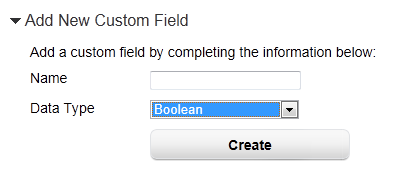
- The new custom field will appear in the grid below the Add New Custom Field section
...
All standard and custom Salesforce.com mappings can be changed. Access field mappings by going to Settings > App Setup > Fields Manage Fields in Lead Liaison. You'll find five tabs on the 'Manage Fields' page. Each tab is explained below:
- System Fields = Create new Lead Liaison custom fields and view standard and custom Lead Liaison fields.
- CRM Leads = Map CRM leads to Lead Liaison fields.
- CRM Contacts = Map CRM contacts to Lead Liaison fields.
- CRM Accounts = Map CRM accounts to Lead Liaison fields.
- Email Marketing Contacts = View field mappings for email marketing fields mapped to Lead Liaison fields.
Mapping Pages
Below is an image that explains features of the mapping pages.
...
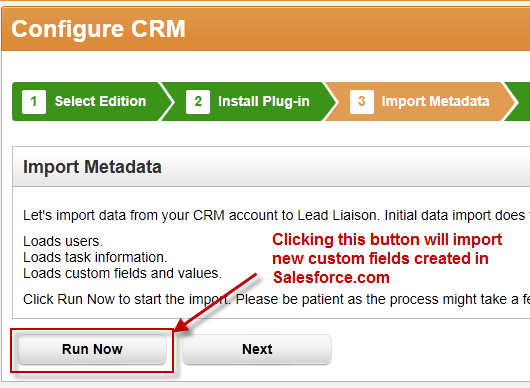
- Automatically pulled into Lead Liaison during the CRM Configuration Wizard process. The CRM Configuration Wizard is accessed by going to Settings > Administration Integrations > CRM.
- Automatically, after running the CRM Configuration Wizard, every night.
- Manually, by returning to the CRM Configuration Wizard, described in #1 above, and running Step #3 (Import Metadata) again. Click the 'Run Now' button as shown in the image below.