...
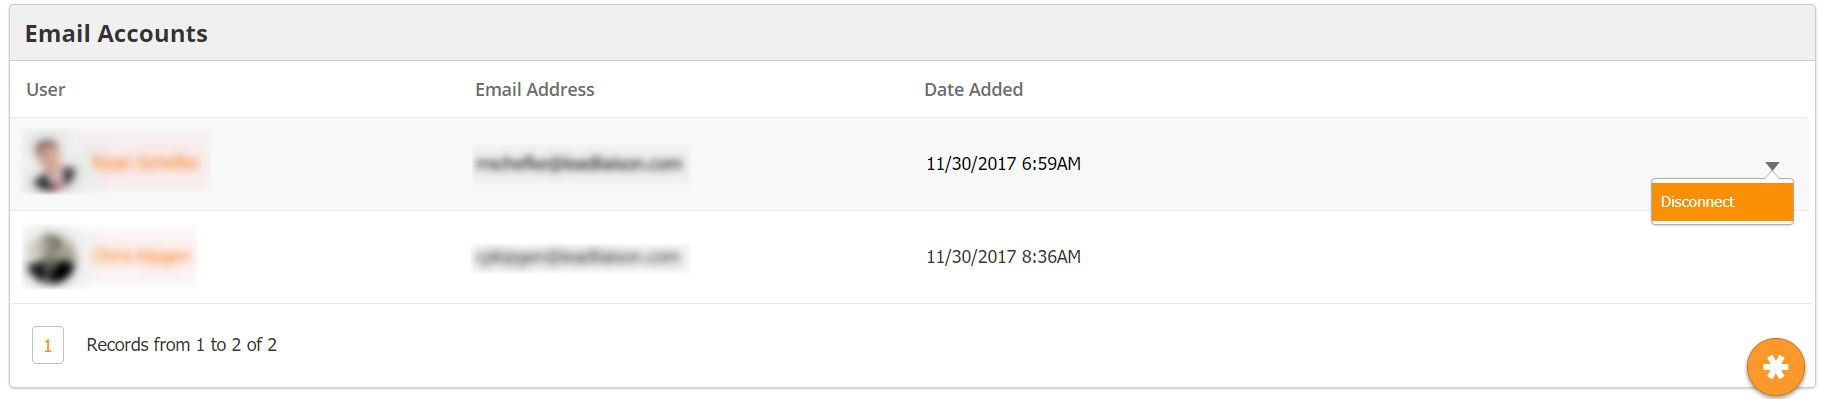
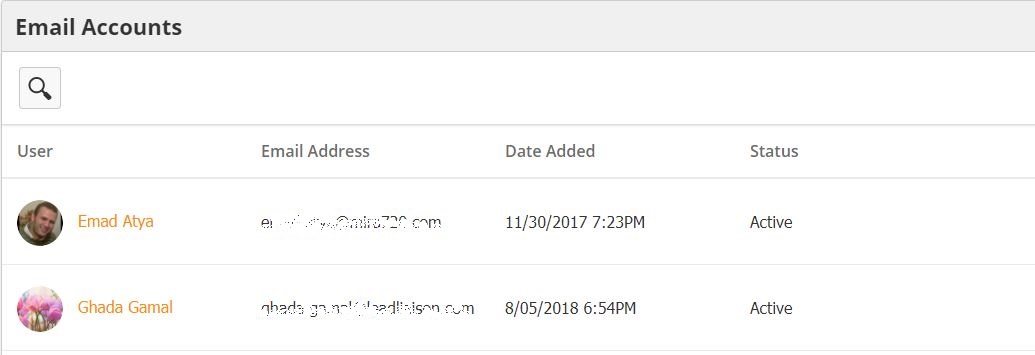
Use the Email Accounts box to view synced email accounts. The box will show the synced user, their email address, and the date they were added. Access the drop-down action menu to the right by hovering over the account. From the menu, you can disconnect a synced account.
| Info | ||
|---|---|---|
| ||
If you need to disconnect an email account, please contact support@leadliaison.com. |
Security Profiles
You can control the user's level of access through their Security Profile. To make changes to Security Profiles
...
- Navigate to Personal Settings
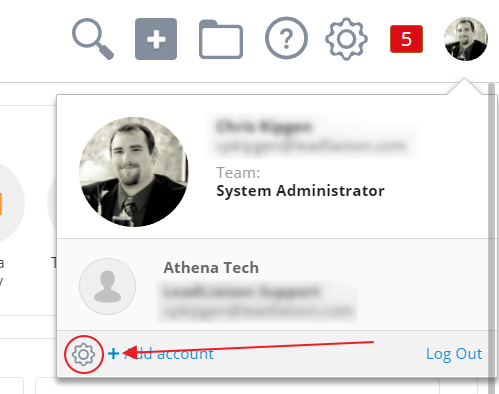
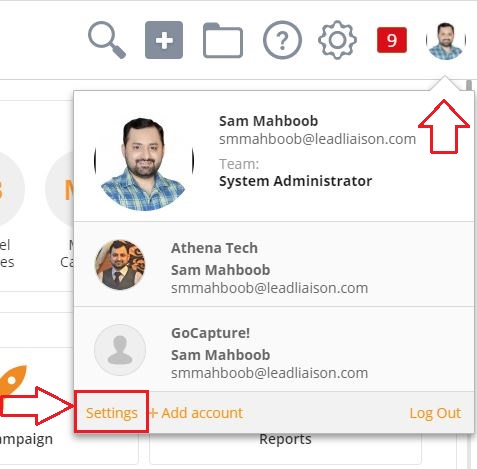
- Click the 3rd Party tab
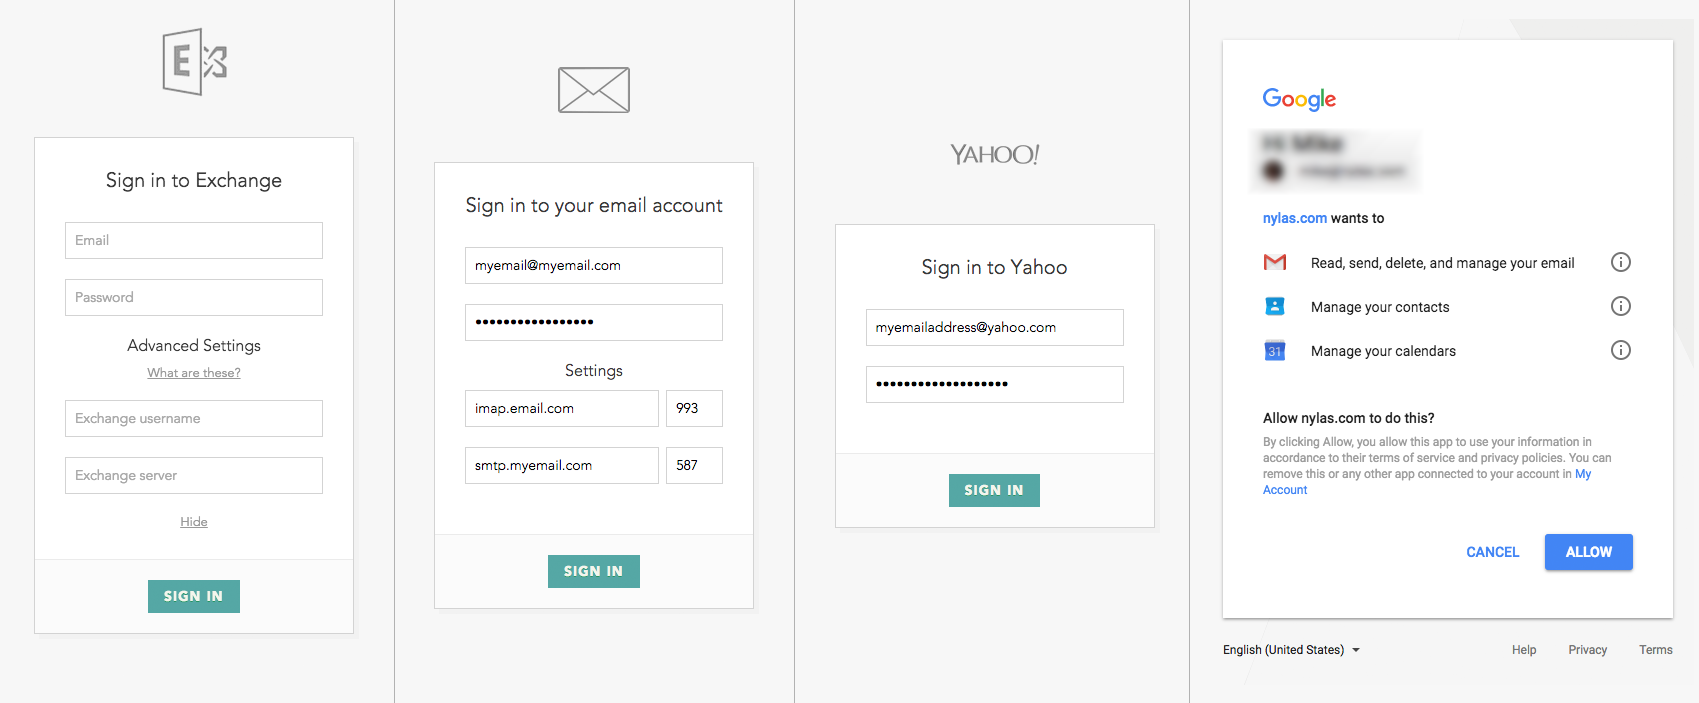
- Enter your email address in the Email Account box
- Click Connect
- Follow your email provider's instructions to grant Lead Liaison access to your account
...
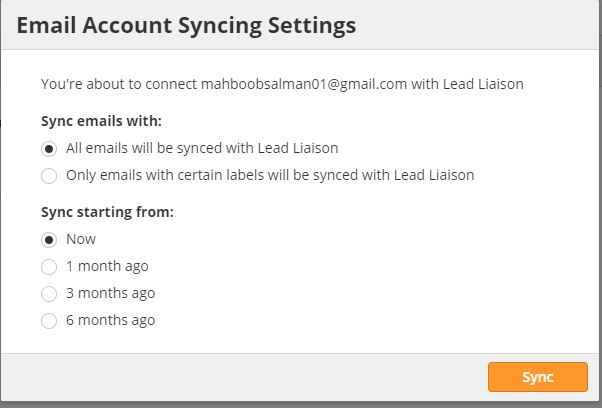
Once you have connected your email account, you can choose the time period you want the system to start syncing from:
You can also edit your personal account settings.
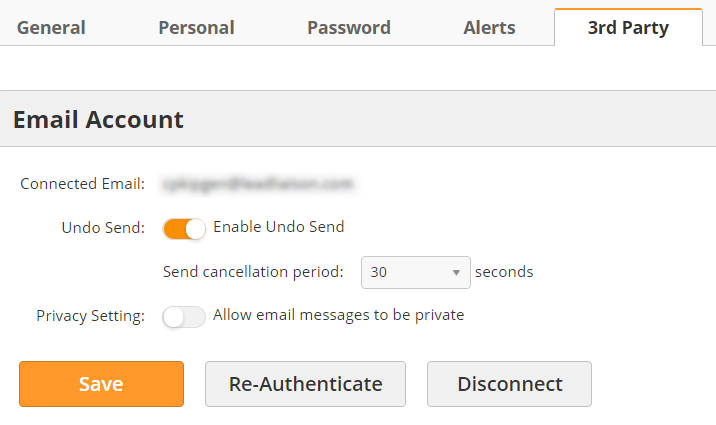
- Undo Send – when this option is enabled, you will have a set amount of time to cancel an email after you hit the Send button before it is sent to the Prospect
- Privacy Setting – when this option is enabled, emails from this account can be marked private; private email chains are only viewable by the account user and users with the appropriate Security Profile permissions
- Re-Authenticate – re-authenitcate the account with your email provider; required periodically by some providers
| Info | ||
|---|---|---|
| ||
If you need to disconnect an email account, please contact support@leadliaison.com. |
Email aliases
If you have an alias on your email account, you can add it as another sender in Lead Liaison. To add our alias, navigate to Personal Settings > 3rd Party and scroll down to sender info. You can add/remove aliases from this menu and use the star icon to set your default.
...
- Navigate to Personal Settings
- Click the Personal tab
- Scroll down to the Signatures box
- Click the green New button
...