...
Adding Facebook Fan Pages
| Note |
|---|
Due to the nature of Facebook's API, we cannot post to personal Facebook accounts. However, you will still need to connect your personal account for our system to access the Fan Page. |
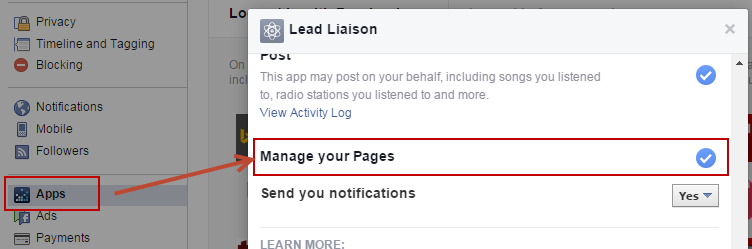
When adding a Facebook account to Lead Liaison there is a step that asks if you want to allow Lead Liaison to manage your Facebook pages. If that step is overlooked, this will prevent Lead Liaison from reading the pages. Fortunately, you can change this setting in your Facebook account at a later time by doing the following:
- Go to the "Apps" section in your Facebook account, https://www.facebook.com/settings?tab=applications, and search for the Lead Liaison app.
- The setting is called "Manage your Pages" and should be turned ON to allow Lead Liaison to manage your Fan pages.
...
Configuring Social Network Accounts
Each user can add their own personal account. This is helpful since account credentials do not need to be exchanged and provided to the Admin. To add an individual social network account do the following:
- Click your Profile Picture on the top right, then click the small gear on the bottom left to see your personal settings
- Click the 3rd Party tab
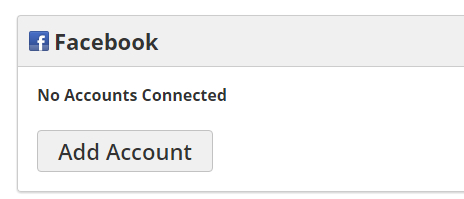
- Click the "Add an account" button for the respective social network and follow the prompts
Configuring Social Network Accounts
Each social network account can be individually configured. To configure an account click on the name of the social network account you'd like to configure. A drop down menu will appear similar to the one below:
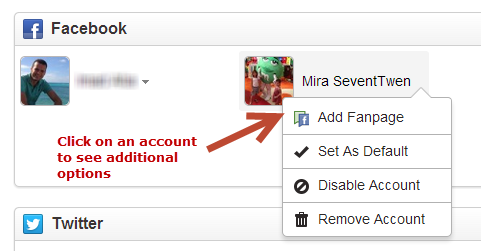
Settings are as follows:
- Add Fanpage (Facebook only) = Allows posting to Fanbook page on Facebook.
- Set As Default = Makes the social network a default account. Default accounts are automatically selected when creating a new social post message which eliminates the need to re-select accounts when posting multiple messages.
- Disable Account = Disables the account. Disabled accounts will not appear on the social post page.
- Remove Account = Removes the account from Lead Liaison.
- Re-Authenticate = Re-authenticate a social media account (for expired accounts).
Posting Messages
To post a single message on behalf of multiple social network accounts do the following:
...
social network account can be individually configured. To configure an account click on the name of the social network account you'd like to configure. A drop down menu will appear similar to the one below:
Settings are as follows:
- Add Fanpage (Facebook only) = Allows posting to Fanbook page on Facebook.
- Set As Default = Makes the social network a default account. Default accounts are automatically selected when creating a new social post message which eliminates the need to re-select accounts when posting multiple messages.
- Disable Account = Disables the account. Disabled accounts will not appear on the social post page.
- Remove Account = Removes the account from Lead Liaison.
- Re-Authenticate = Re-authenticate a social media account (for expired accounts).
Posting Messages
To post a single message on behalf of multiple social network accounts do the following:
...
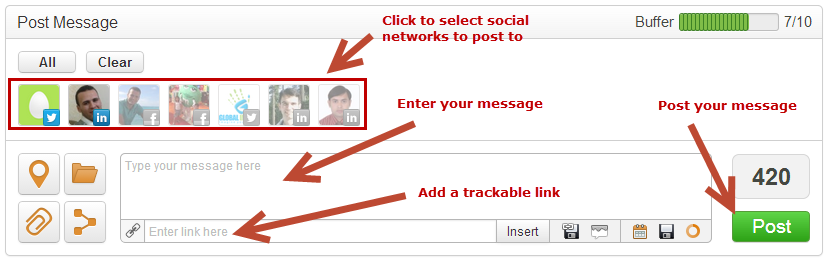
- Click New > Social Post
- A section similar to the one below will appear
- Select the social media account you would like to post to by clicking the icon on top (default accounts are automatically selected). Greyed-out accounts are not selected.
- Type a message in the box that says "Type your message here".
- Optionally, to insert a website URL and have it automatically encoded using bit.ly and enabled for tracking within Lead Liaison enter the URL in the "Enter link here" box under the message box and click the "Insert" button.
- Click the green "Post" button.
- Congrats! Grab some wine and crackers. You've published your social media message to multiple accounts!
...
| Info | ||
|---|---|---|
| ||
When posting messages to LinkedIn the message will take up to 1-2 minutes to show up. The message will be visible on the LinkedIn home page for the posting account under "Your Updates". |
| Info | ||
|---|---|---|
| ||
The system will adjust the character limit based on which social media accounts are selected. The default is 1000 characters, but will adjust down to 240 characters if you select a Twitter account. |
Settings for Posting Messages
...
| Panel |
|---|
First_Name Last_Name, |
Managing Messages
To manage your social posts do the following:
...
- Click Content > Social Posts
- Select the messages to delete by checking selecting the respective box(es) under the "Select" columnrows
- Click the "Delete Selected" link on the top right
...
- Actions button and select Delete

Creating Canned Messages and URLs
...
| Panel | ||
|---|---|---|
| ||
user, |
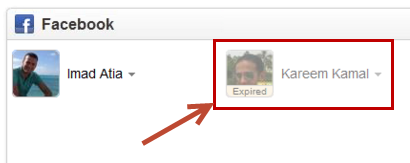
Follow the directions below to Re-Authenticate an account:
- For Facebook Accounts Added by Admins:
- Go to Settings > Integrations > Connectors
- Find the Expired account
- Click the account and select Re-Authenticate
- For Facebook Accounts Added by Users:
- Go to Home > 3rd Party
- Find the Expired account
- Click the account and select Re-Authenticate

and follow the prompts. |
Follow the directions below to Re-Authenticate an account:
- For Facebook Accounts Added by Admins:
- Go to Settings > Integrations > Connectors
- Find the Expired account
- Click the account and select Re-Authenticate
- For Facebook Accounts Added by Users:
- Go to Home > 3rd Party
- Find the Expired account
- Click the account and select Re-Authenticate
LinkedIn Posting
This section describes the experience when posting on LinkedIn to both personal and company accounts.
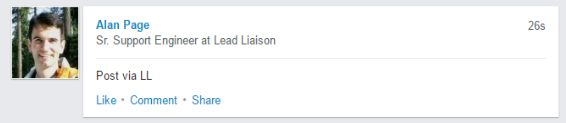
Posting Plain Text Messages
In this case, the user posts a plain text message with no links or attachments.
Personal Accounts:
- Posts will show up with plain text, in this case "Post via LL".
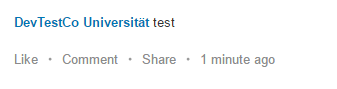
Company Accounts:
- Posts will show up with plain text, in this case "test".
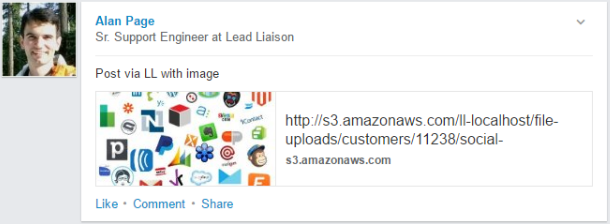
Posting Plain Text with Image Attachments
In this case, the user posts a text message and attaches an image to the post.
Personal Accounts:
- Posts will show up with plain text, in this case "Post via LL with image".
- The image will be shown in the image preview box.
- The image URL and image domain will be shown to the right.
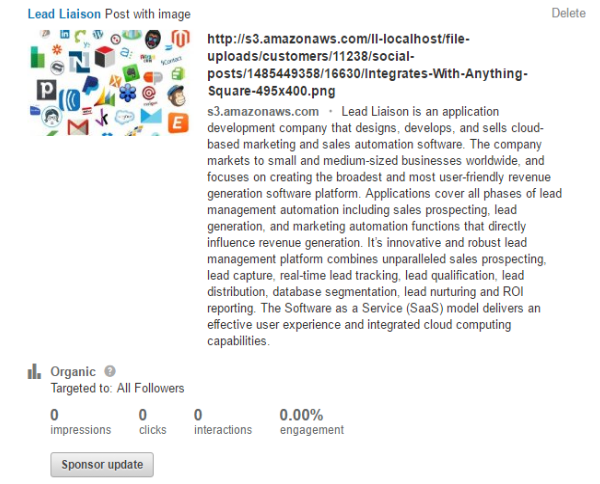
Company Accounts:
- Posts will show up with plain text, in this case "Post with image".
- The image will be shown in the image preview box.
- The image URL and image domain will be shown to the right.
- A description of the company will be shown to the right at the bottom.
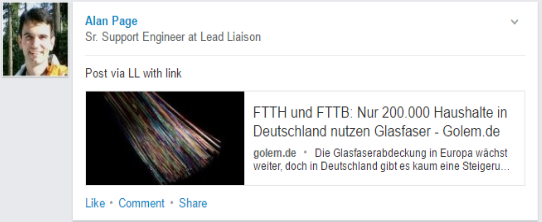
Posting Text with a Link
In this case, the user types some text and links part of the text.
Personal Accounts:
- LinkedIn removes the link and uses the image preview from the link URL.
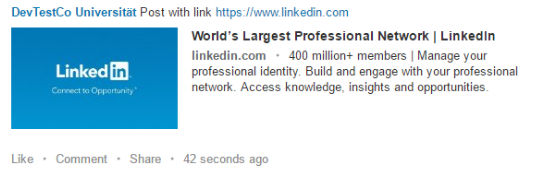
Company Accounts:
- LinkedIn keeps the link and uses the image preview from the link URL.
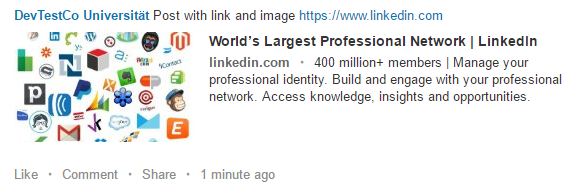
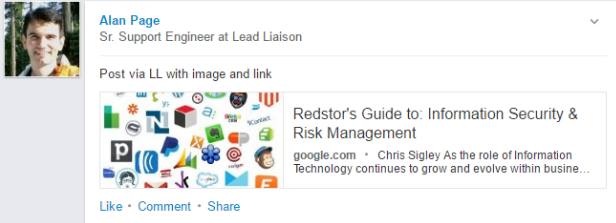
Posting with an Image Attachment and a Link
In this case, the user links text in their message and attaches an image to the post.
Personal Accounts:
- LinkedIn removes the link, uses the attached image in the preview, and the text from the link.
Company Accounts:
- LinkedIn removes the link, uses the attached image in the preview, and the text from the link.