...
- Select your options:
- Name: Name of the Badge Group
- Badge Source: Create badges from a Lead Liaison List or from one or more Prospects
- Description: Short summary of your Badge Group
- Restrict badges to specific Events: When disabled, badges for any Event can be scanned. When enabled, a badge scan will not work unless the Badge Group on the Event configuration page is selected. See the section below on Configuring Badge Scanning.

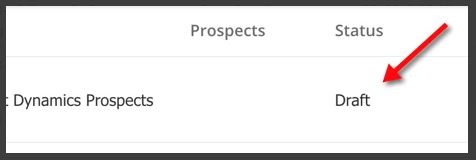
- Depending on the number of people in your Badge Group, the Badge Group will have the following status:
- Draft: System is preparing Badge Group for badge creation.
- Running: Badges are being created in the background.
- Ready: Badge Group is ready to be printed.

Step 2: Print Badges
...
Once your Badge Group is created you need to link your Event to your Badge Group. Follow the steps below to link your Event(s) to your badges:
- Create a new Event
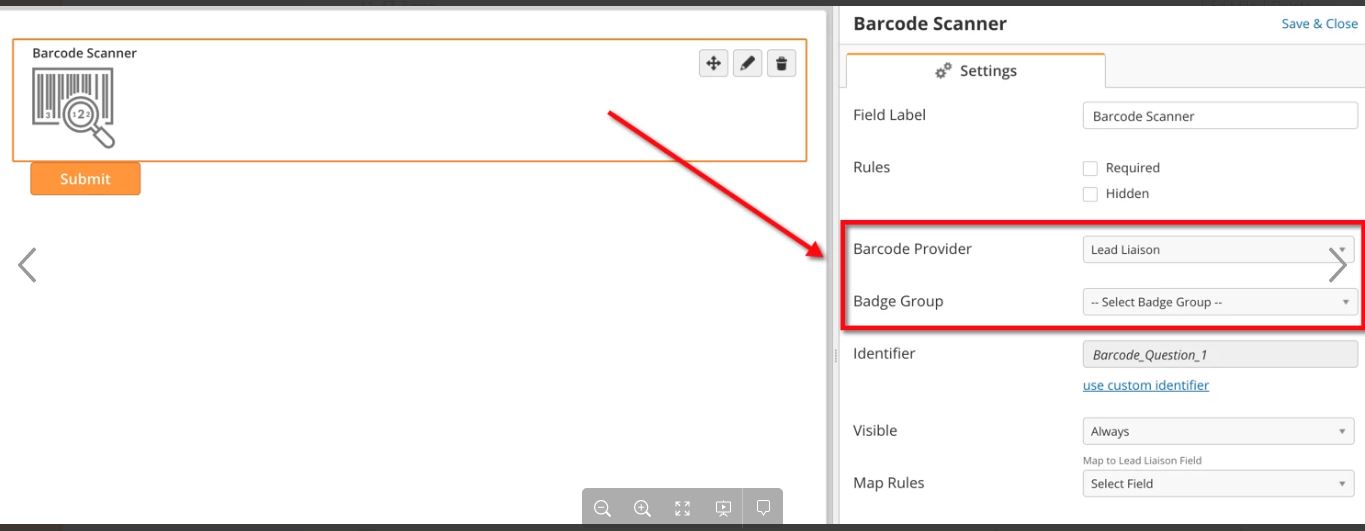
- Add the Barcode Scanner element to the canvas on the left.
- Click on the Barcode Scanner icon on the left. A configuration panel will open to the right.
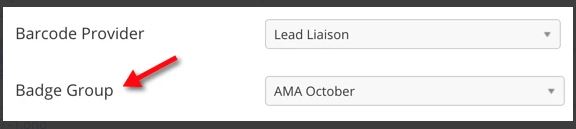
- Select Lead Liaison from the Barcode Provider option as shown below.
- In the Badge Group setting, select your Badge Group (see Step 1 above) as shown below.
| Note | ||
|---|---|---|
| ||
When creating your Badge Group, if you enabled the Restrict badges to specific Events option then your Event will only work with the selected Badge Group. If this option was not enabled, then any Event created in your account will work with your badges regardless of the Badge Group selected as shown in the screenshot below. |

Customizing Badges
...