...
The badge design comprises various customizable elements, categorized into three sections.
...
General Section:
This section contains the Text element.
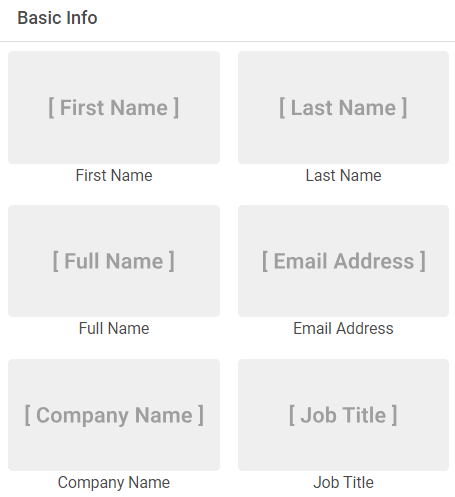
Basic Info Section:
This section contains the attendee’s information such as:
First Name
Last Name
Full Name
Email Address
Company Name
Job Title
 Note:
Note:
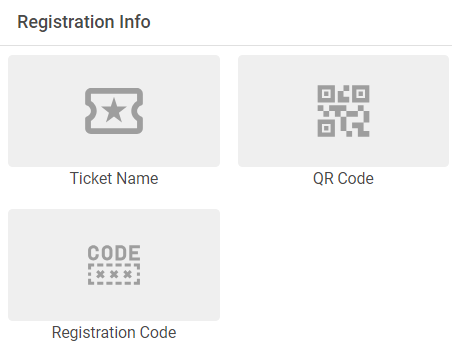
Registration Info Section:
...
Ticket Name.
QR Code.
Registration Code.
| Info |
|---|
Note: Make sure to to allocate sufficient spacing when entering attendee registration details, as these are inputted individually. Be mindful that some attendees may have longer names, emails, ticket names, etc. |
...
More Elements:
This section contains additional elements such as:
Border Box
Horizontal Line
Vertical Line
Image
...
Badge Designer Settings
In the The badge settings section, you can adjust designer settings tab allows for the adjustment of the badge size by specifying the width and height. Additionally, you have the option to toggle the badge grid setting to show or hide the grid lines on the badge.
...
Customizing Elements:
You have the flexibility to drag and drop insert elements onto to the badge, resize themclone, or delete them as needed. Additionally, you delete or adjust the element’s position.
...
You can manage typography settings, including selecting text fontsrenaming the element’s ‘Value' in case of an inserted text field, choosing a font family, adjusting sizes and weight, and aligning text.
...
weights of elements, changing the element’s position, and aligning the element’s position using the default alignment positions.
...
There are two default position alignments:
Horizontal alignment - Align the text horizontally in three positions: left, middle, and right.

Vertical alignment - Align the text vertically in three positions: top, middle, and bottom.

...
The Border box, Vertical line, and horizontal Line elements can be displayed as either Solid or Dashed lines.
...
The logo is uploaded from the Image element. Click on Upload a photo. The Image element can be used as a complementary image to the design as well.
...
Preview Badge Design
To preview the badge design, click on the Preview button.
...
To edit a design for a badge, click on the Edit icon. You will be prompted to the Badge Designer. Adjust your design and then click Save.
...
| Info |
|---|
Note: you can also design a badge for all tickets It is possible to create badge designed for all ticket types on the event level. Go to Settings > General, Scroll down to Badge design, customize your design, and then click Save. |
...
To clone, edit, or archive a ticket, press the three dots on the right side of the ticket card.
Edit: allows for the modification of the chosen ticket.
Clone: clones the ticket data so you can change it to create a new ticket using data from another existing one.
Archive: blocks the possibility of buying tickets, both online and on-site.
Delete: deletes the ticket solely in the case where it has not been purchased.
...
of the ticket card.
Edit: allows for the modification of the chosen ticket.
Clone: clones the ticket data so you can change it to create a new ticket using data from another existing one.
Archive: blocks the possibility of buying tickets, both online and on-site.
Delete: deletes the ticket solely in the case where it has not been purchased.
...
Group Inventory
A Group Inventory allows you to link different types of tickets together with a total shared quantity.
For example, if you have standard, free, and VIP tickets in a group inventory with 5 tickets total, registrants can buy any combination of these ticket types until all 5 tickets are sold.
The key point is the total number of tickets bought. So, they could buy 3 standard and 2 VIP tickets, or all 5 could be standard tickets. Once all 5 tickets are sold, no more are available, no matter the combination.
...
Create a Group Inventory
To create a group inventory, go to the Group inventory tab, click on Add New Group Inventory, choose a name and quantity, and then click Add.
...
To edit an existing group inventory, click on the Edit icon below Actions.

To delete an existing group inventory, click on the Delete icon below Actions.
...
inventory tab, click on Add New Group Inventory, choose a name and quantity, and then click Add.
...
Assigning Tickets to a Group Inventory
...
The two images shown illustrate how tickets from the same group inventory impact one another.
...
Edit or Delete a Group Inventory
To edit an existing group inventory, click on the Edit icon below Actions.
To delete an existing group inventory, click on the Delete icon below Actions.
...
Settings
...
General Tab
Time zone settings
...
There is also a Registered for Event filter criteria that you can use to filter Prospects based on the events that they are registered to.
...
Clone an
...
Existing Event
To clone an event, go to Events > Managed and click on the Dropdown next to the intended event for cloning. From there, Clone.
...